Week 4: Attempting Arduino
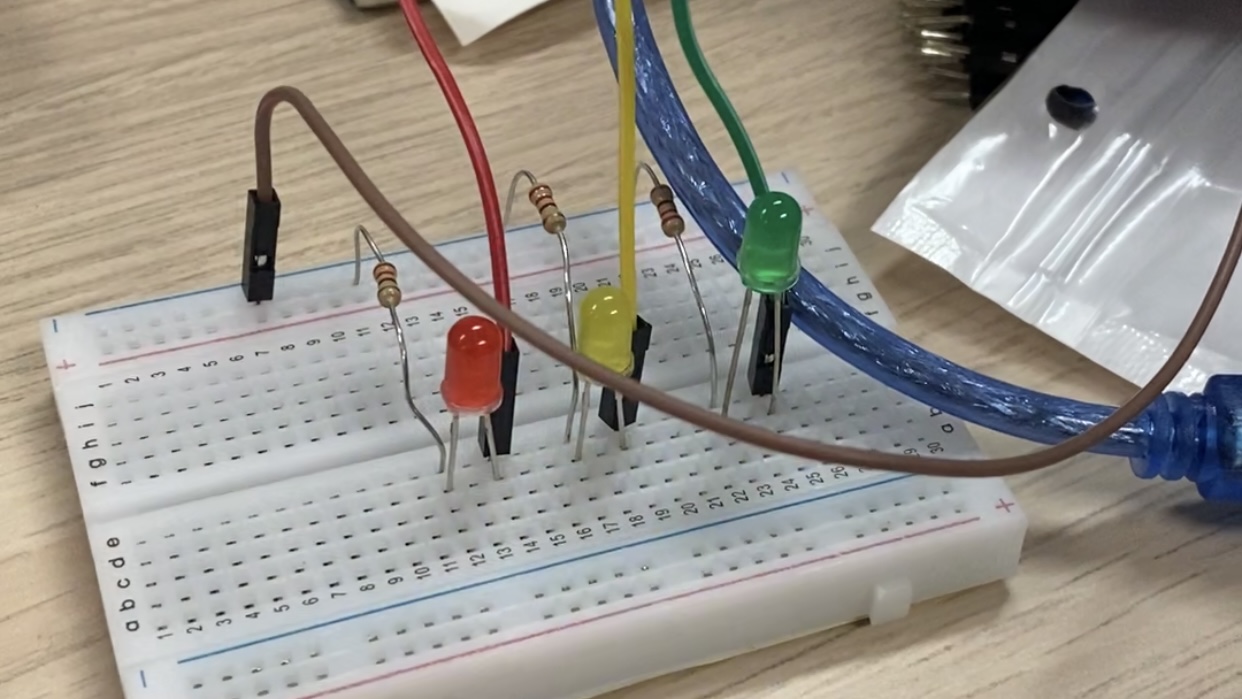
For this week, I signed up for labs where I brought my ardunio and other appliances to be fixed with the help of Andreas as I have never done this before. It was insightful. Before that getting to familarise myself with it I followed a simple youtube tutorial on how to do sequential lighting using Ardunio and it was relatovely easy to understand. The reason for doing this mini experiment using ardunio was to get to know how it works and how to connect it and all and understanding theo parts.
Excursion to Sim Lim Tower
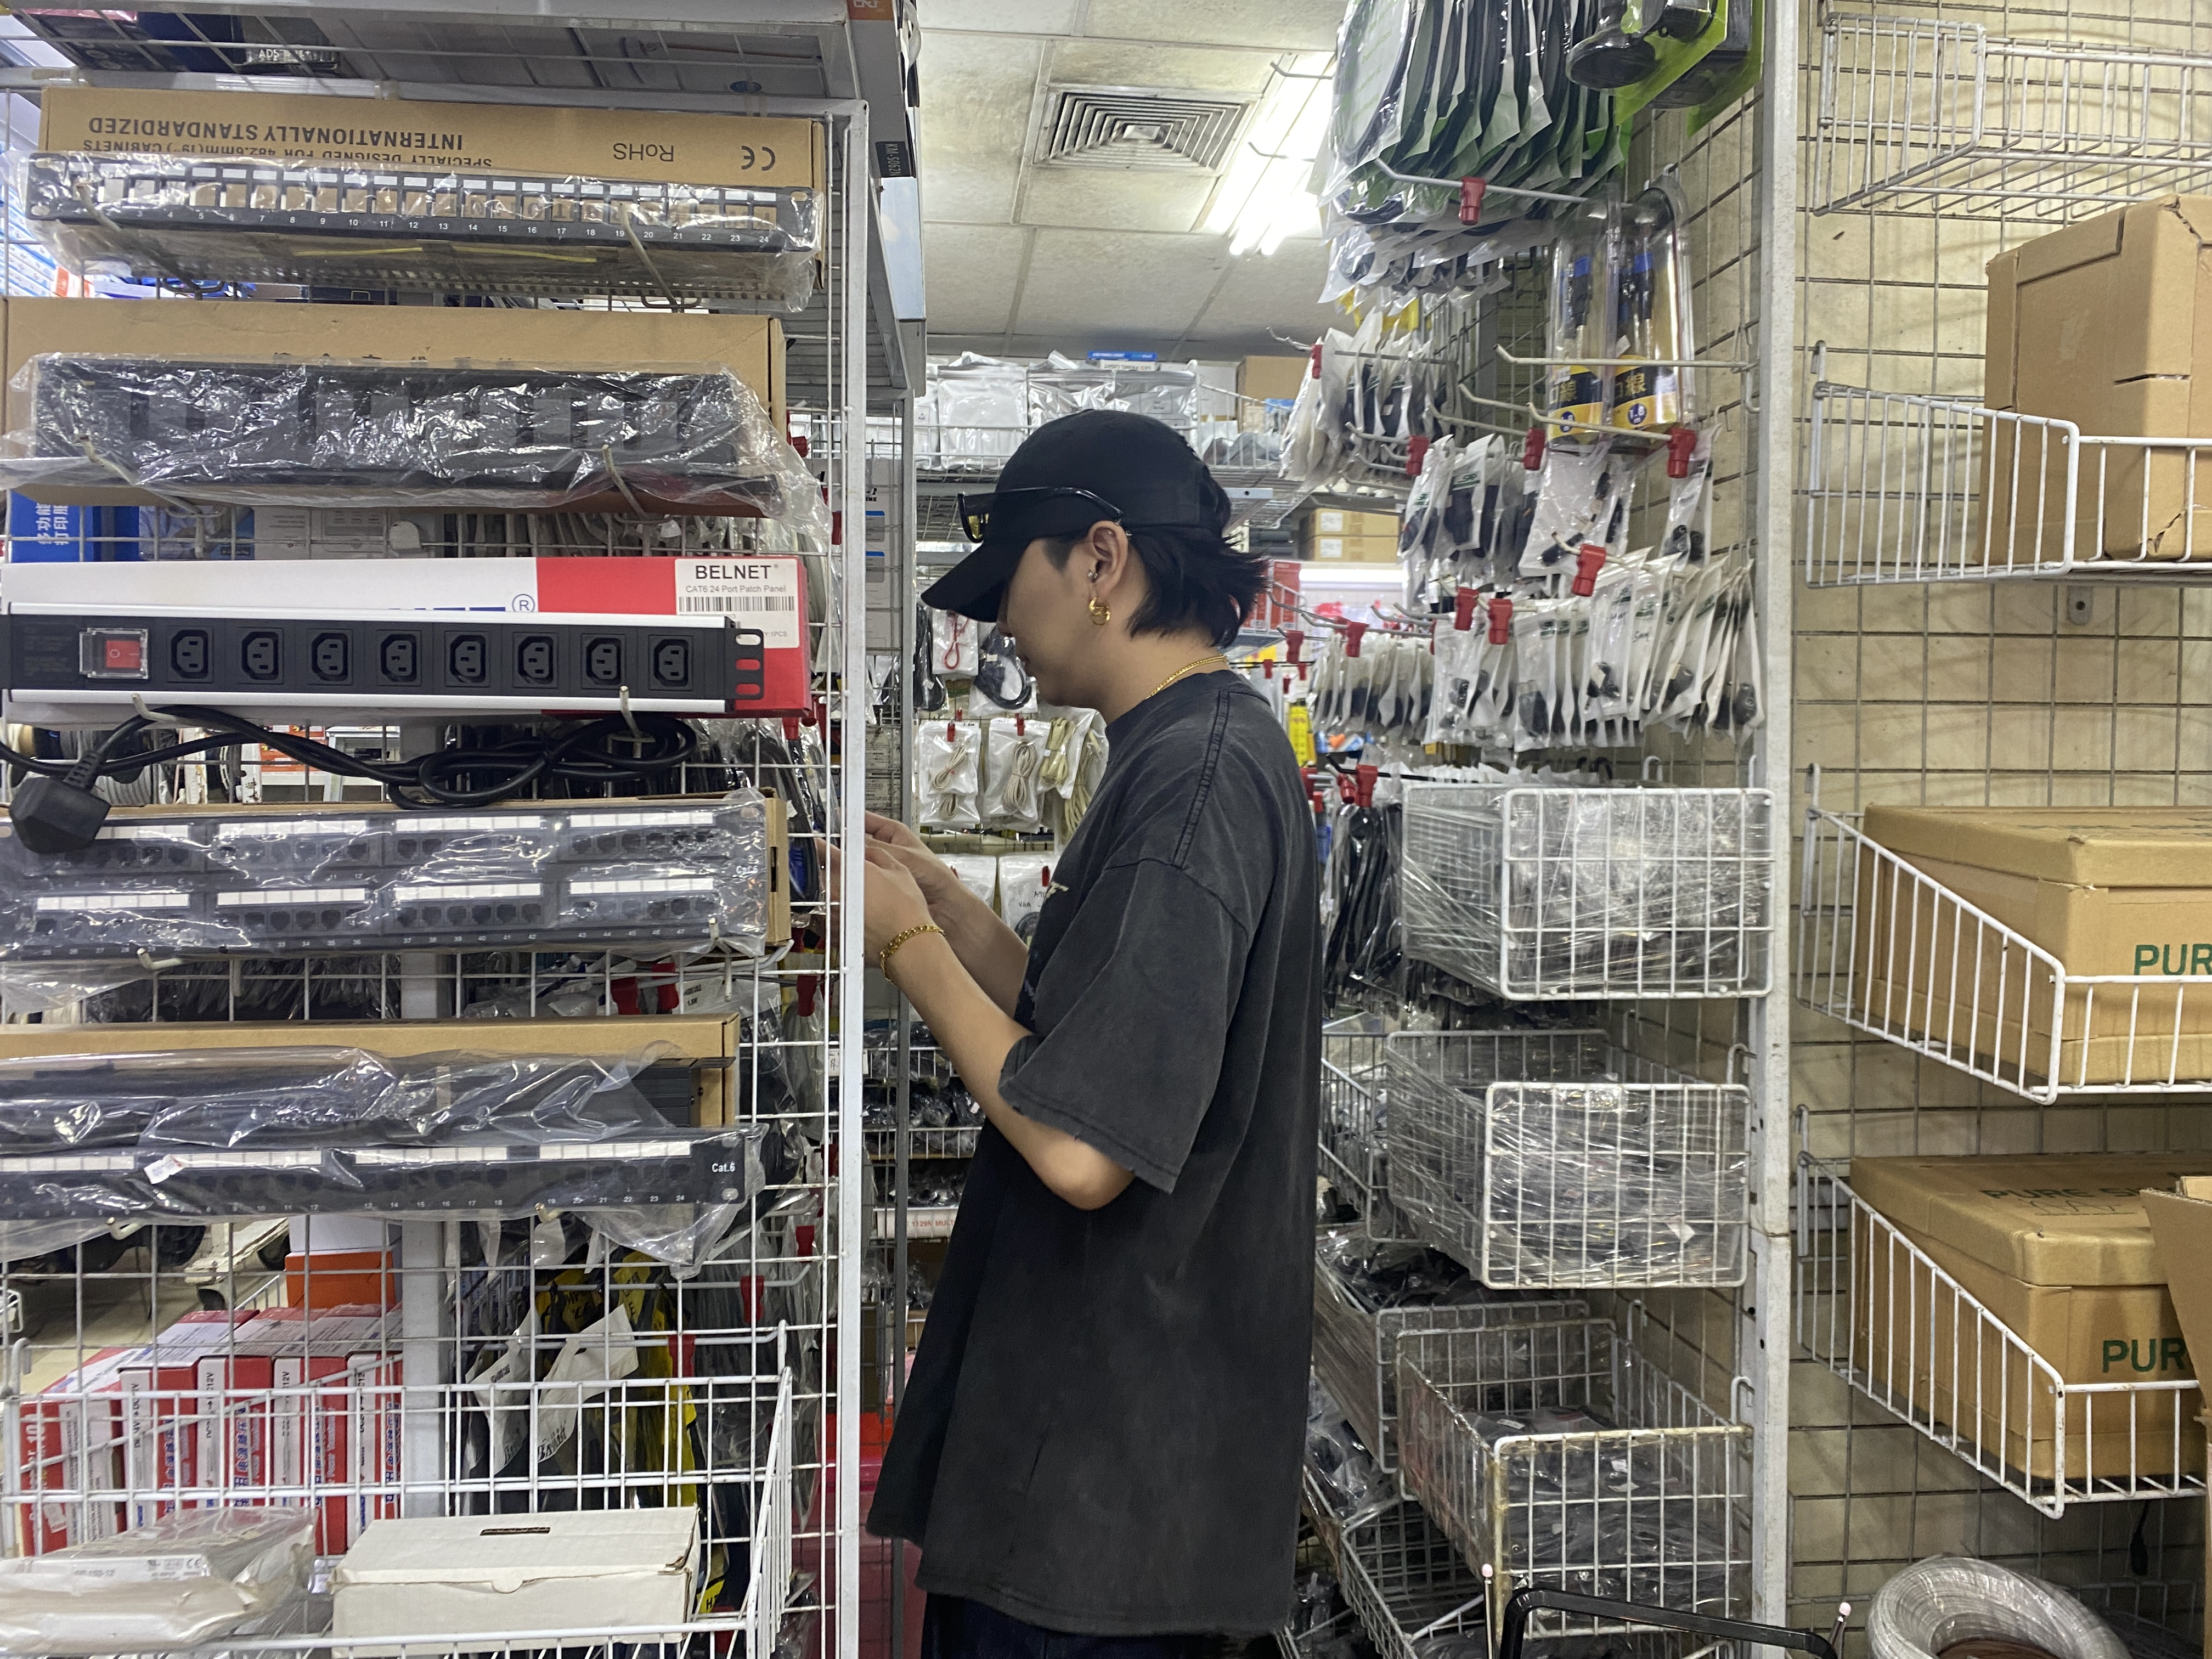
I asked Bryan to bring me to Sim Lim tower after asking around for suggestions on what basic items
to buy to get started. I just told him to pick out the most basoc stuff so I can get started. I
just followed him around while he helped me shop as he is familiar with the items. I was quite
overwhelmed with everything in the store, so I am grateful for the help.
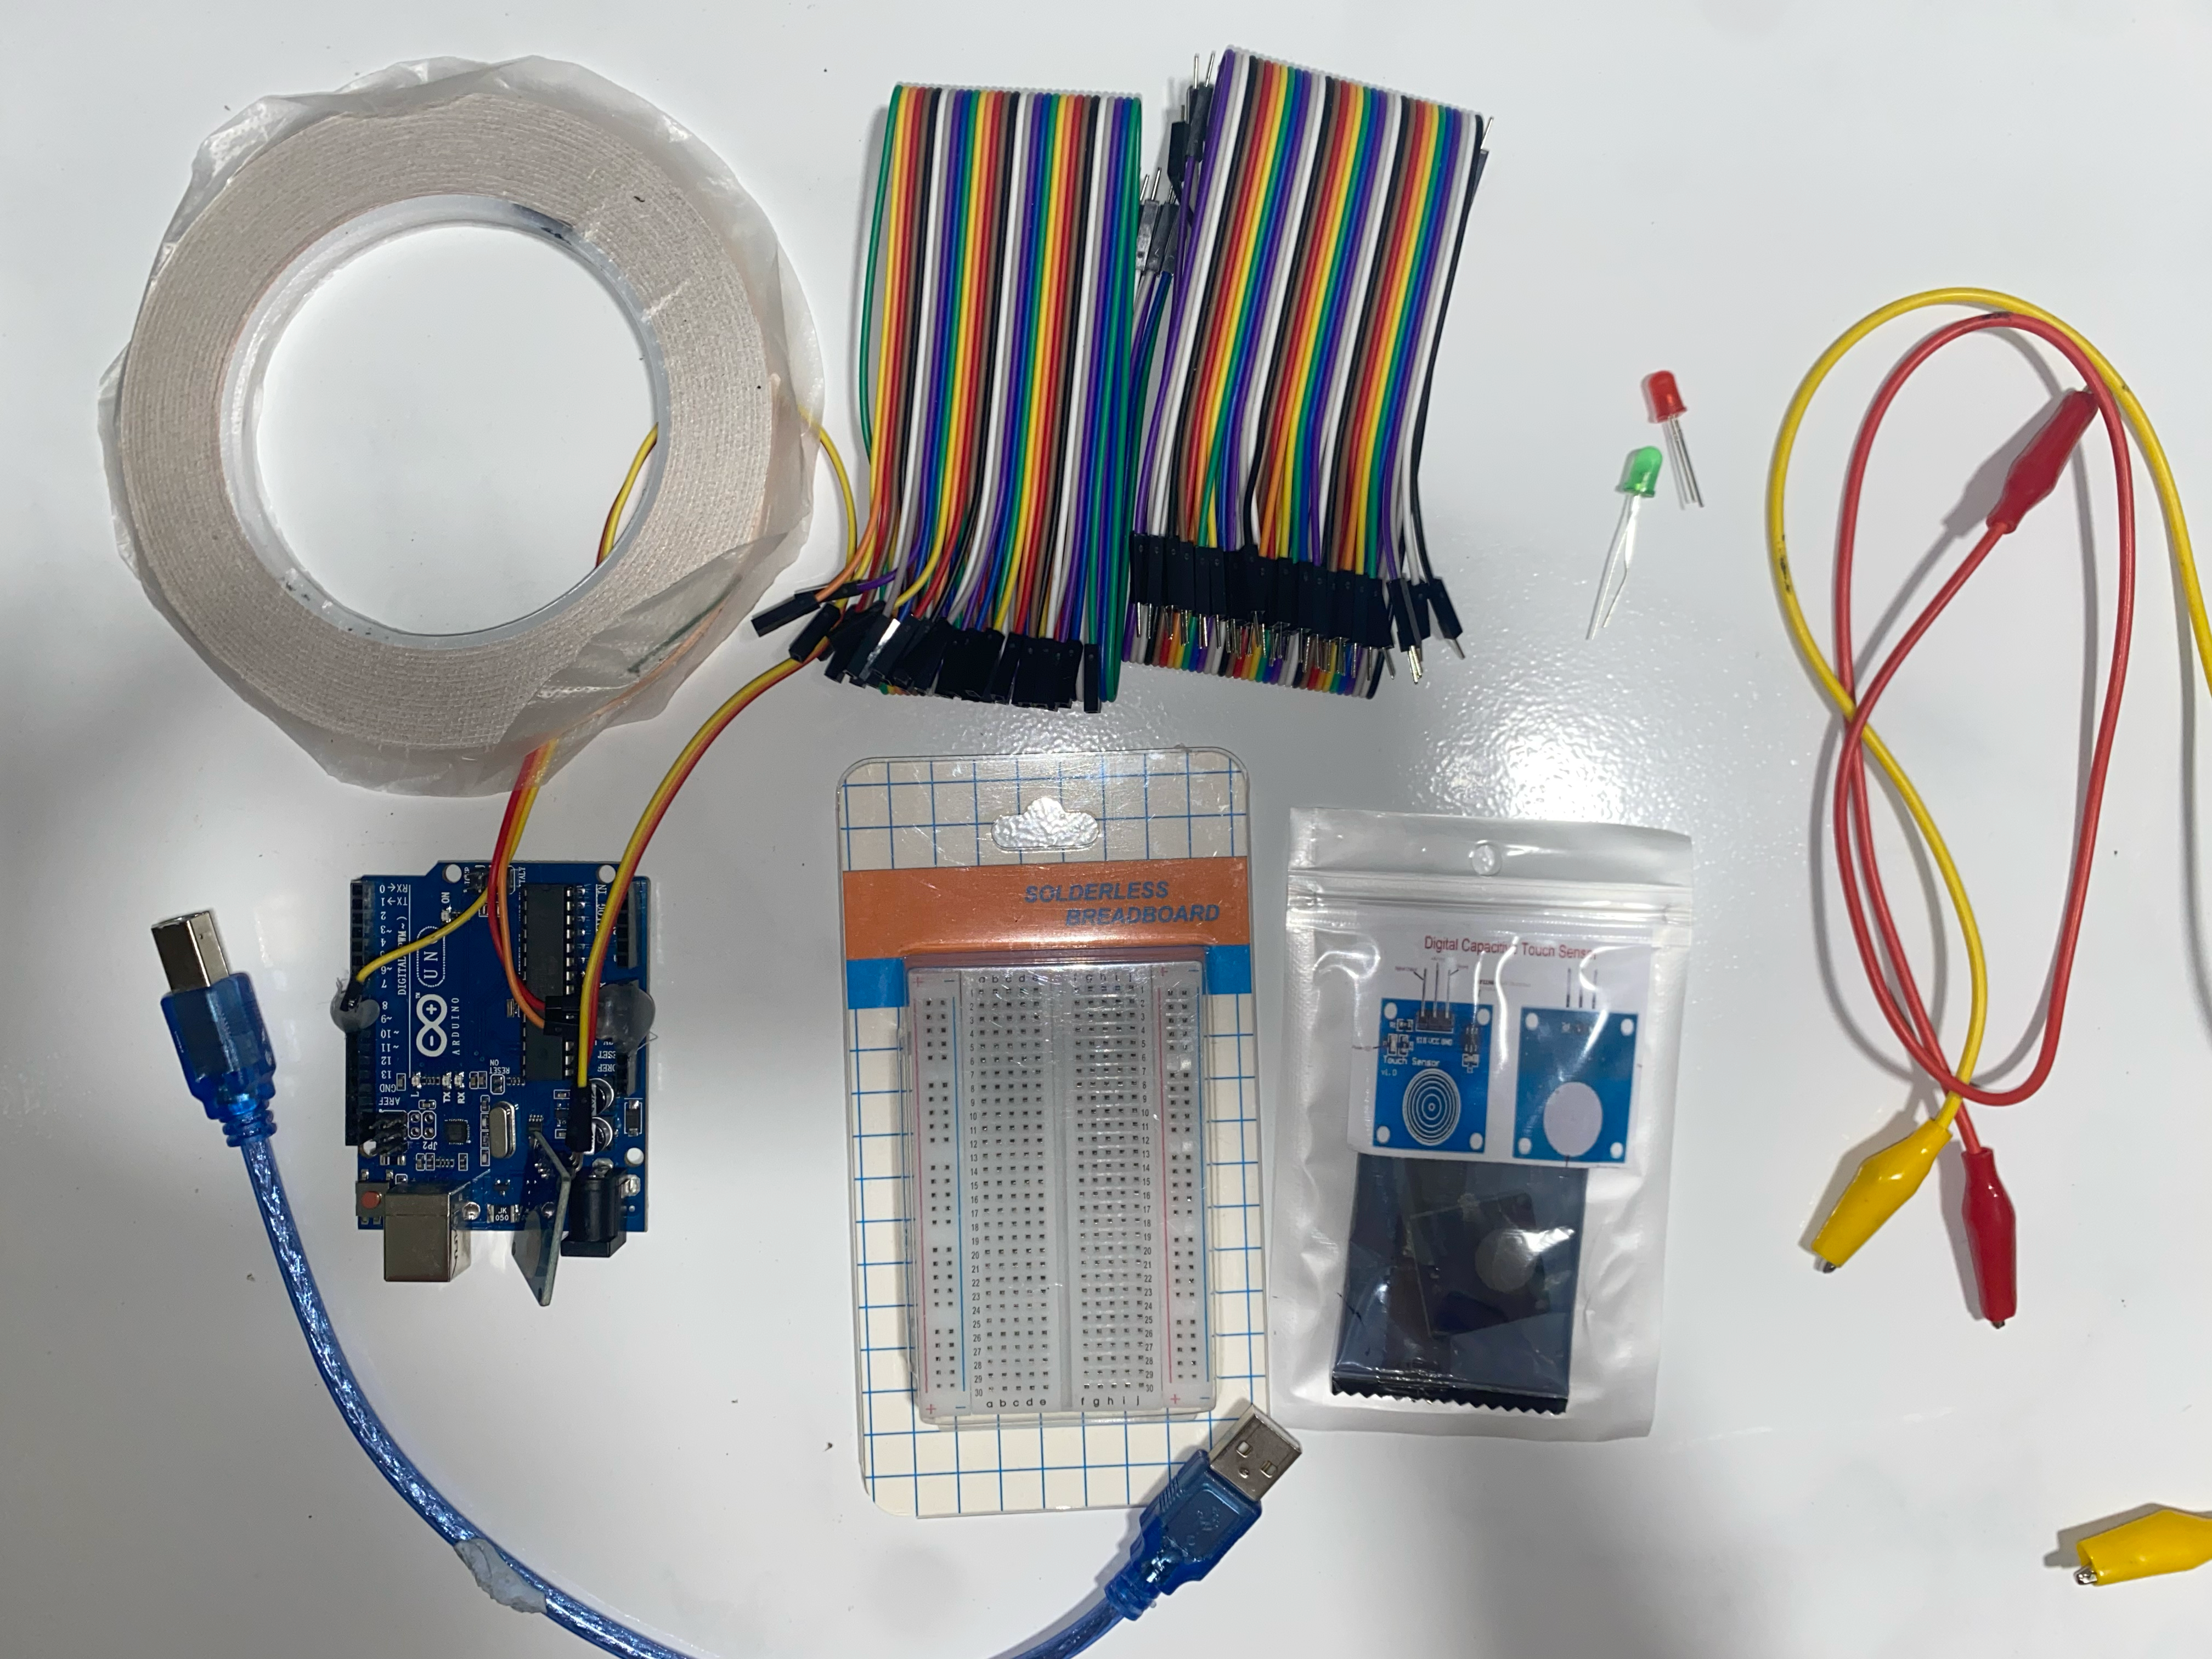
My haul includes:
1. Ardunio Board
2. Breadboard
3. Wires
4. Resistors
5. Copper tape
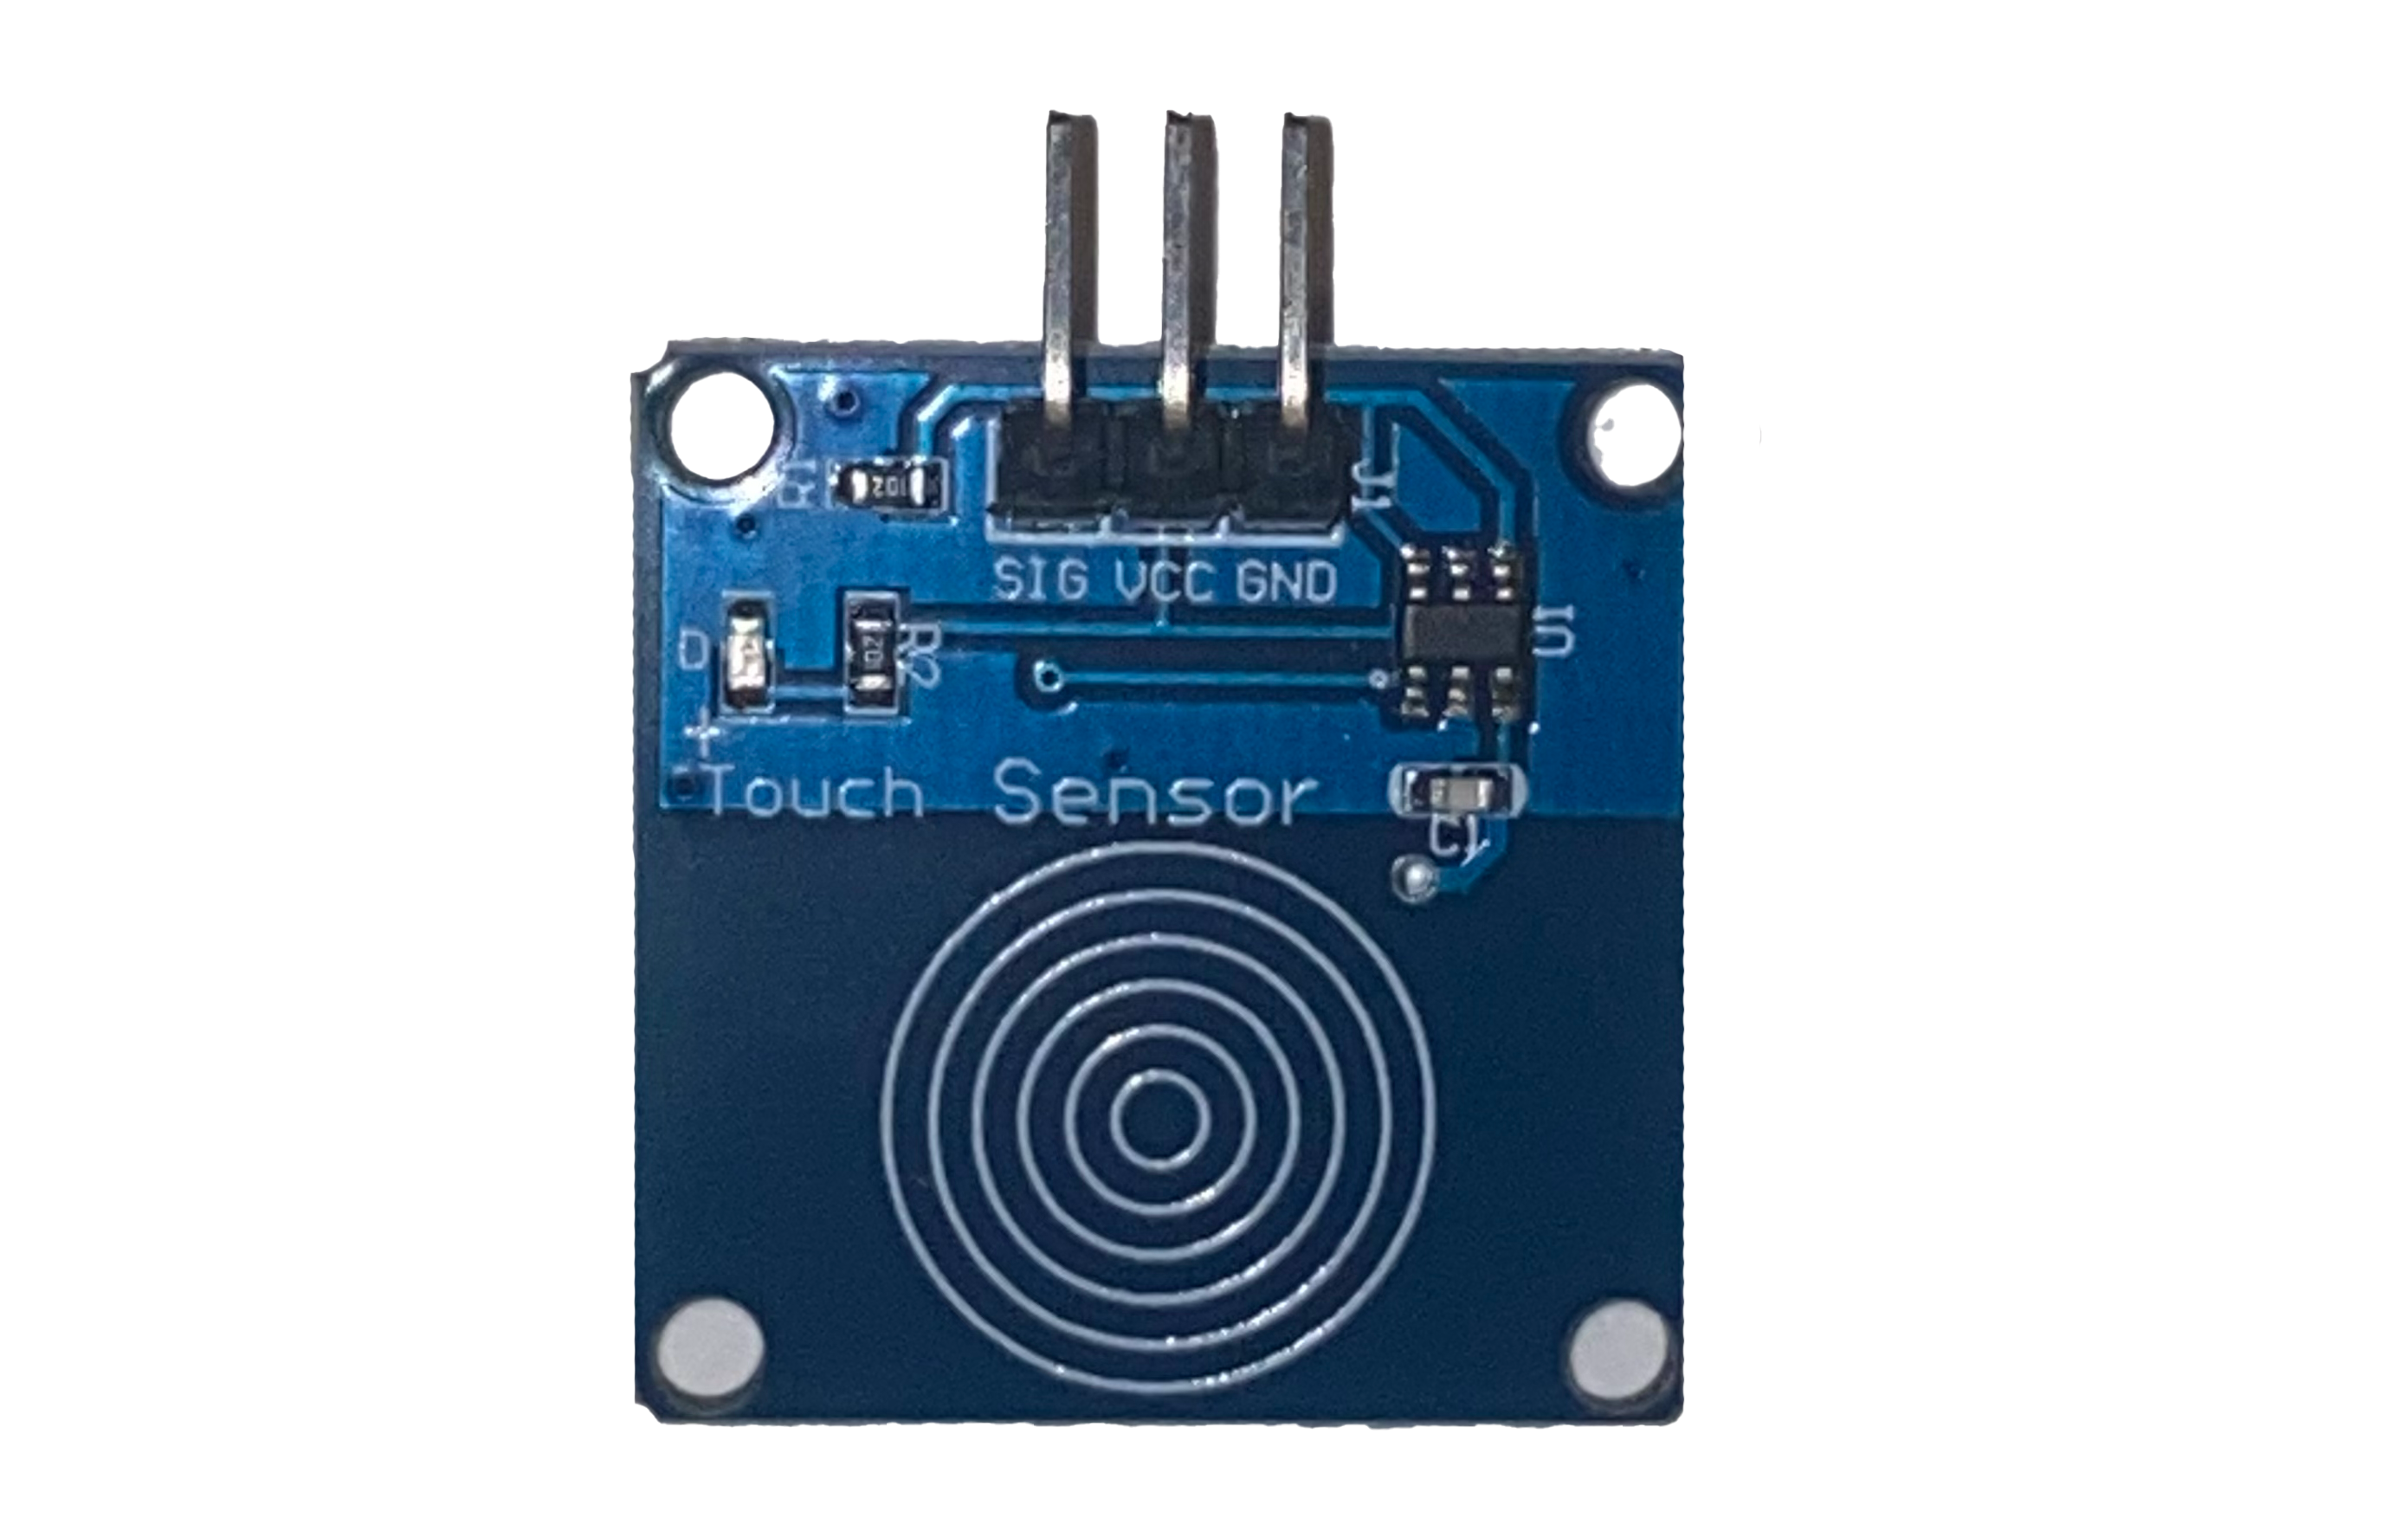
6. Touch sensor
7. LED lights
Bryan brought me to Sim Lim Tower to get the goods
Getting Started with Arduino: The LED Blink Tutorial
With all the equipment at hand, I went to source the most basic tutorial one can follow
as exercise for using the Arduino. While there are plenty of resources online,I found a
video that suits my interest as it has clear visuals on how to fix. As i watch the
video, I also learn about the parts and their names and the terminlogies of how a basic
kit works. This exercise took me around 30mins? Though it was relatively straightforward
I am unskilled in this sector. But overall, it was a simple exrecise that I succeeded
and I think its a good first step into coding. br>
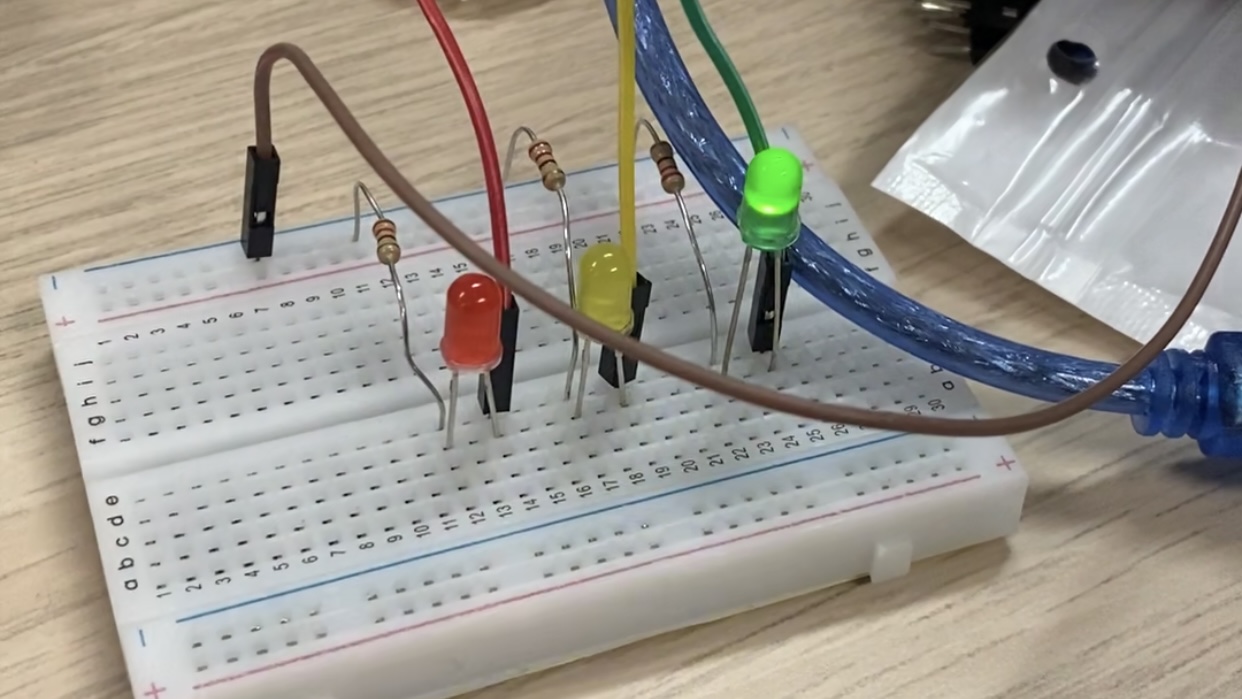
Getting started on Ardunio Tutorial I followed
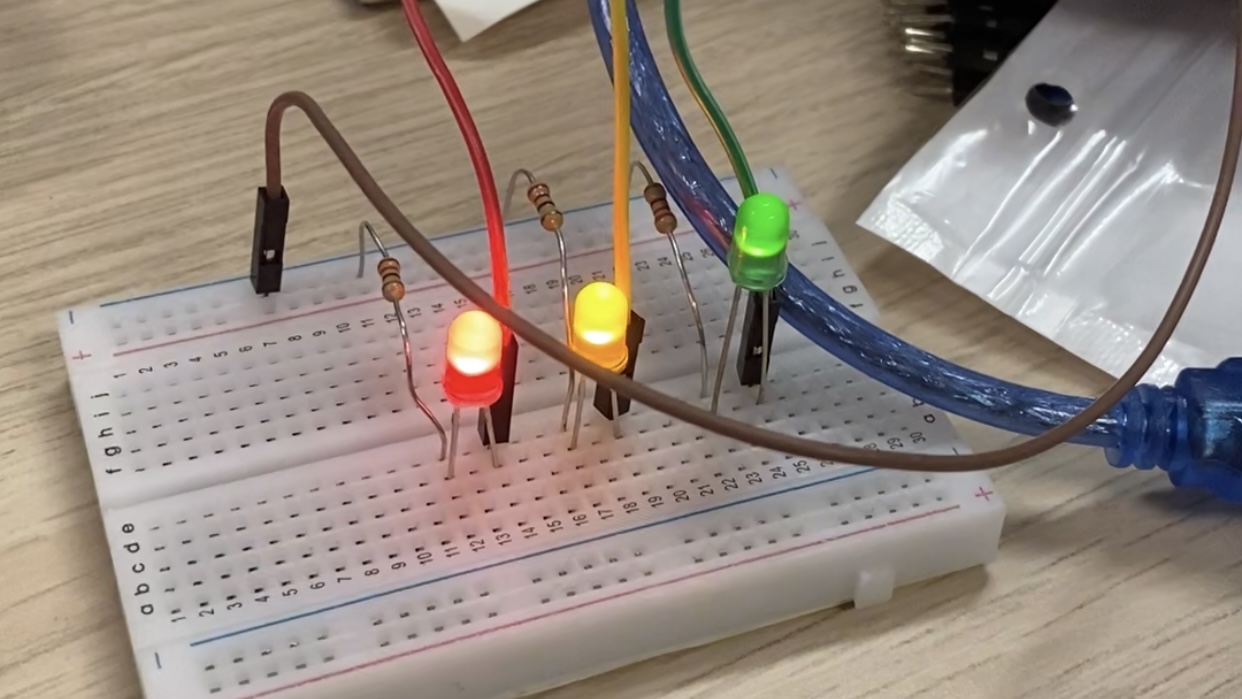
It Lights Up!
My Successful Attempt Tutorial I followed
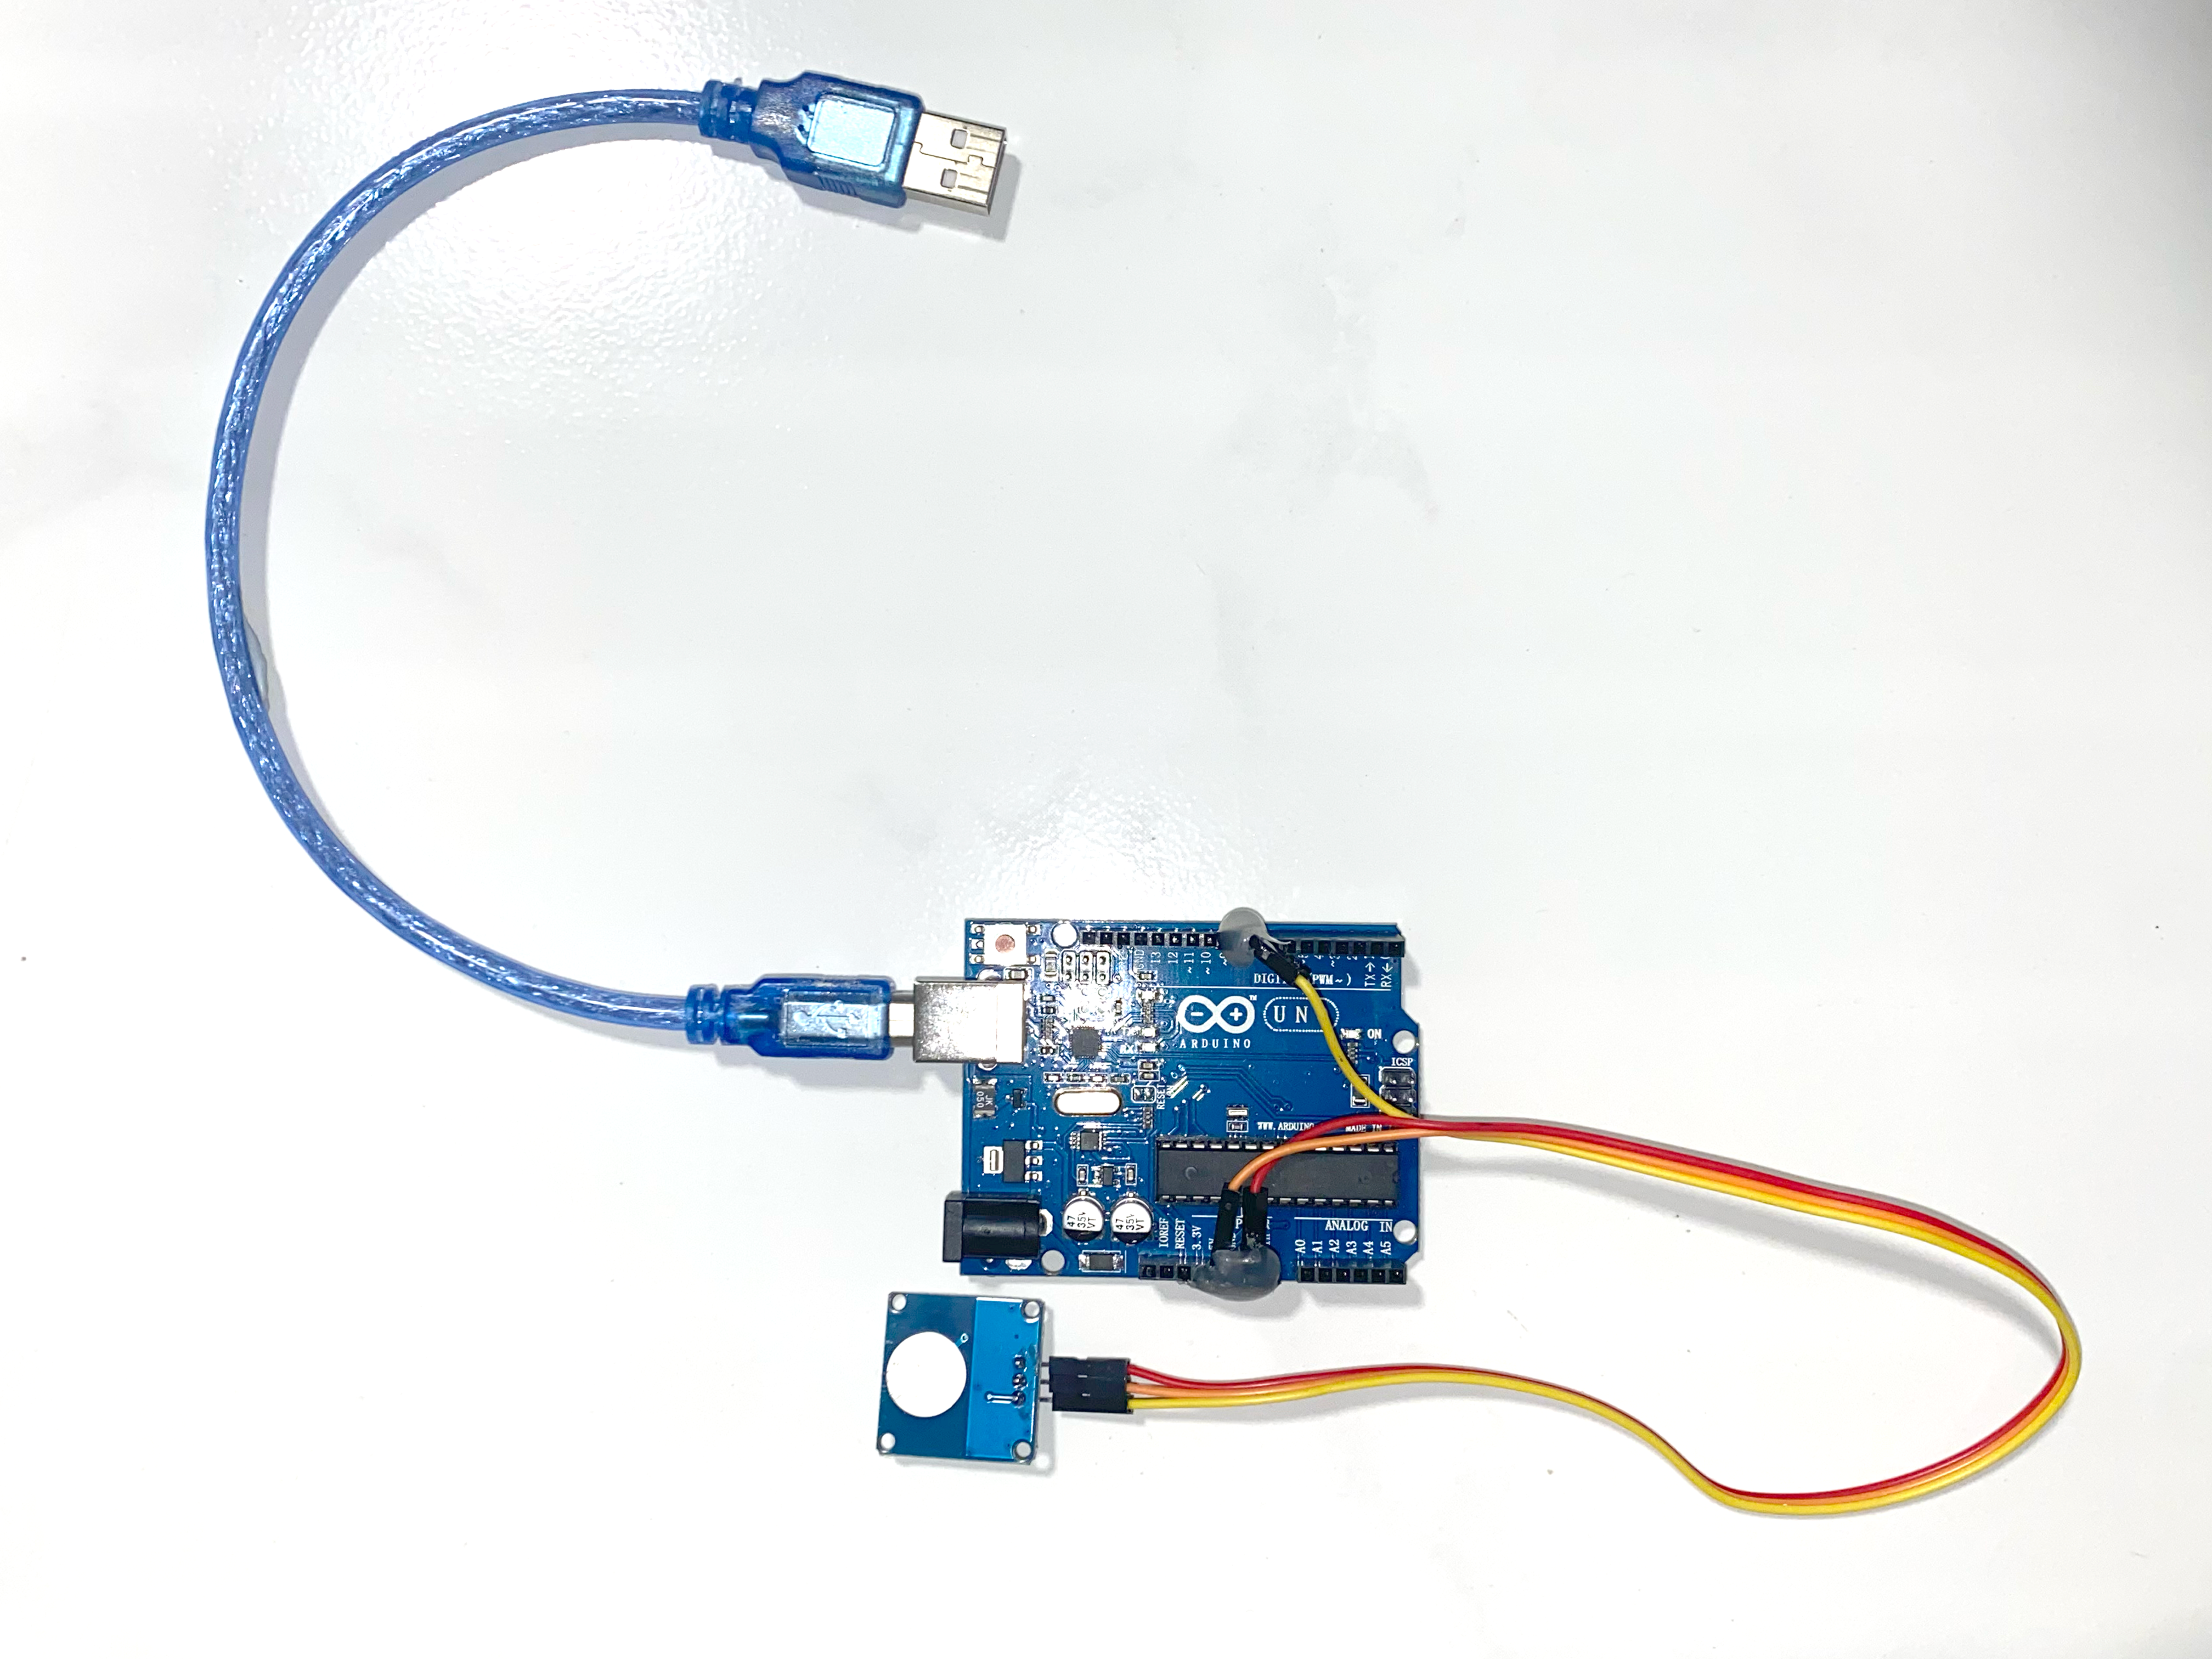
Before the workshop with Andreas, I showed him this small exercise I attempted by myself. He was encouraging that I attempted to begin on something first. During the workshop. I used the arduino and remaining parts that I got and Andreas taught me how to plug the wires in and how to fix my touch sensor. Though this exercise was nothing much, I am glad i attempted it.
In this workshop session, Andreas taught me how to set-up the touch sensor to the ardunio. After the cables have been attached and the arduino code is running, Andreas quickly did up a quick sketch on p5.js to show me how it works when connected. This made me fascinated as it is my first time doing something like this, feels like i am an engineer now. But overall I got the gist of hiw it works, with more pressure applied the sketches can react with more havoc and with no pressure on the sensor it will not react. When going through the sketch with me, Andreas suggested on creating my own attemps with this using my own code the next time we meet. This was an insightful and cool session as I managed to see magic work.
Sketch 1
Sketch 2
Sketch 3
I worked on using the sketches that Andreas had done up for me and manipulated the code to get different results.
