Week 13: Getting There
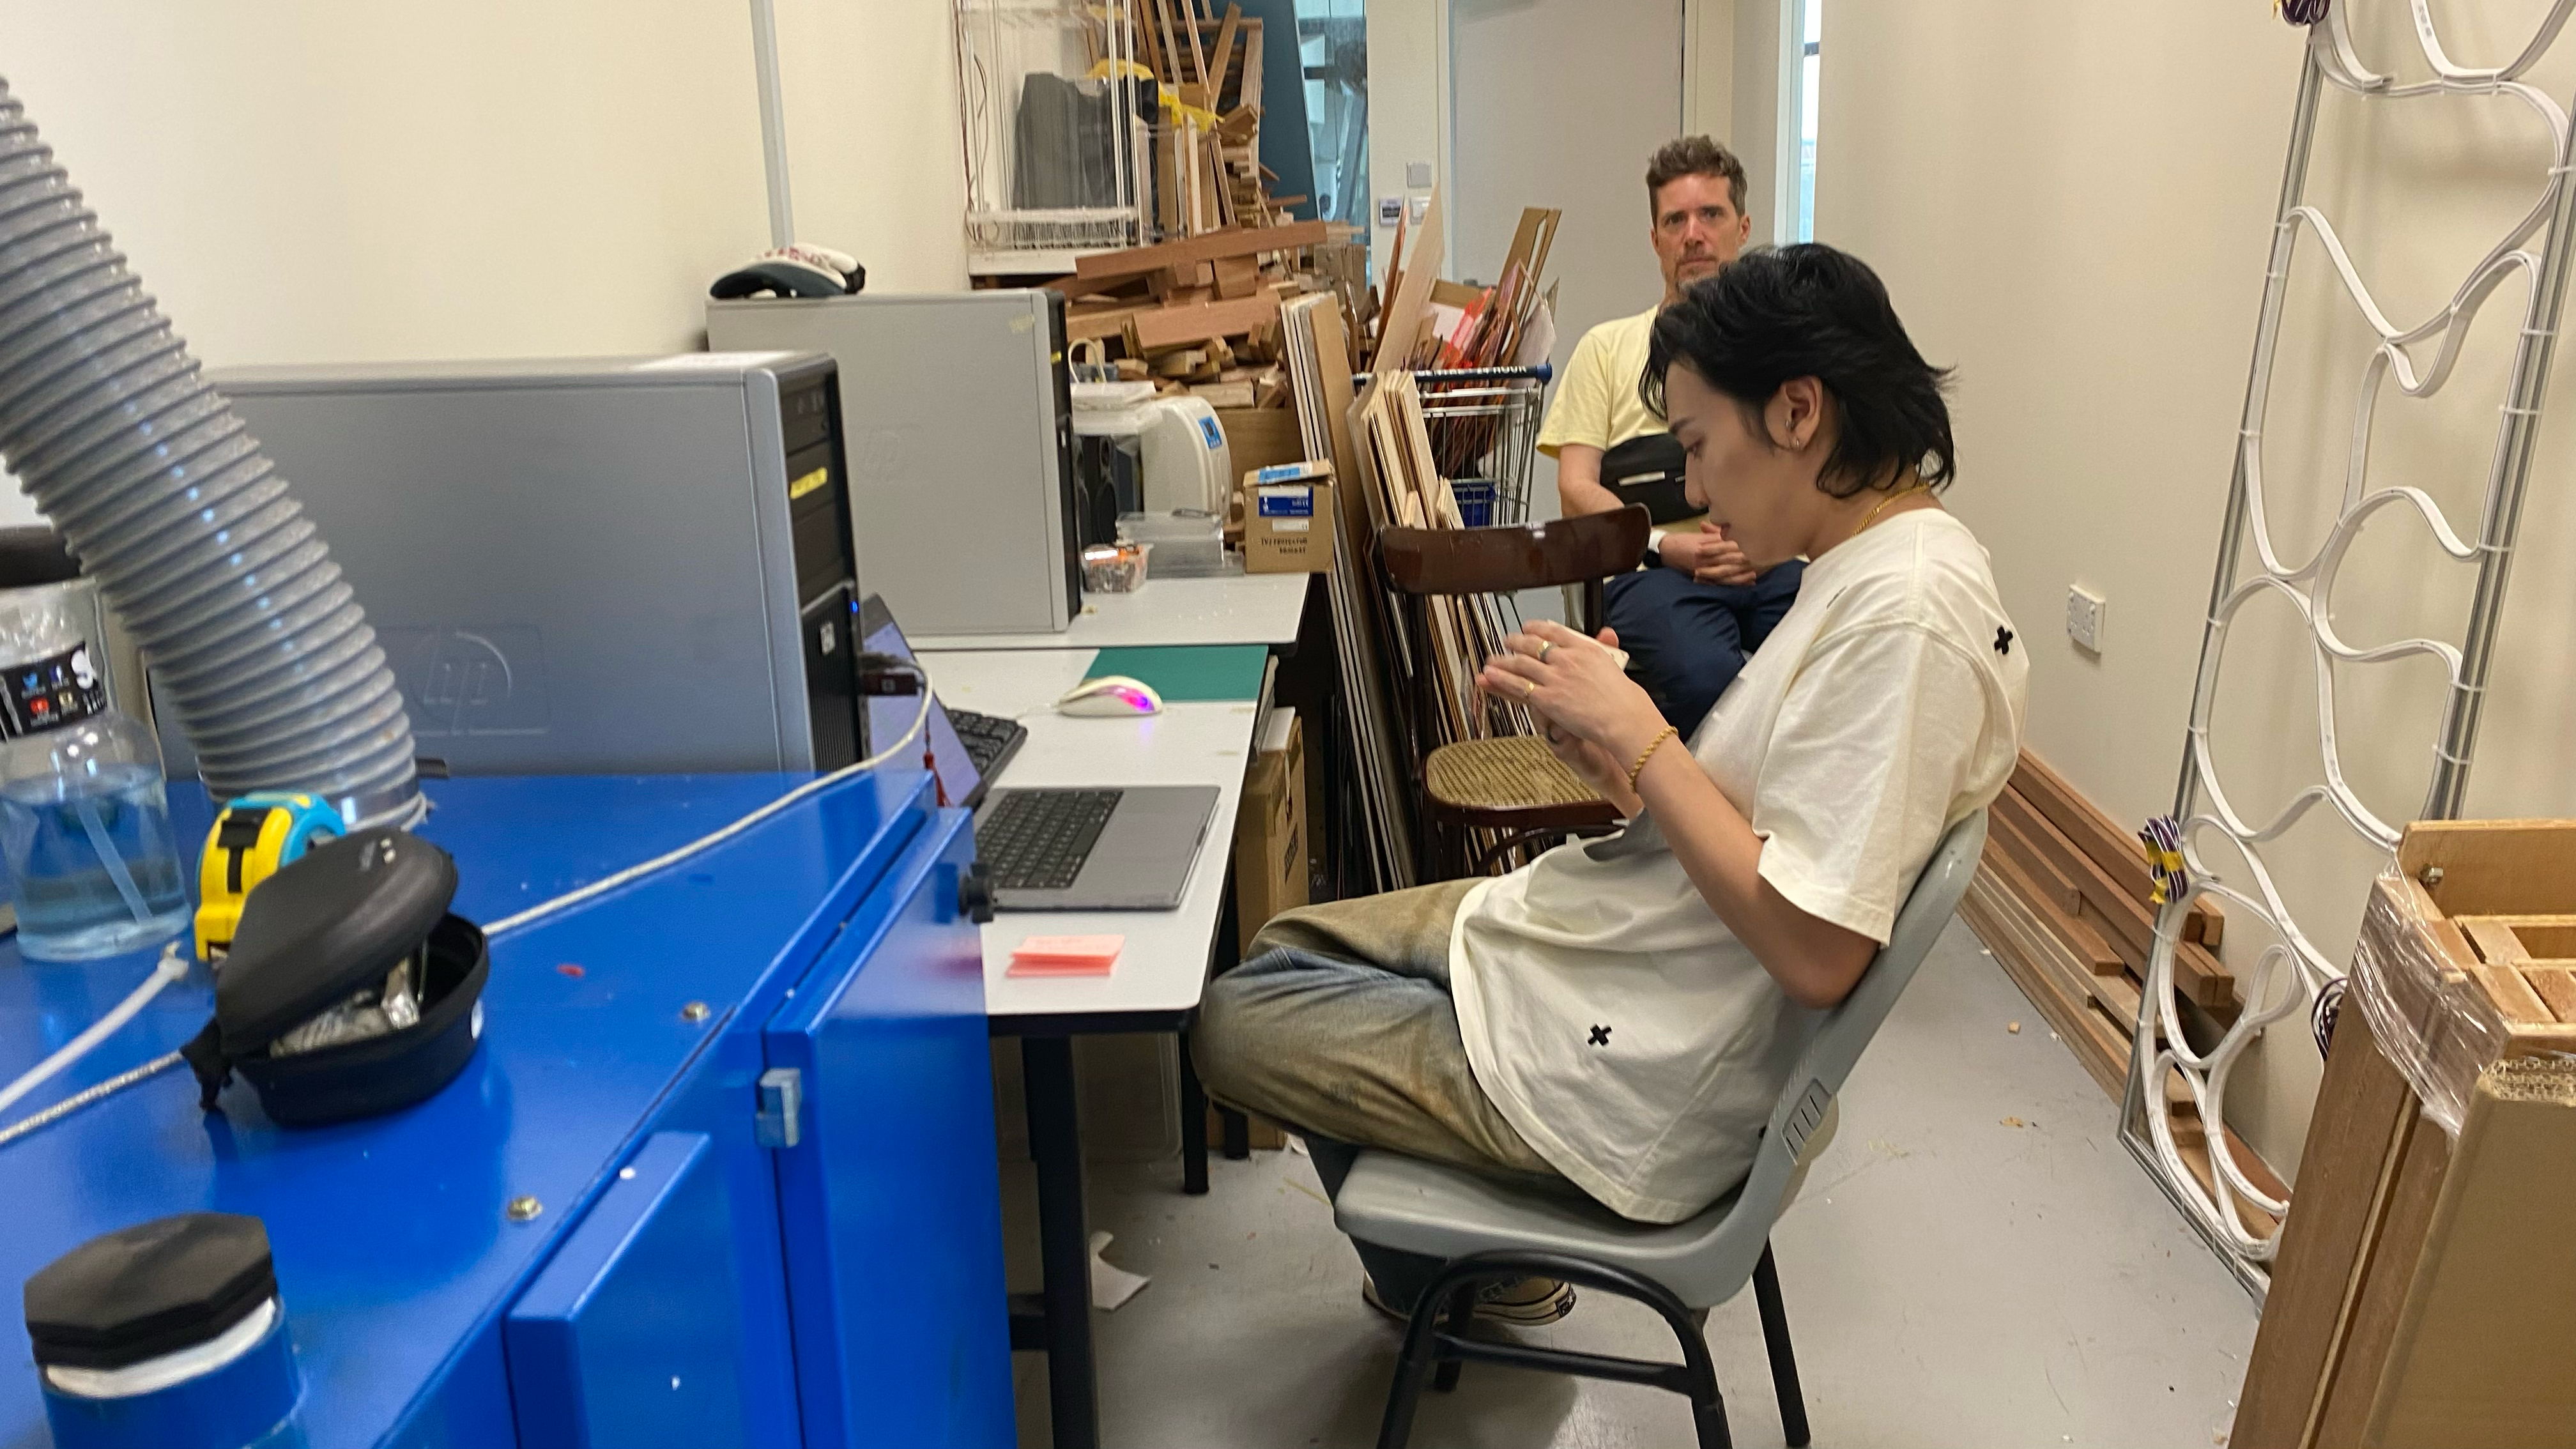
This week, as I prepared for submission, I sought help from Andreas to compile the sketches from my
p5.js project into one file and connect it to the touch board. During our consultation, we reviewed the
sketches I had created.
Sketch one has remained unchanged since its creation, and I sought advice on how to make it visually
more engaging. Andreas introduced me to the 'energy' function and suggested simple manipulations of
numbers within the sketch to enhance its visual appeal. Struggling to envision the development of this
sketch, I gestured fluidity with my hands, prompting Andreas to show me how to manipulate the code for
more visual interest. His demonstration and encouragement to provide feedback and suggestions on the
manipulated code was helpful.
One key takeaway from Andreas' demonstration was the impact of adding complexity to sketches, which can
increase their longevity and hold attention longer compared to repetitive and simplistic sketches that
offer instant gratification. This insight has motivated me to explore further development of my sketches
within the remaining time frame. However, this session also left me with questions on how to effectively
develop an existing sketch.
Observing how the sketch can be manipulated by changing variables allowed me to visualize the generated
texture in a way that reminded me of familiar objects and patterns, reflecting my own perception. For
example, one of the edited sketches reminded me of the bristles of an electric toothbrush, while the
flow of lines and rectangles resembled grass. These observations highlighted the patterns and visual
interest that emerge as my mind contemplates the artwork.
My Checklist
1. Catalogue of Making Website and Print
2. CPJ
3. Physical Objects X5
4. Ways to use Touch Visual
5. Printed booklet A4
6. Skeches P5.JS
7. Video
8. Cover up of touch board
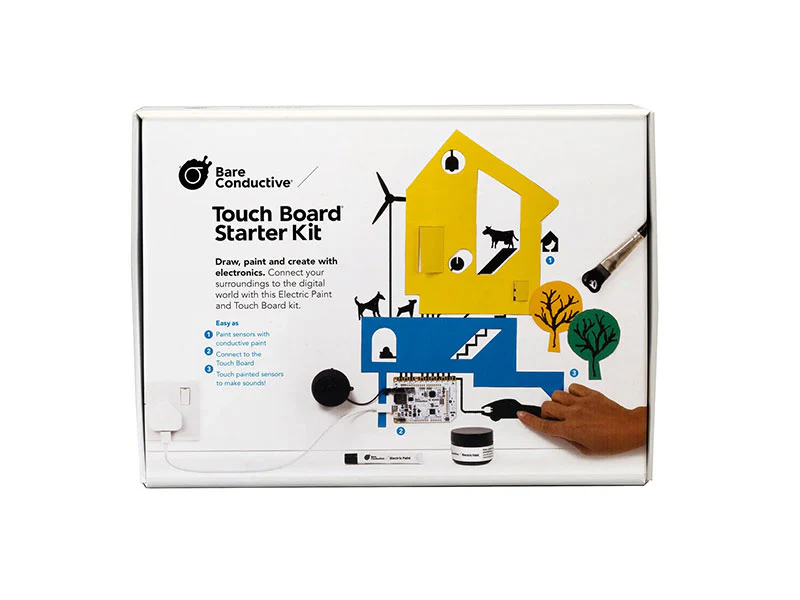
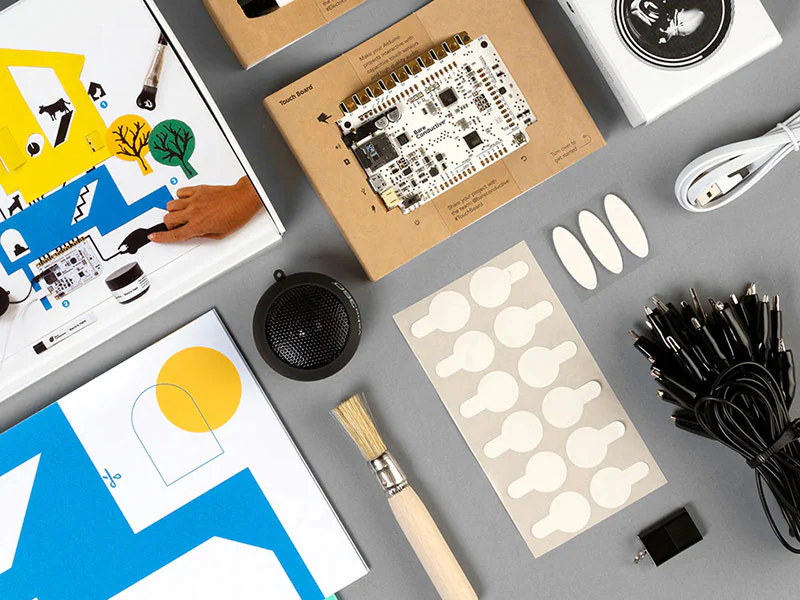
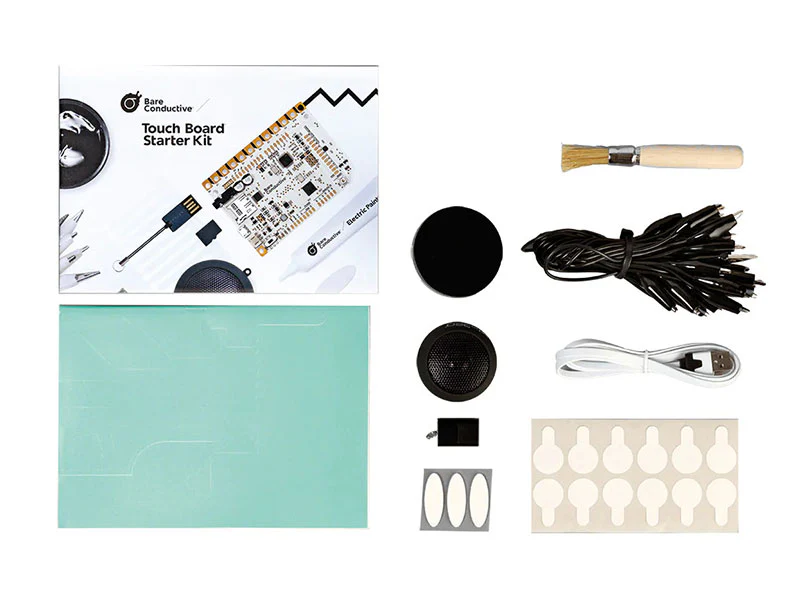
Touch Board Haul
1x Touch Board
1x Electric Paint 10ml tube
1x Electric Paint 50ml jar
1x Guidebook
1x microSD card
1x microSD card reader
1x Micro USB cable
1x Mini speaker
10x Crocodile clips (colours vary)
1x Stencil
12x Sticky tabs
3x Velcro stickers
2x Paper cutouts
Making the setup of my Touch Board
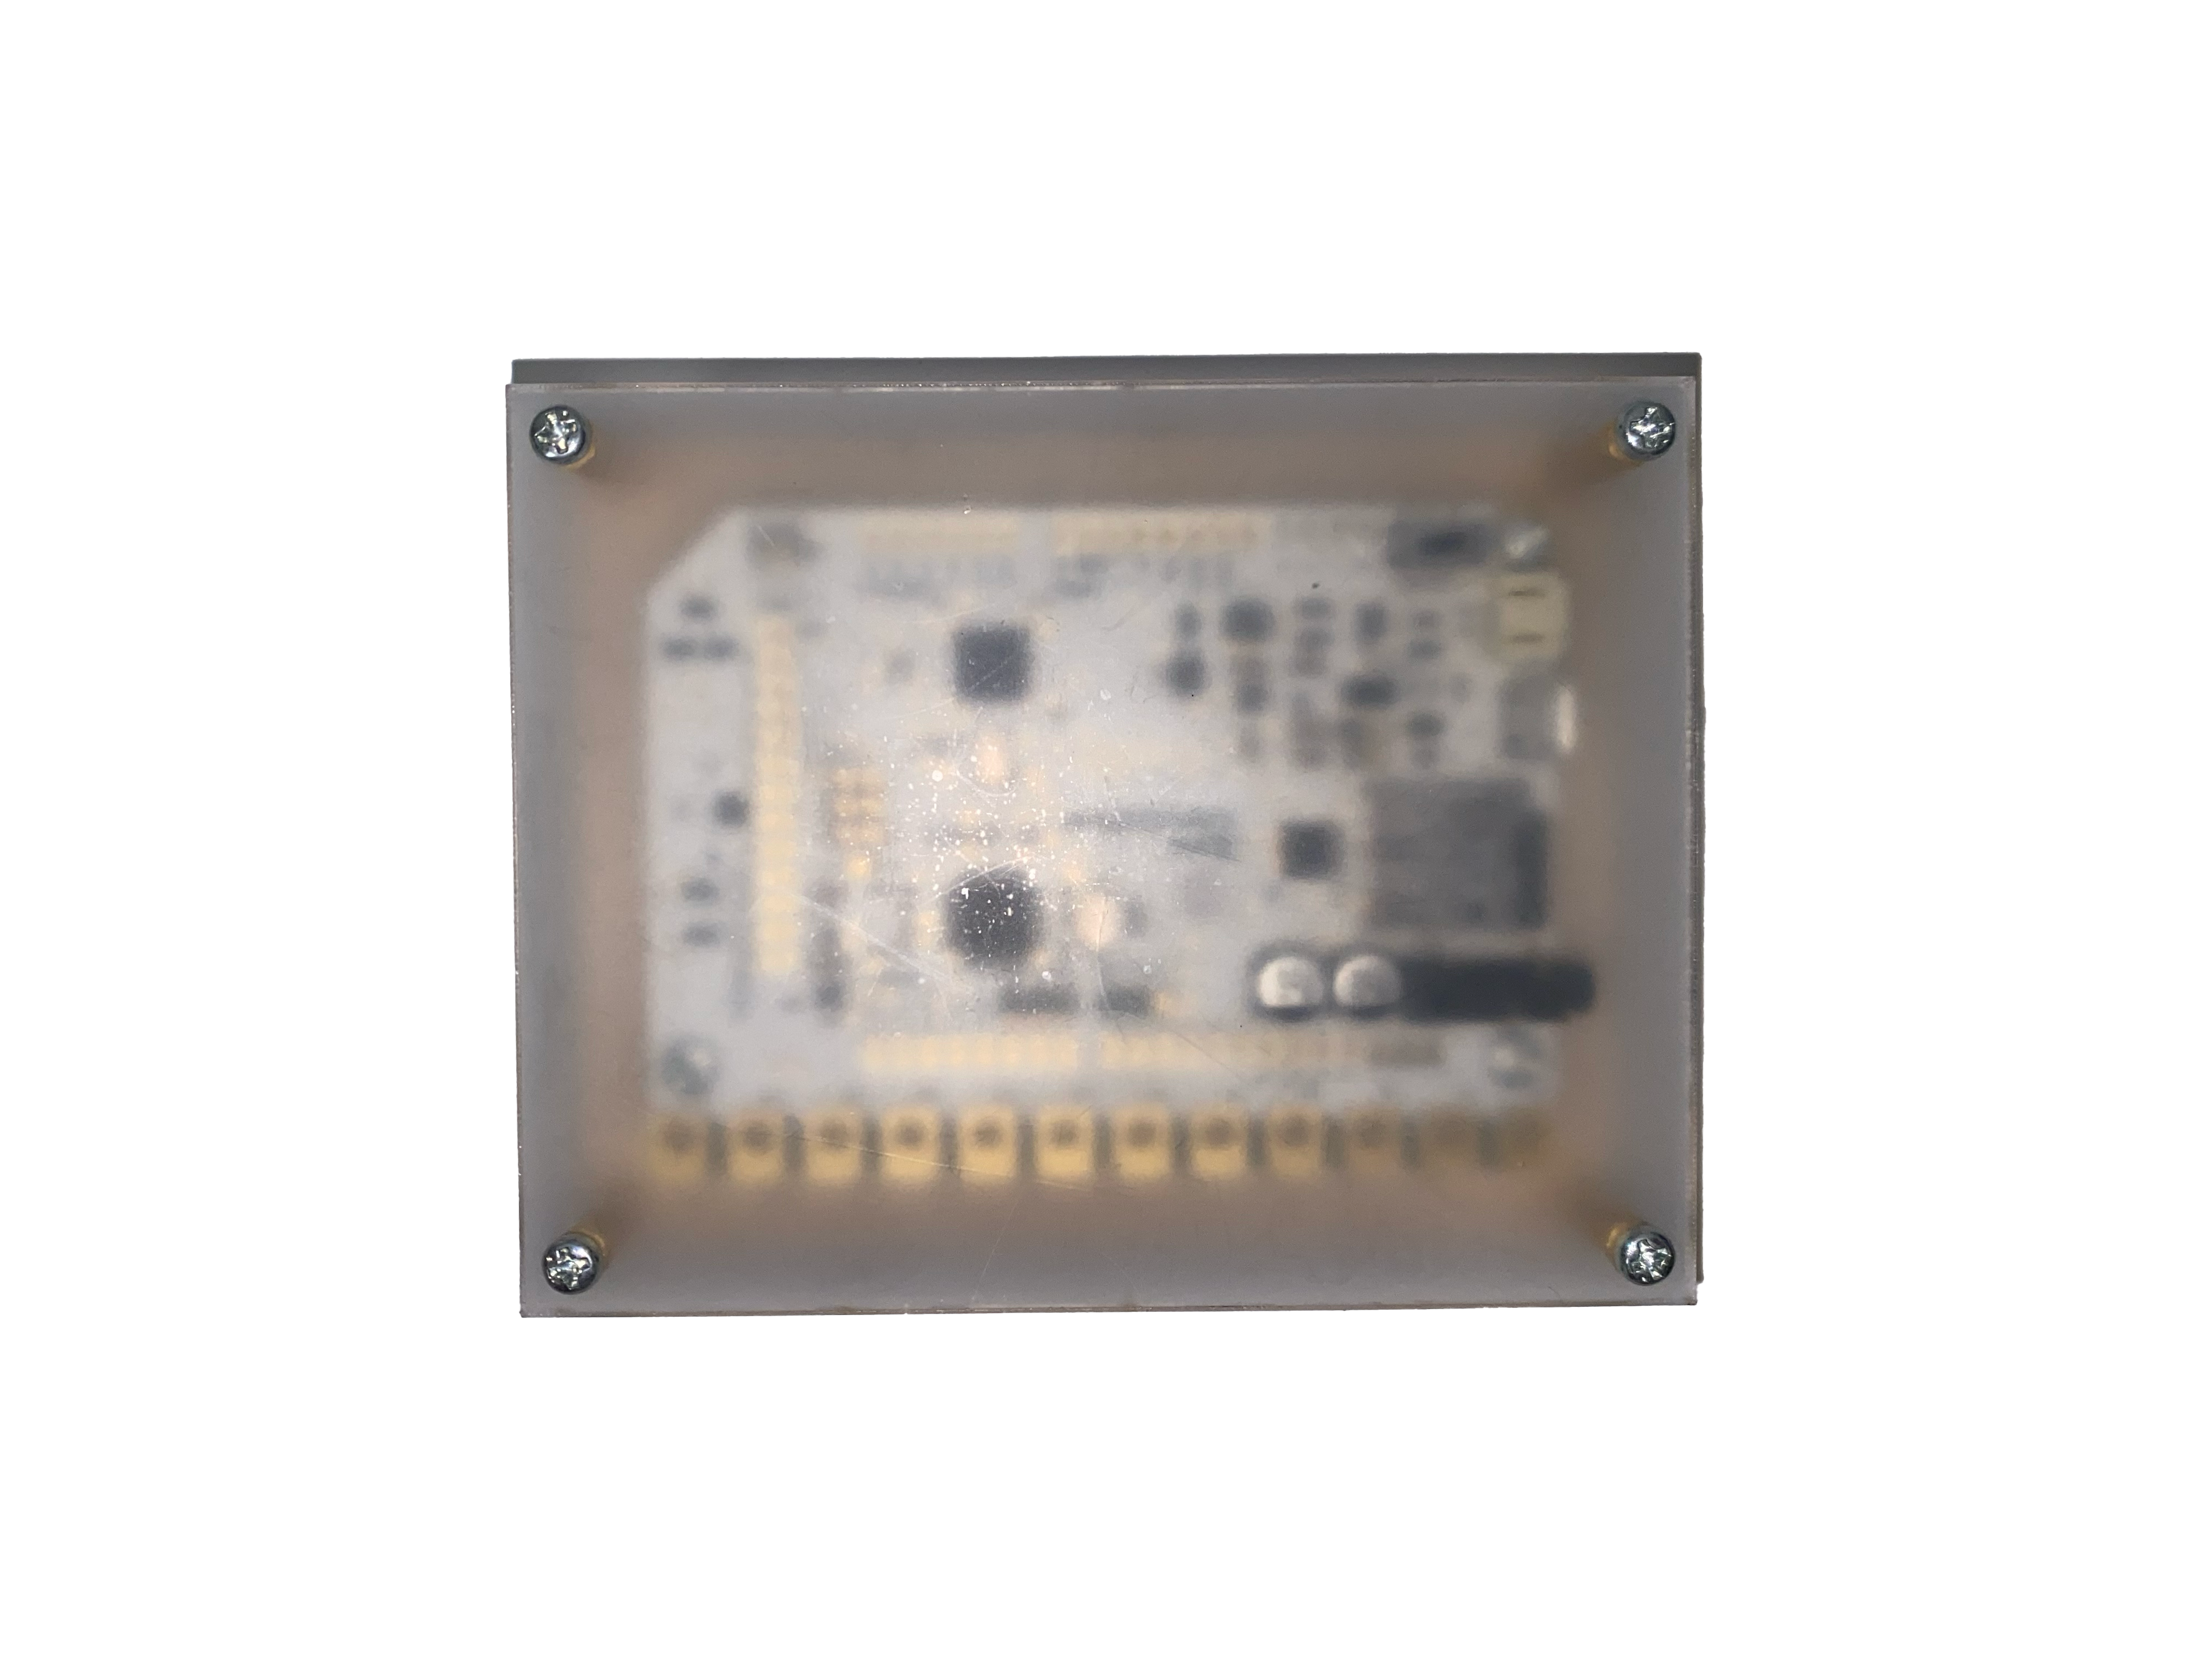
For the creation of the touch board, I received advice and assistance from my classmate Bryan Emerson
on how to set up its structure to make it somewhat hidden yet noticeable, ensuring it blends well with
my project. I considered using two materials, wood and acrylic, to create contrast. The choice of wood
complements the rest of the setup, which also incorporates wood elements.
Before that, we had a short induction course on how to operate the laser cut machine by Andreas, where
he explained the steps needed to prepare our files and set up the machine for the process. This
included making the stroke 0.001 and considering the thickness of the material to adjust the cutting
speed, as well as changing the outline color to red.
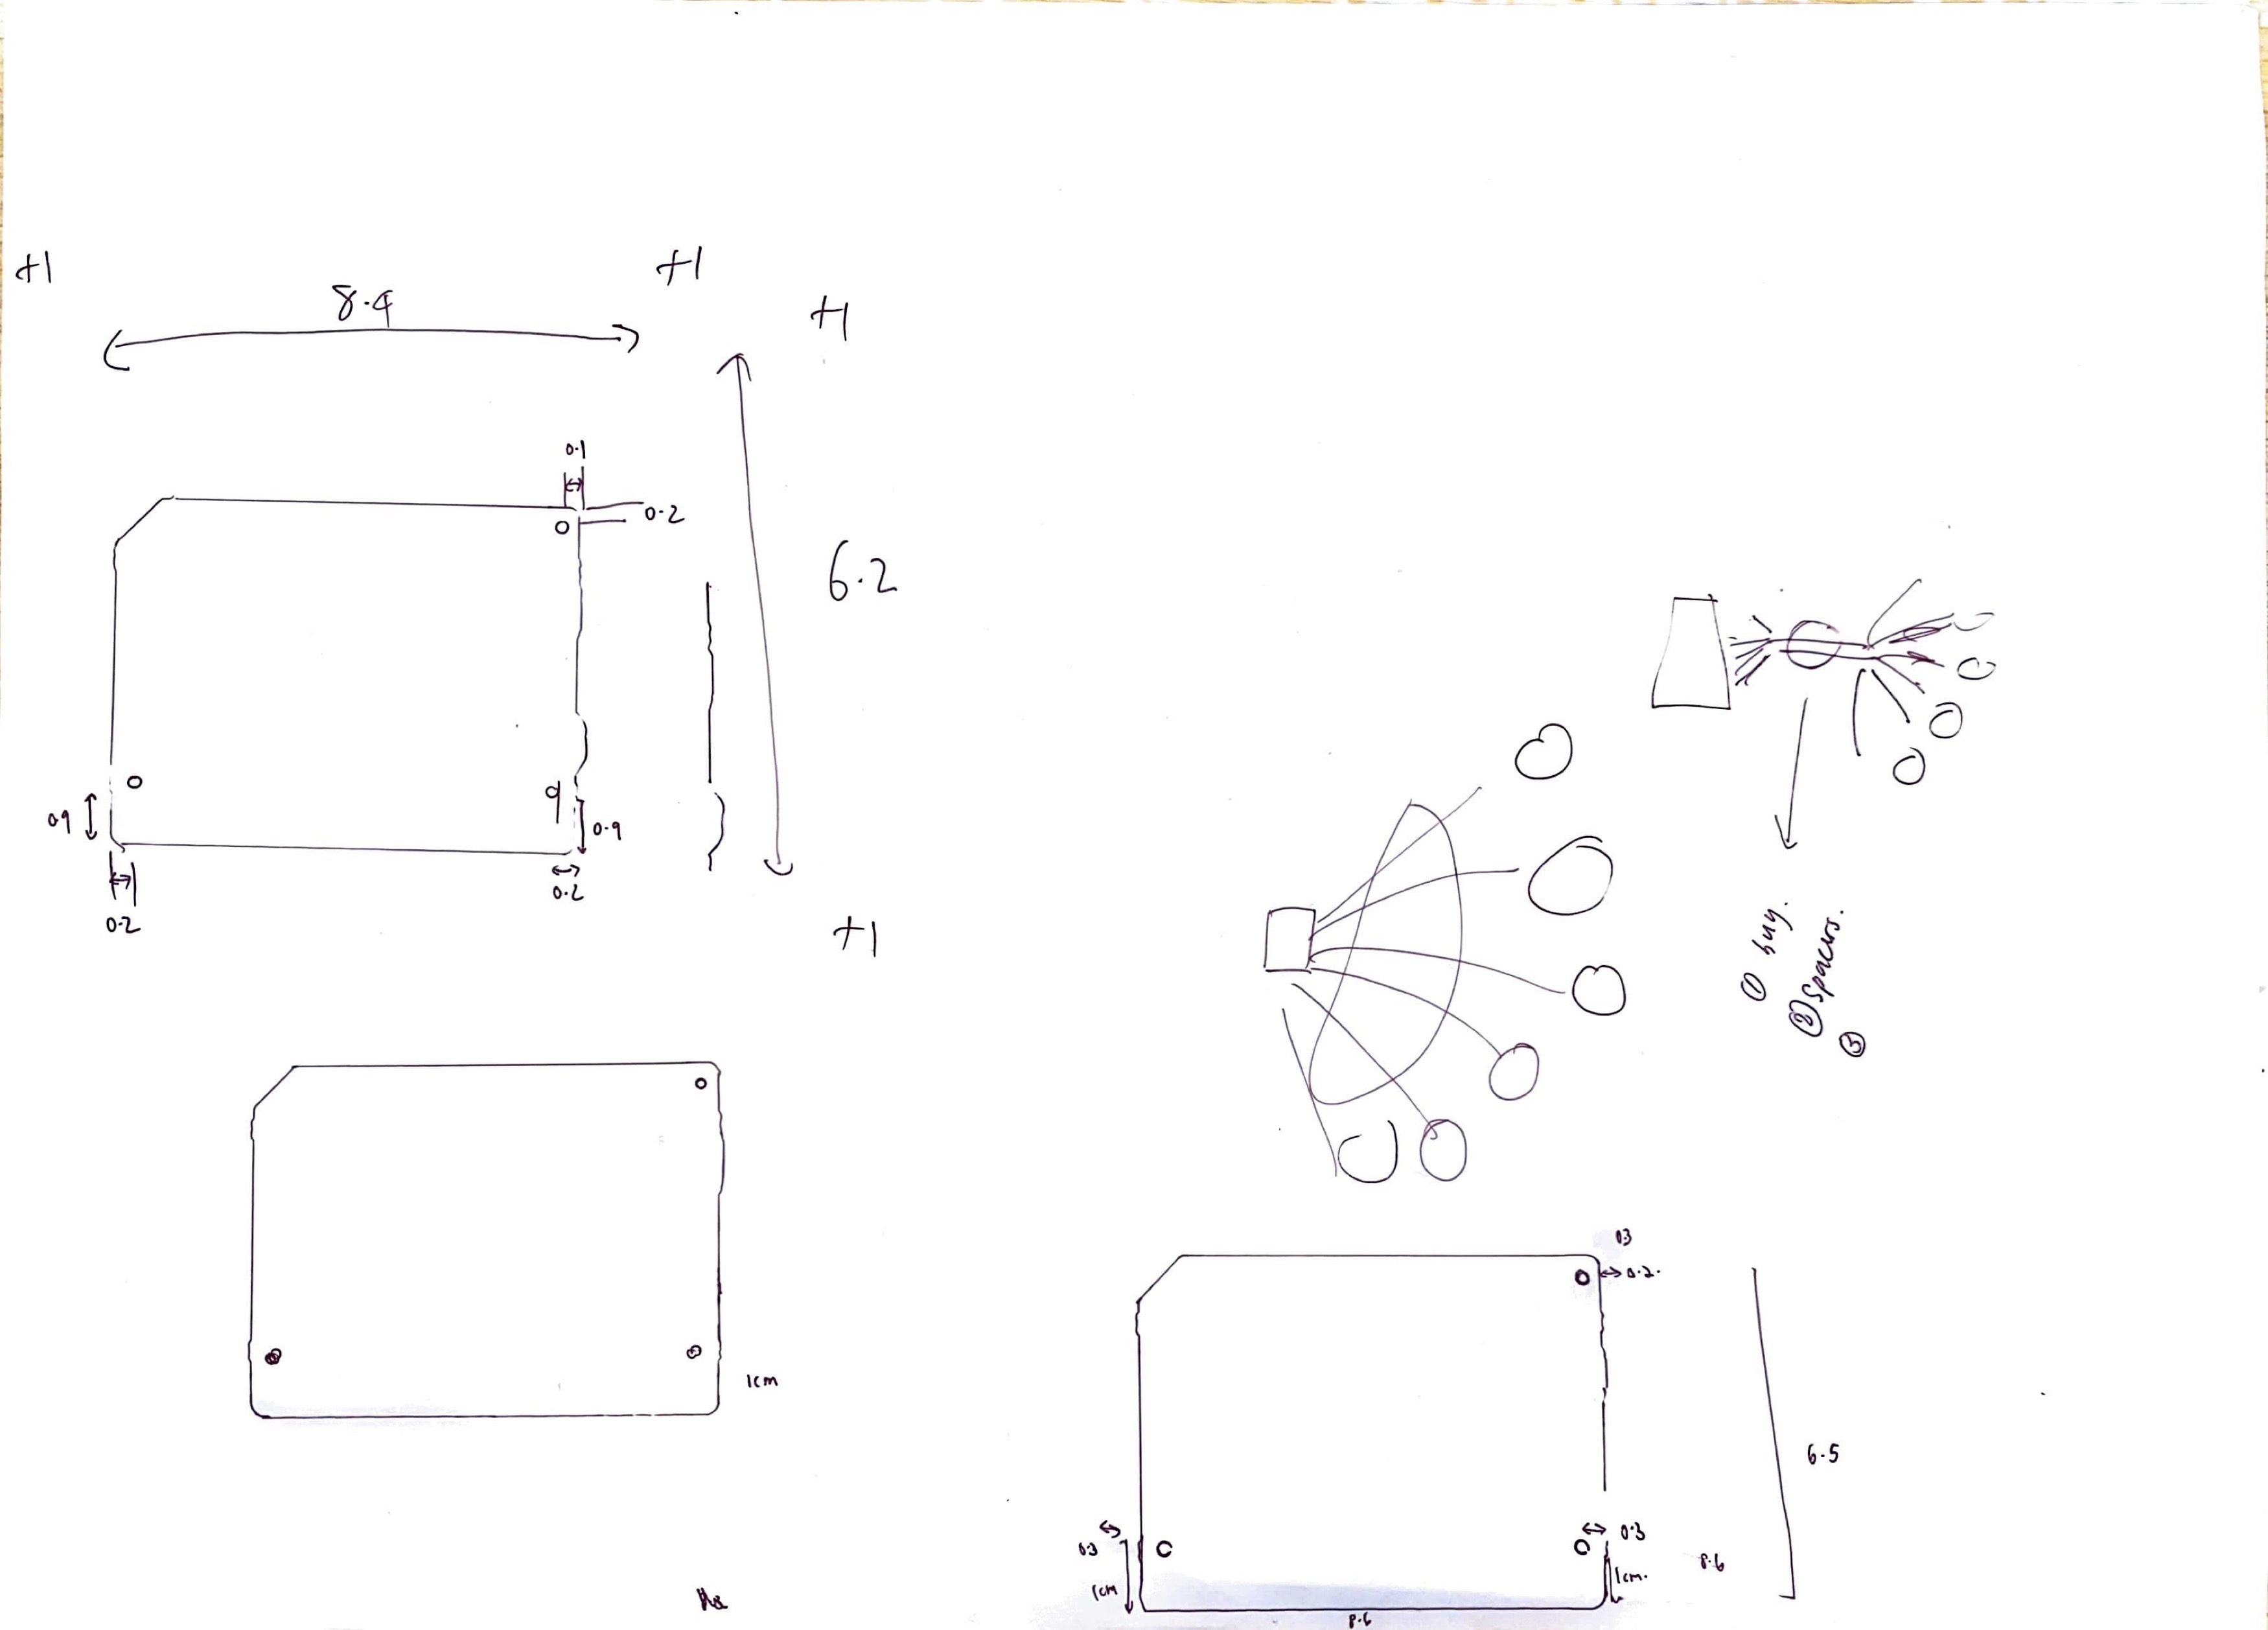
The process of laser cutting was straightforward and easy to navigate. However, before laser cutting,
I had to measure the touch board size and the circles that I intended to screw down, and create an
Illustrator file with that sketch. With Bryan Emerson's help, I was able to achieve this properly and
accurately on the first try. The only hiccup faced when laser cutting was not listening to Andreas'
advice on test cutting it first as the wood was successful the first time, the acrylic, however, did
not manage to cut through. So in between that, I did a test cut with the newly adjusted settings and
successfully managed to cut the acrylic.
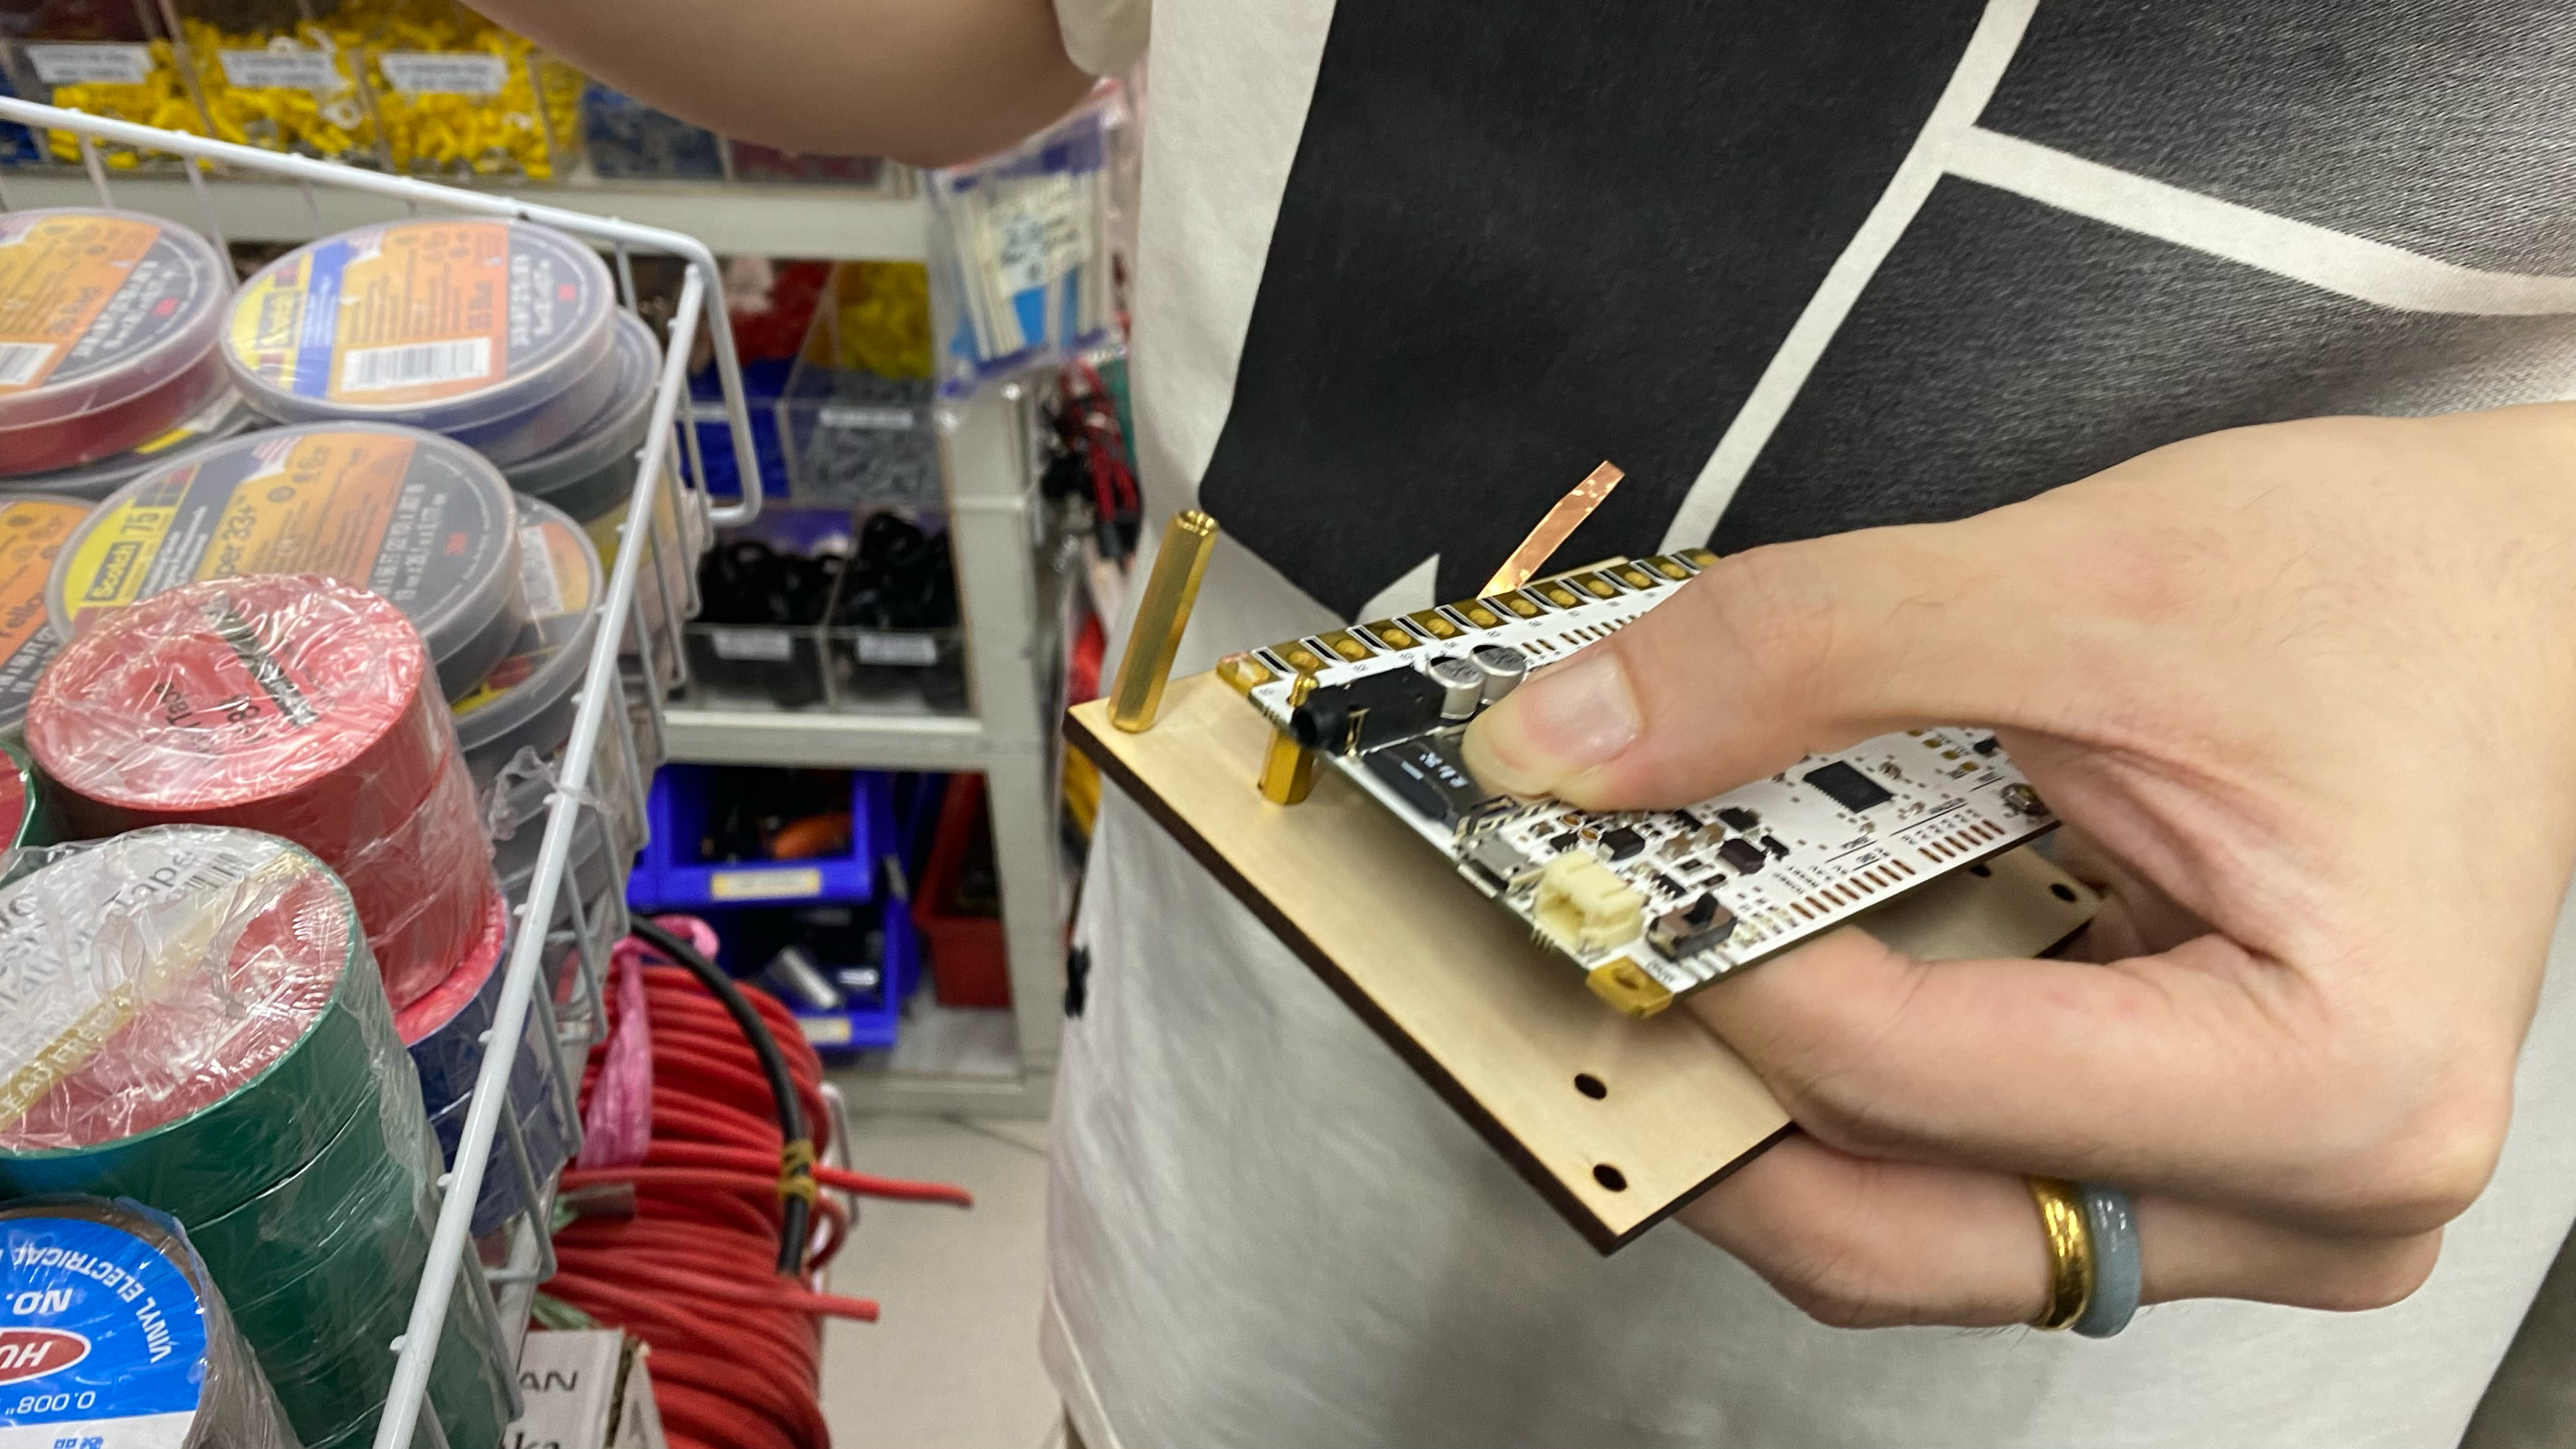
After laser cutting, I needed to get the parts to screw down my touch board to the newly laser cut
wood and acrylic. With that measurement, I brought my entire setup to Sim Lim Tower to test out which
screw lengths fit best. I needed to consider the amount of space in between the touch board and wood
and acrylic so there is space for me to connect my wires to my circuit later on as well.
With the purchase, I am left with the last step of my touch board setup, which is the assembly of
everything together.
