Week 13: Studio Consultation
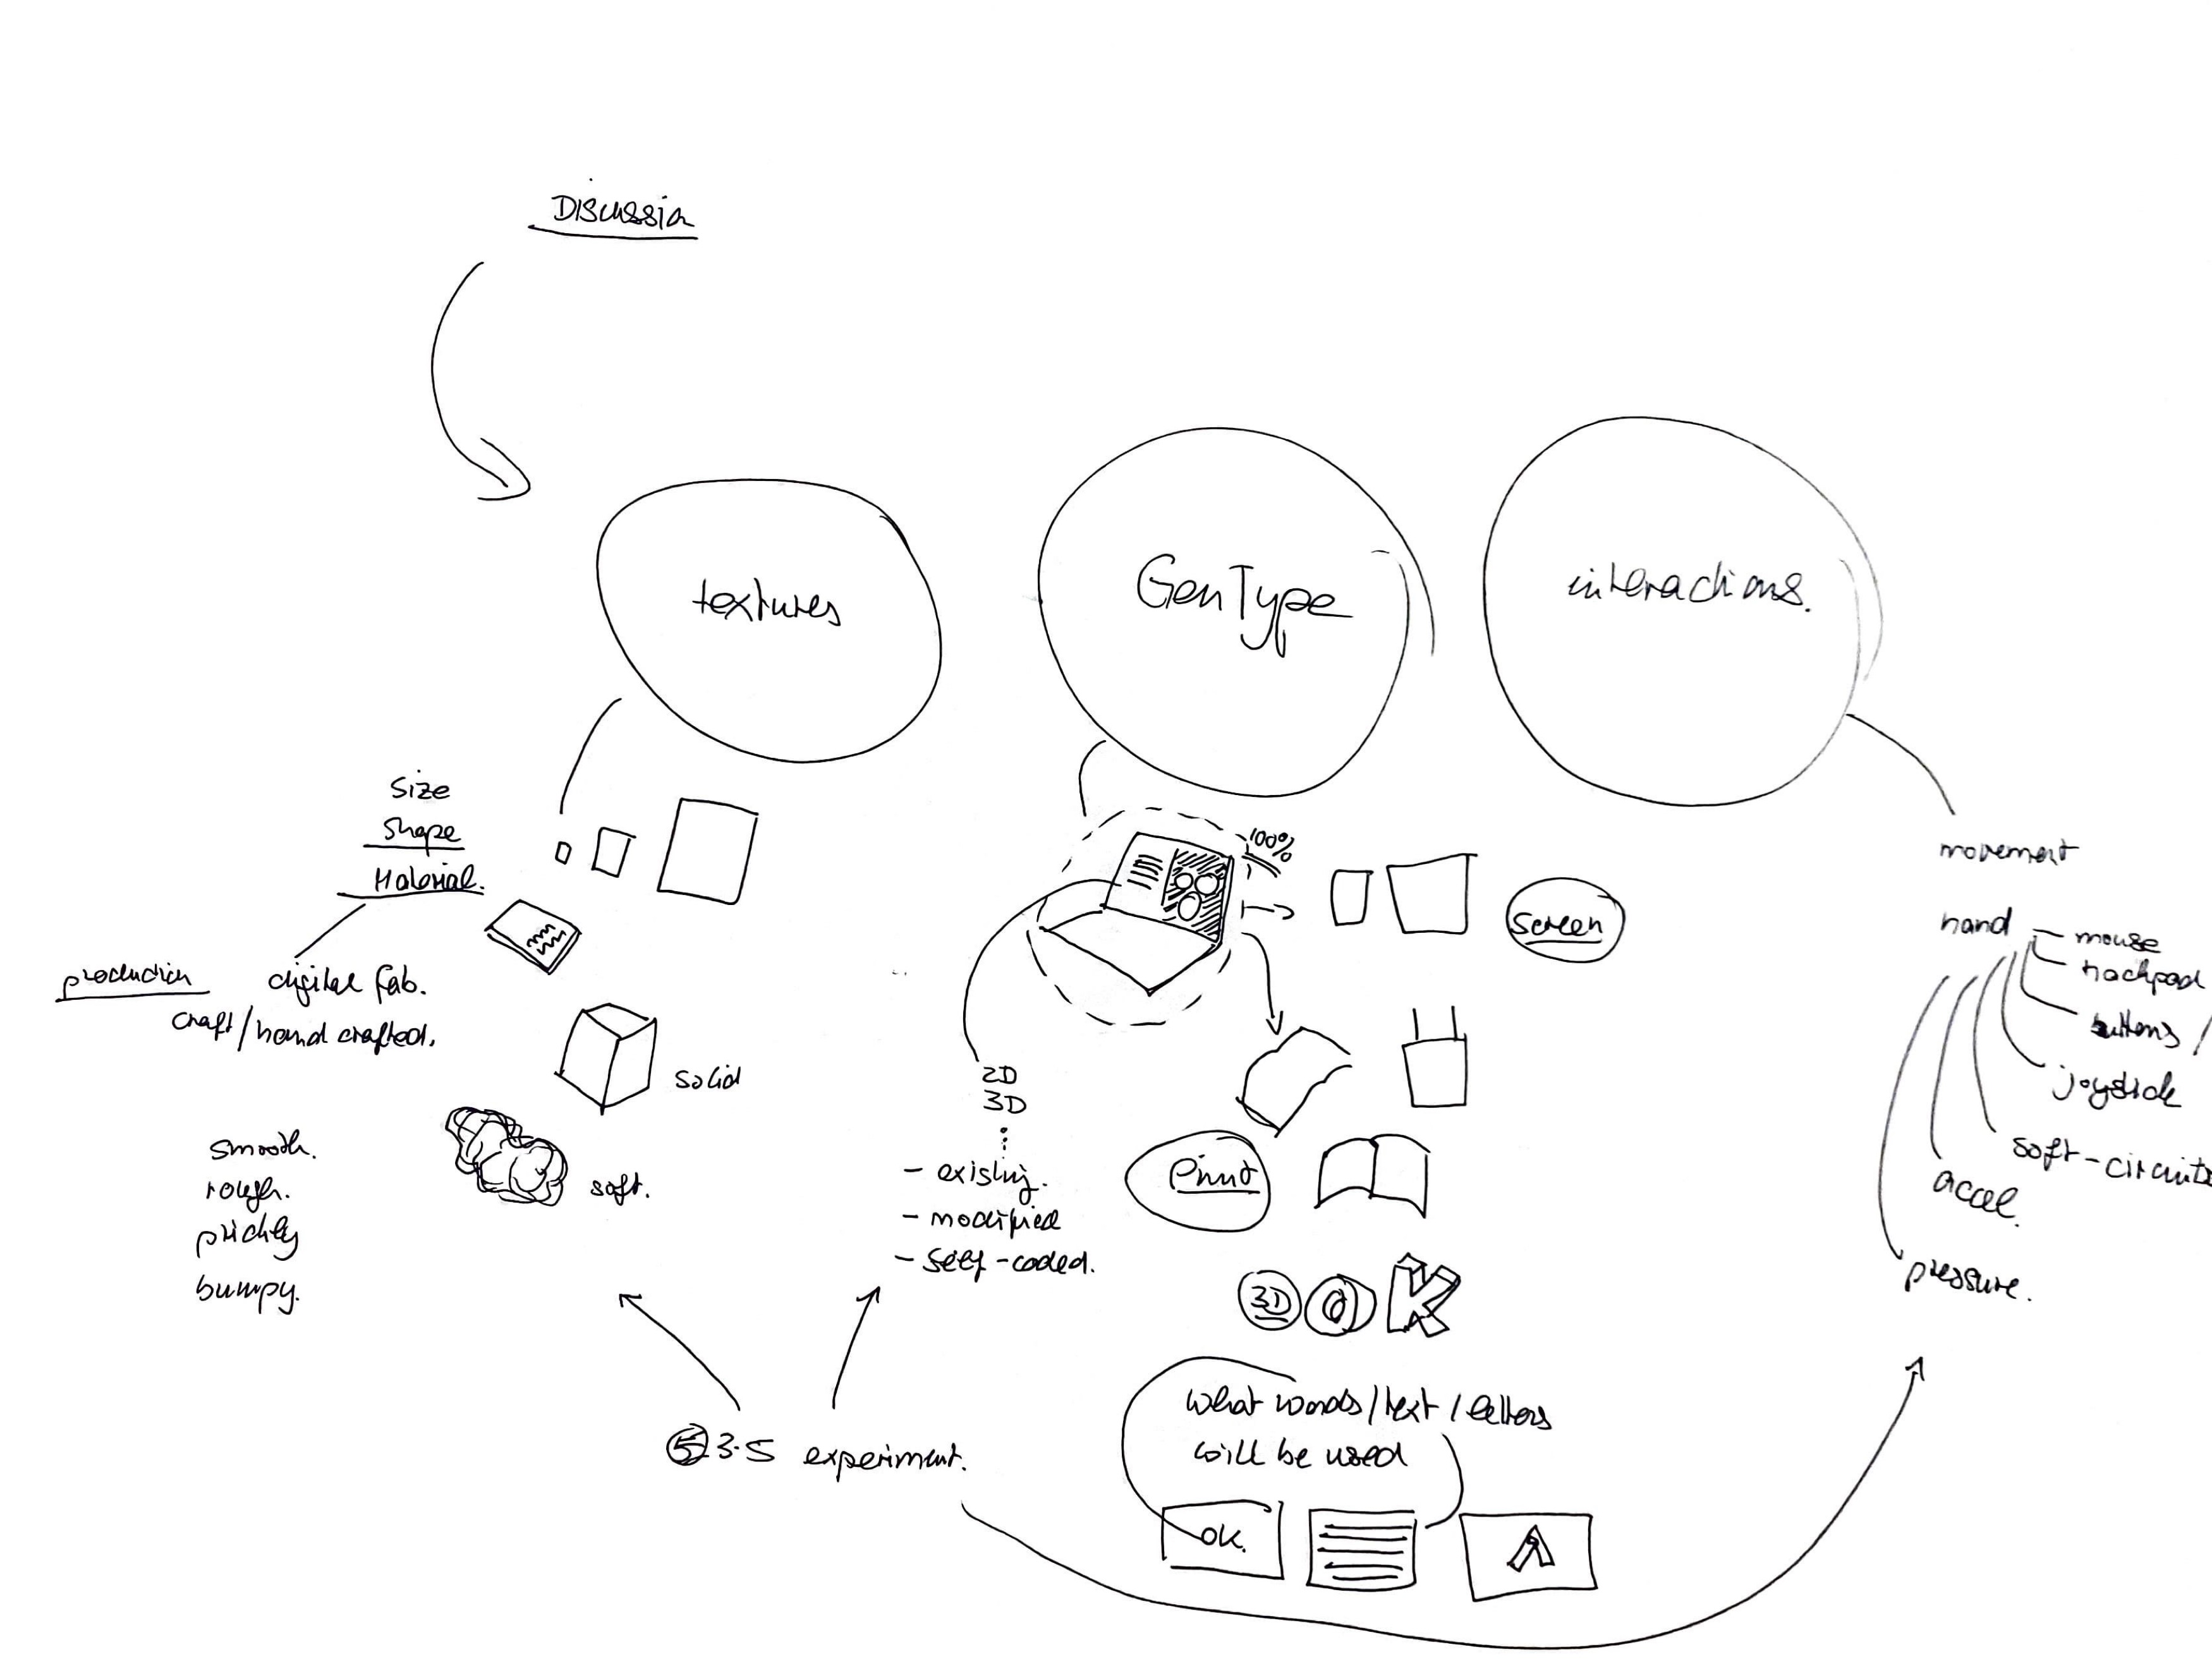
During this consultation, I felt more eager to restart the research. Andreas played a critical role in
this resurgence by drawing a map that effectively depicted the potential paths I could go with the
pillars at my disposal. This graphic representation not only clarified the possibilities, but it also
created a vivid image in my head, acting as an inspiration for creative thought.
Andreas created a map that highlighted the project's multiple prospects. It served as a guide,
recommending several courses and approaches I could take with the pillars. The realisation dawned that
the key to unlocking these prospects resided in taking action—overthinking, while a common stumbling
block, would only slow progress.
-
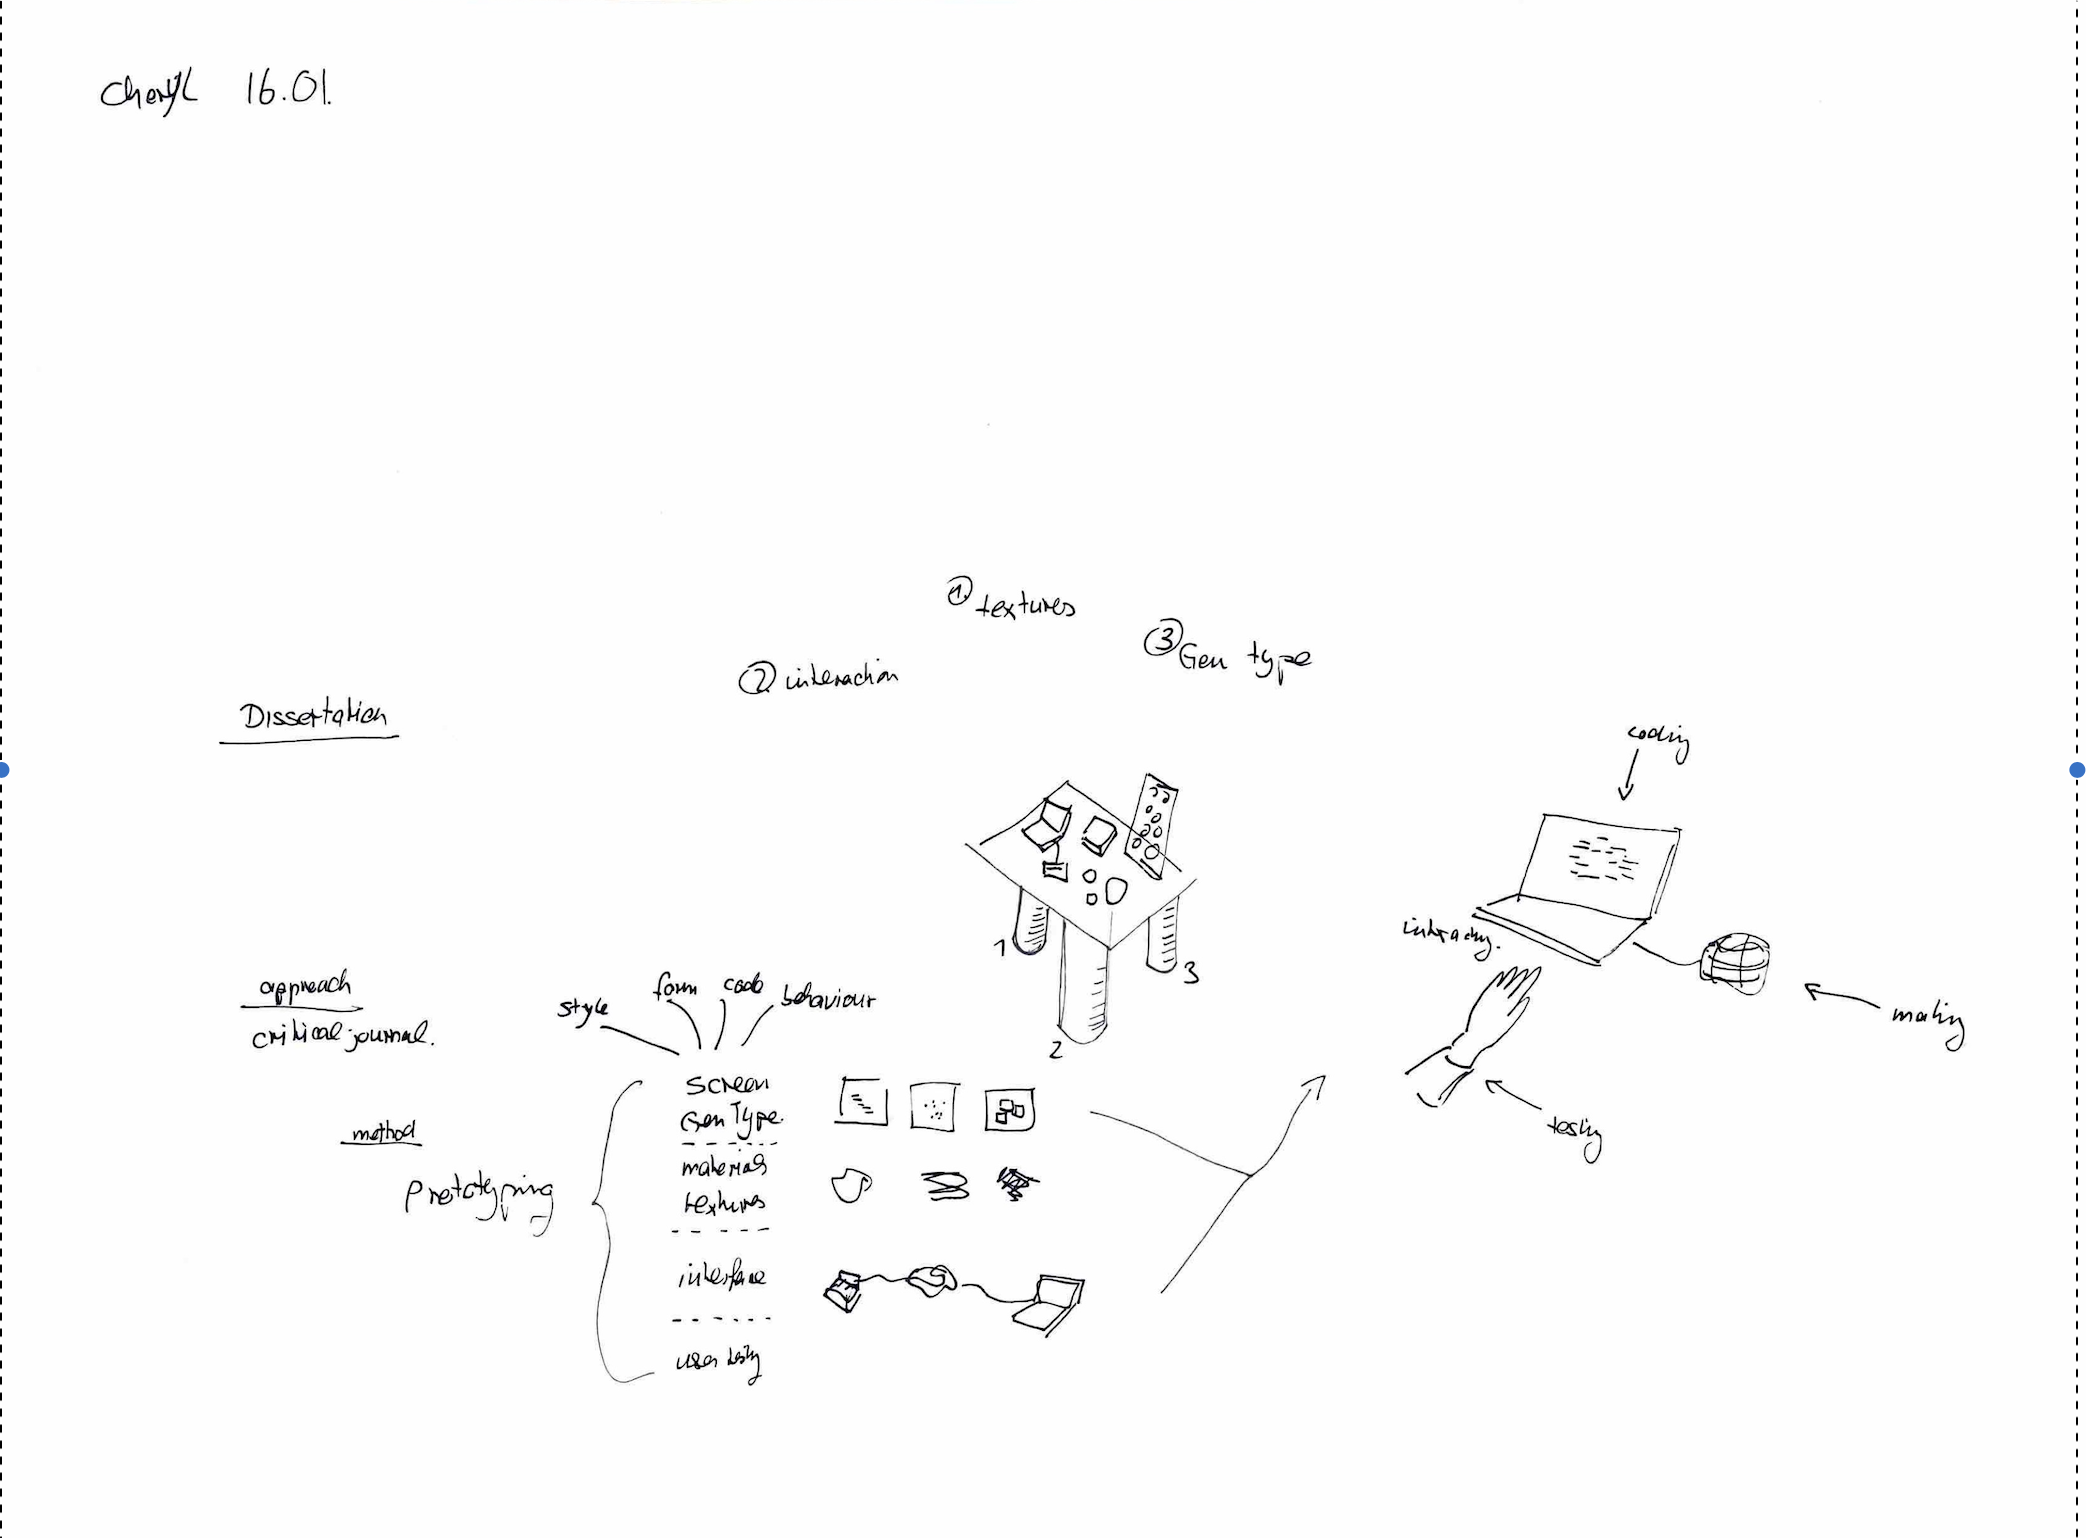
The sketch Andreas drew during consult
Moving Forward
To communicate the envisioned possibilities into concrete actions, I realize the critical importance
of
developing a detailed plan. Sketching out this plan serves as a roadmap, offering a visual guide for
the exploration ahead. It represents a vital step in transforming abstract ideas into tangible,
actionable steps.
Drawing out my plan enables me to break down the overarching vision into smaller, more manageable
components. By visually mapping out each step, I can methodically organize my thoughts and identify
the sequential progression of experiments. This process not only helps clarify the scope of each
exploration but also ensures a more systematic and efficient execution.
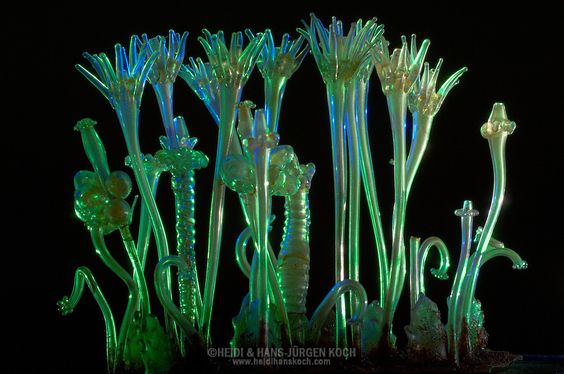
In addition to the plan, incorporating a mood board becomes an essential tool for refining the visual
direction. A mood board acts as a visual reference, capturing the desired aesthetic, tone, and overall
vibe that I aim to achieve. It serves as a source of inspiration, helping maintain a cohesive and
intentional visual language throughout my experiments.
Paper Impressions
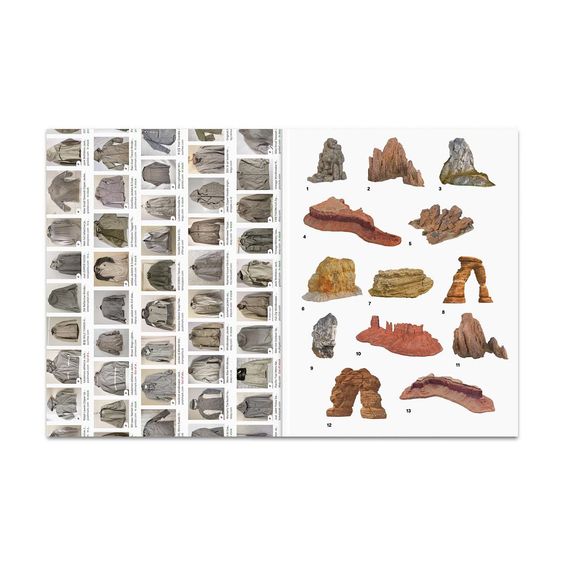
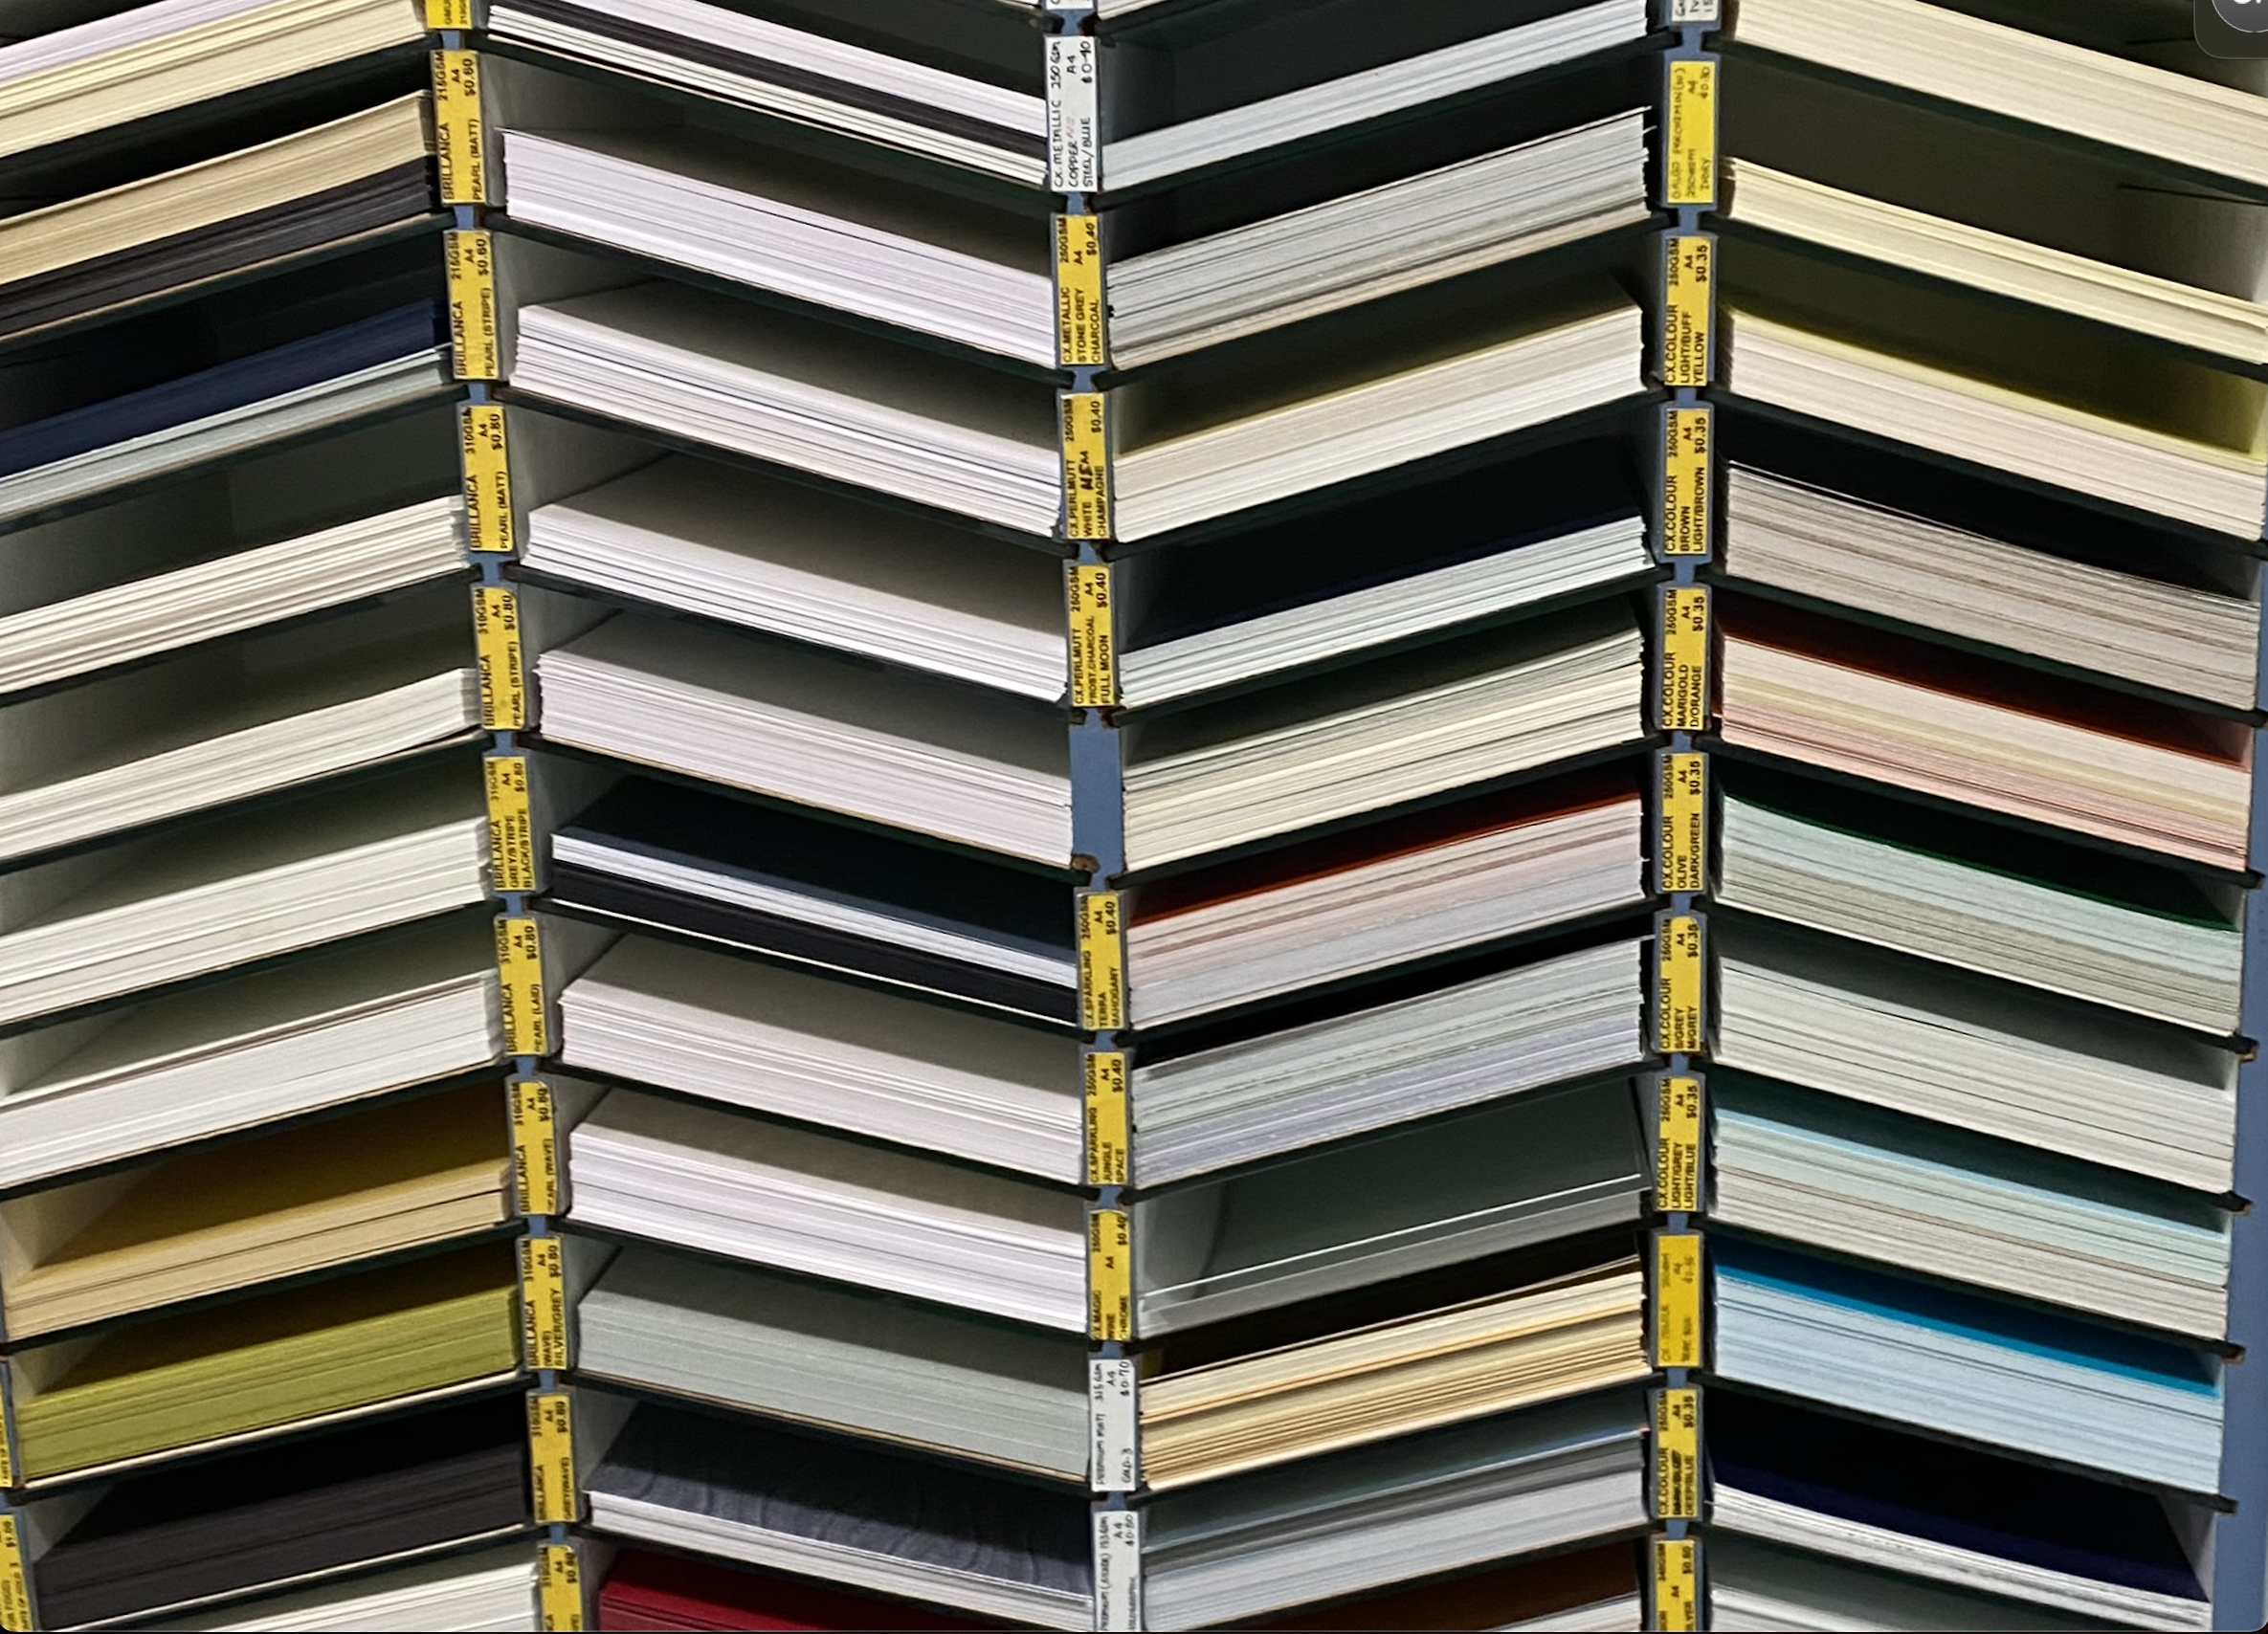
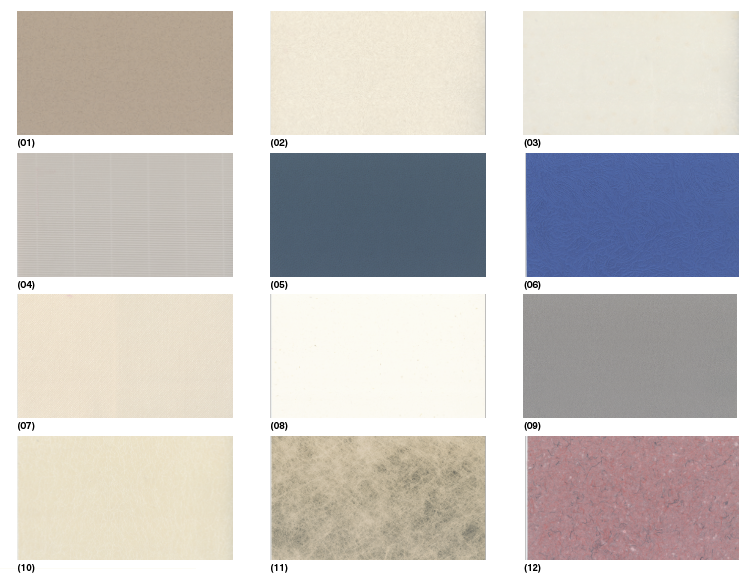
I went to fancy paper to get paper for printing the posters and accordian folds. While sourcing for
paper, I noticed they had a variety of paper of different textures as well. Hence, I picked out a total
of 12 pieces of paper which I found that look unique and interesting. With that, I cut up the A4 pieces
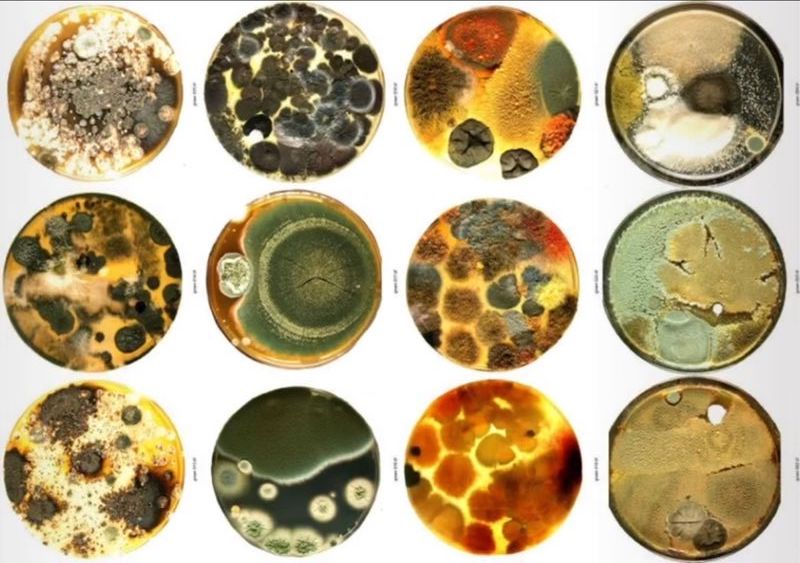
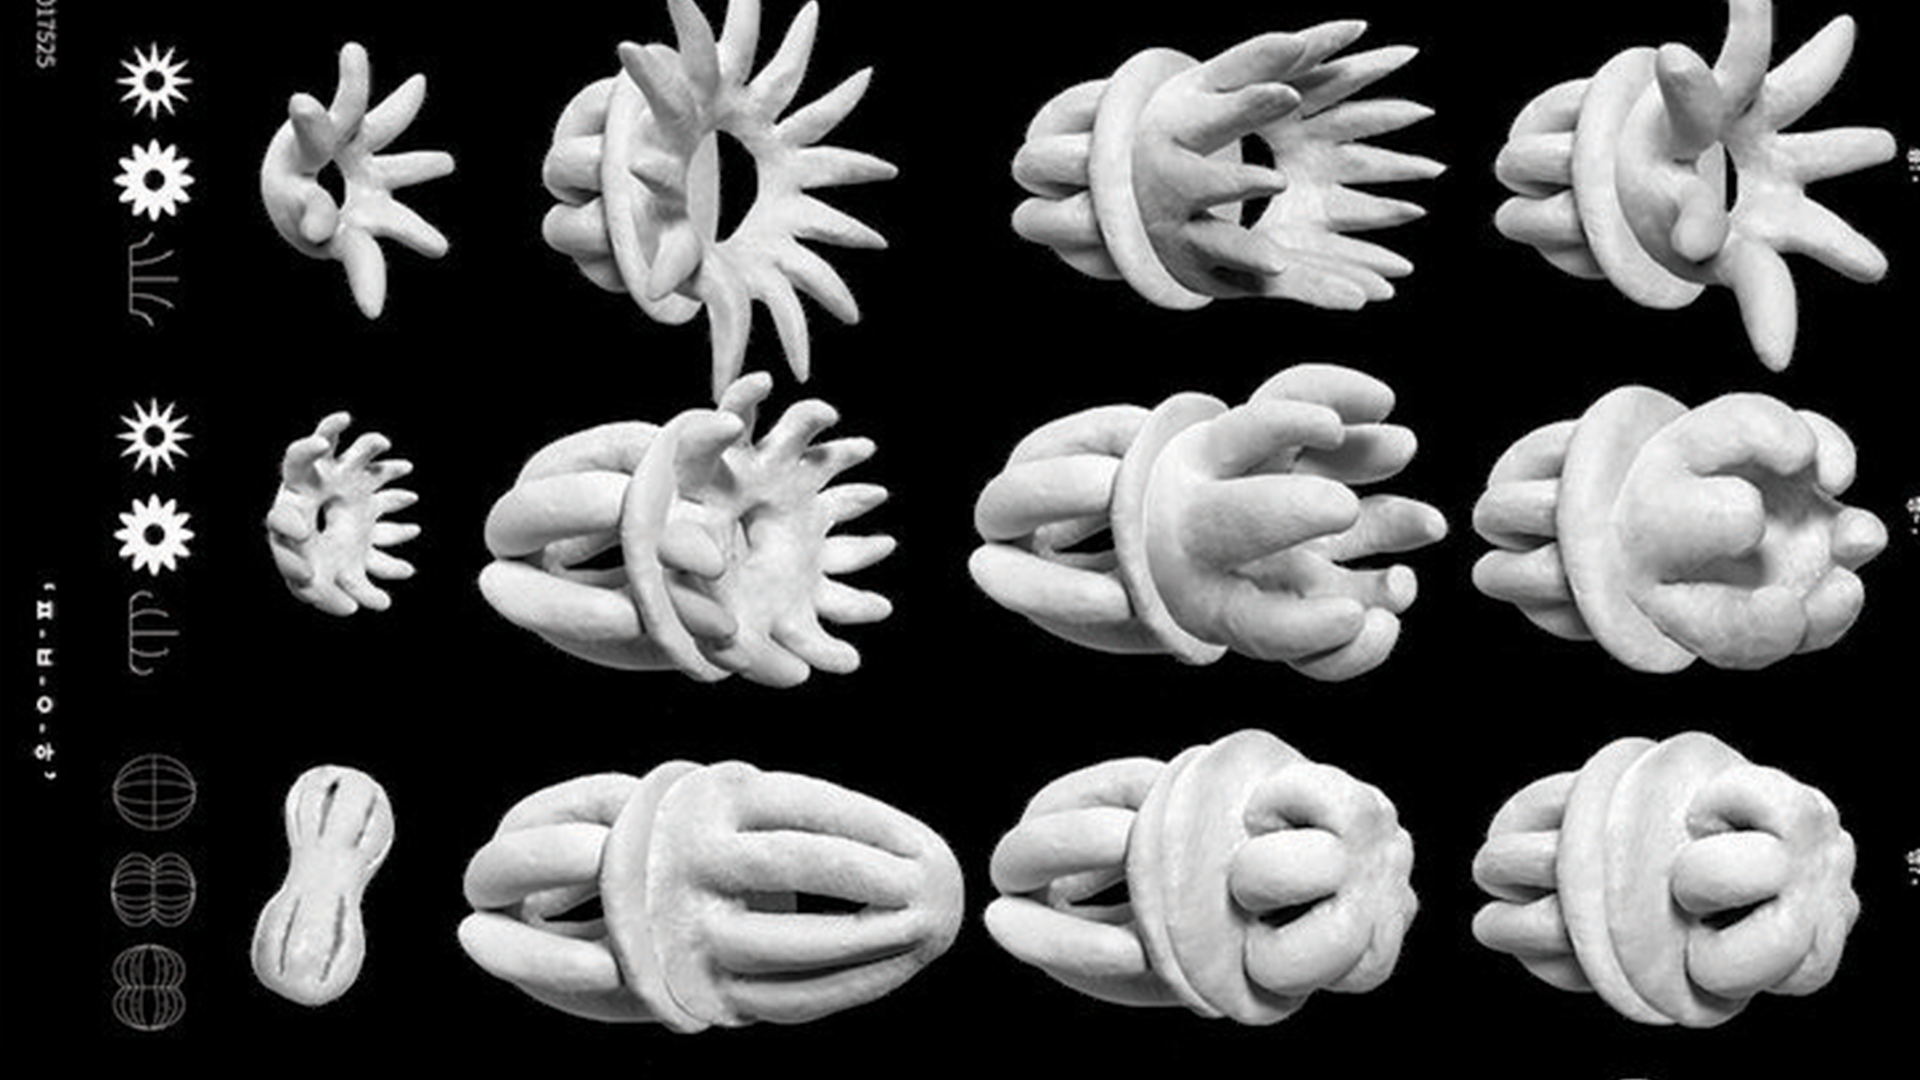
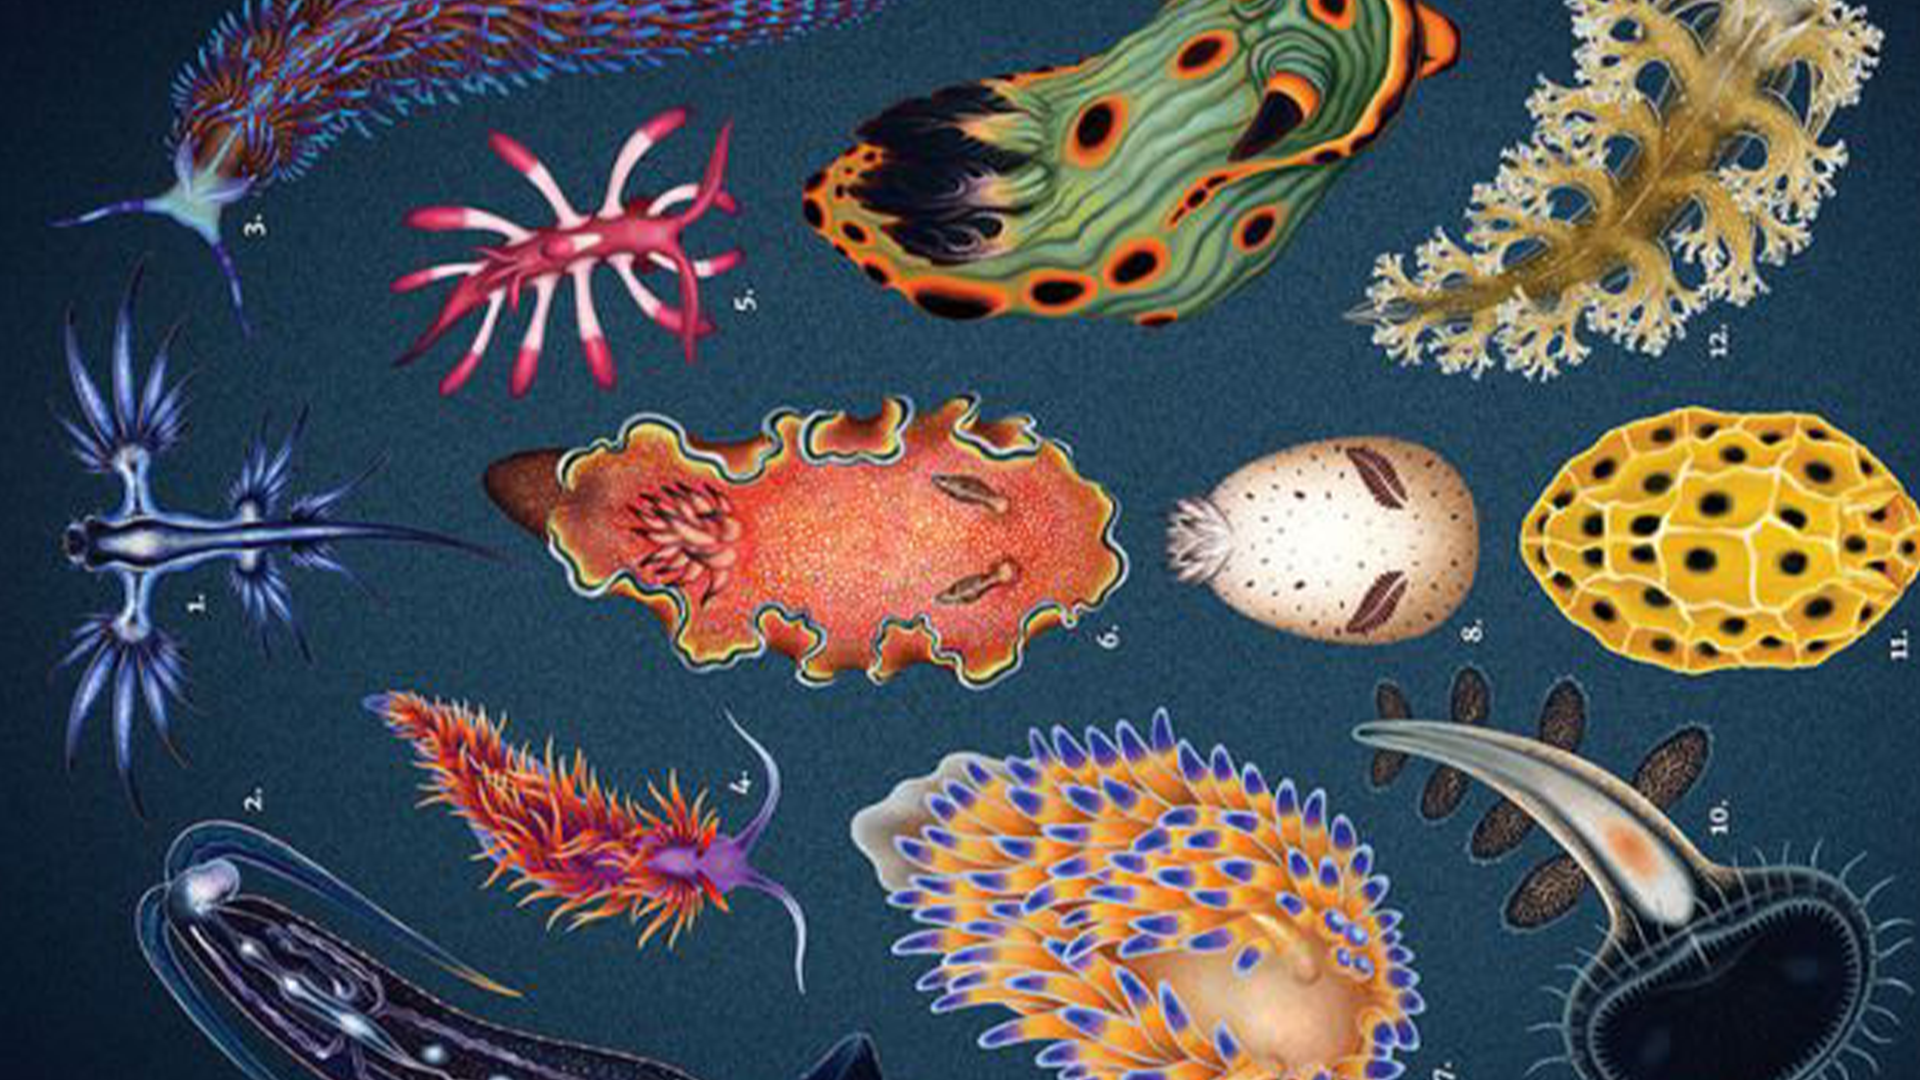
of 12 found textured paper and made a poster of it as well. So now I have a total of 3 series of posters
to mark the beginning of my texture studies for this term.
-
The sketch Andreas drew during consult
Putting the Paper Impression Poster together
Initially I had the idea of leaving the raw paper by itself on the A3 printed poster with the title.
But with the washi tape. it looks messy and cluttered. So I decided to change my plan and use a
bonefolder to draw a 1cm line accross and use double sided tape to hold it down.
-
Mockup of how I envision the paper placement on the poster
-
The Poster of Paper Impression
