Week 11: Planning the Process
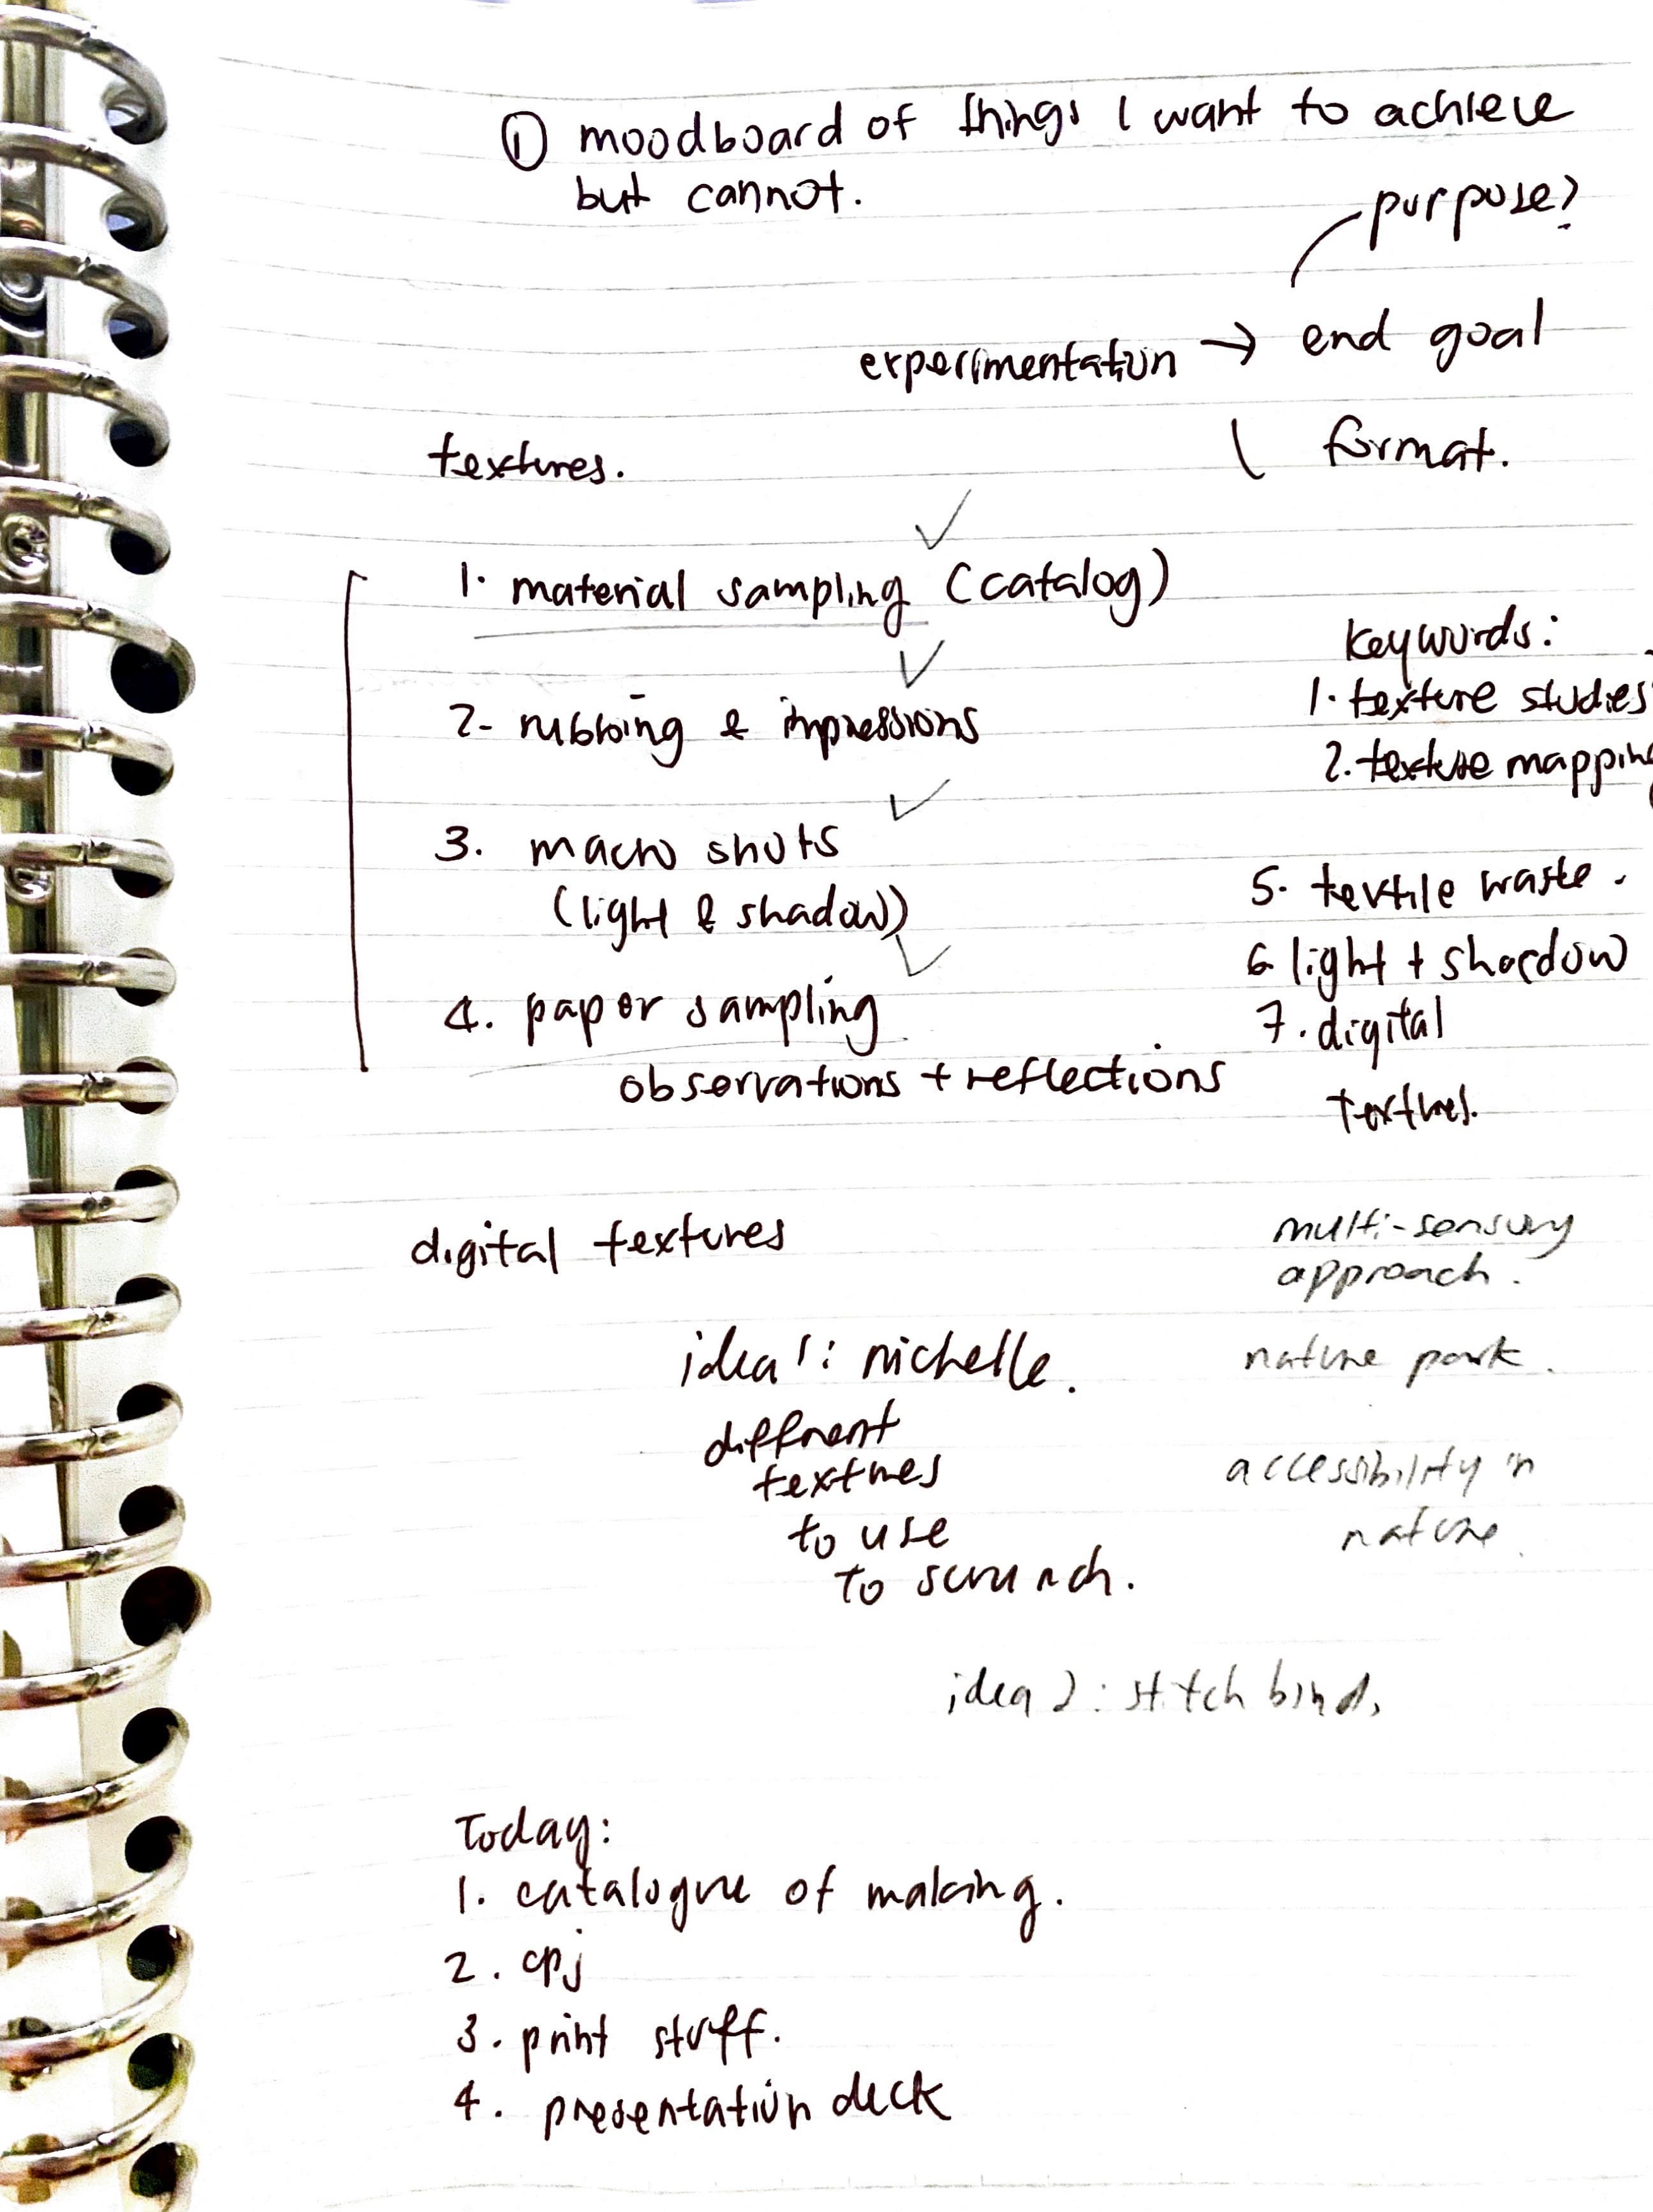
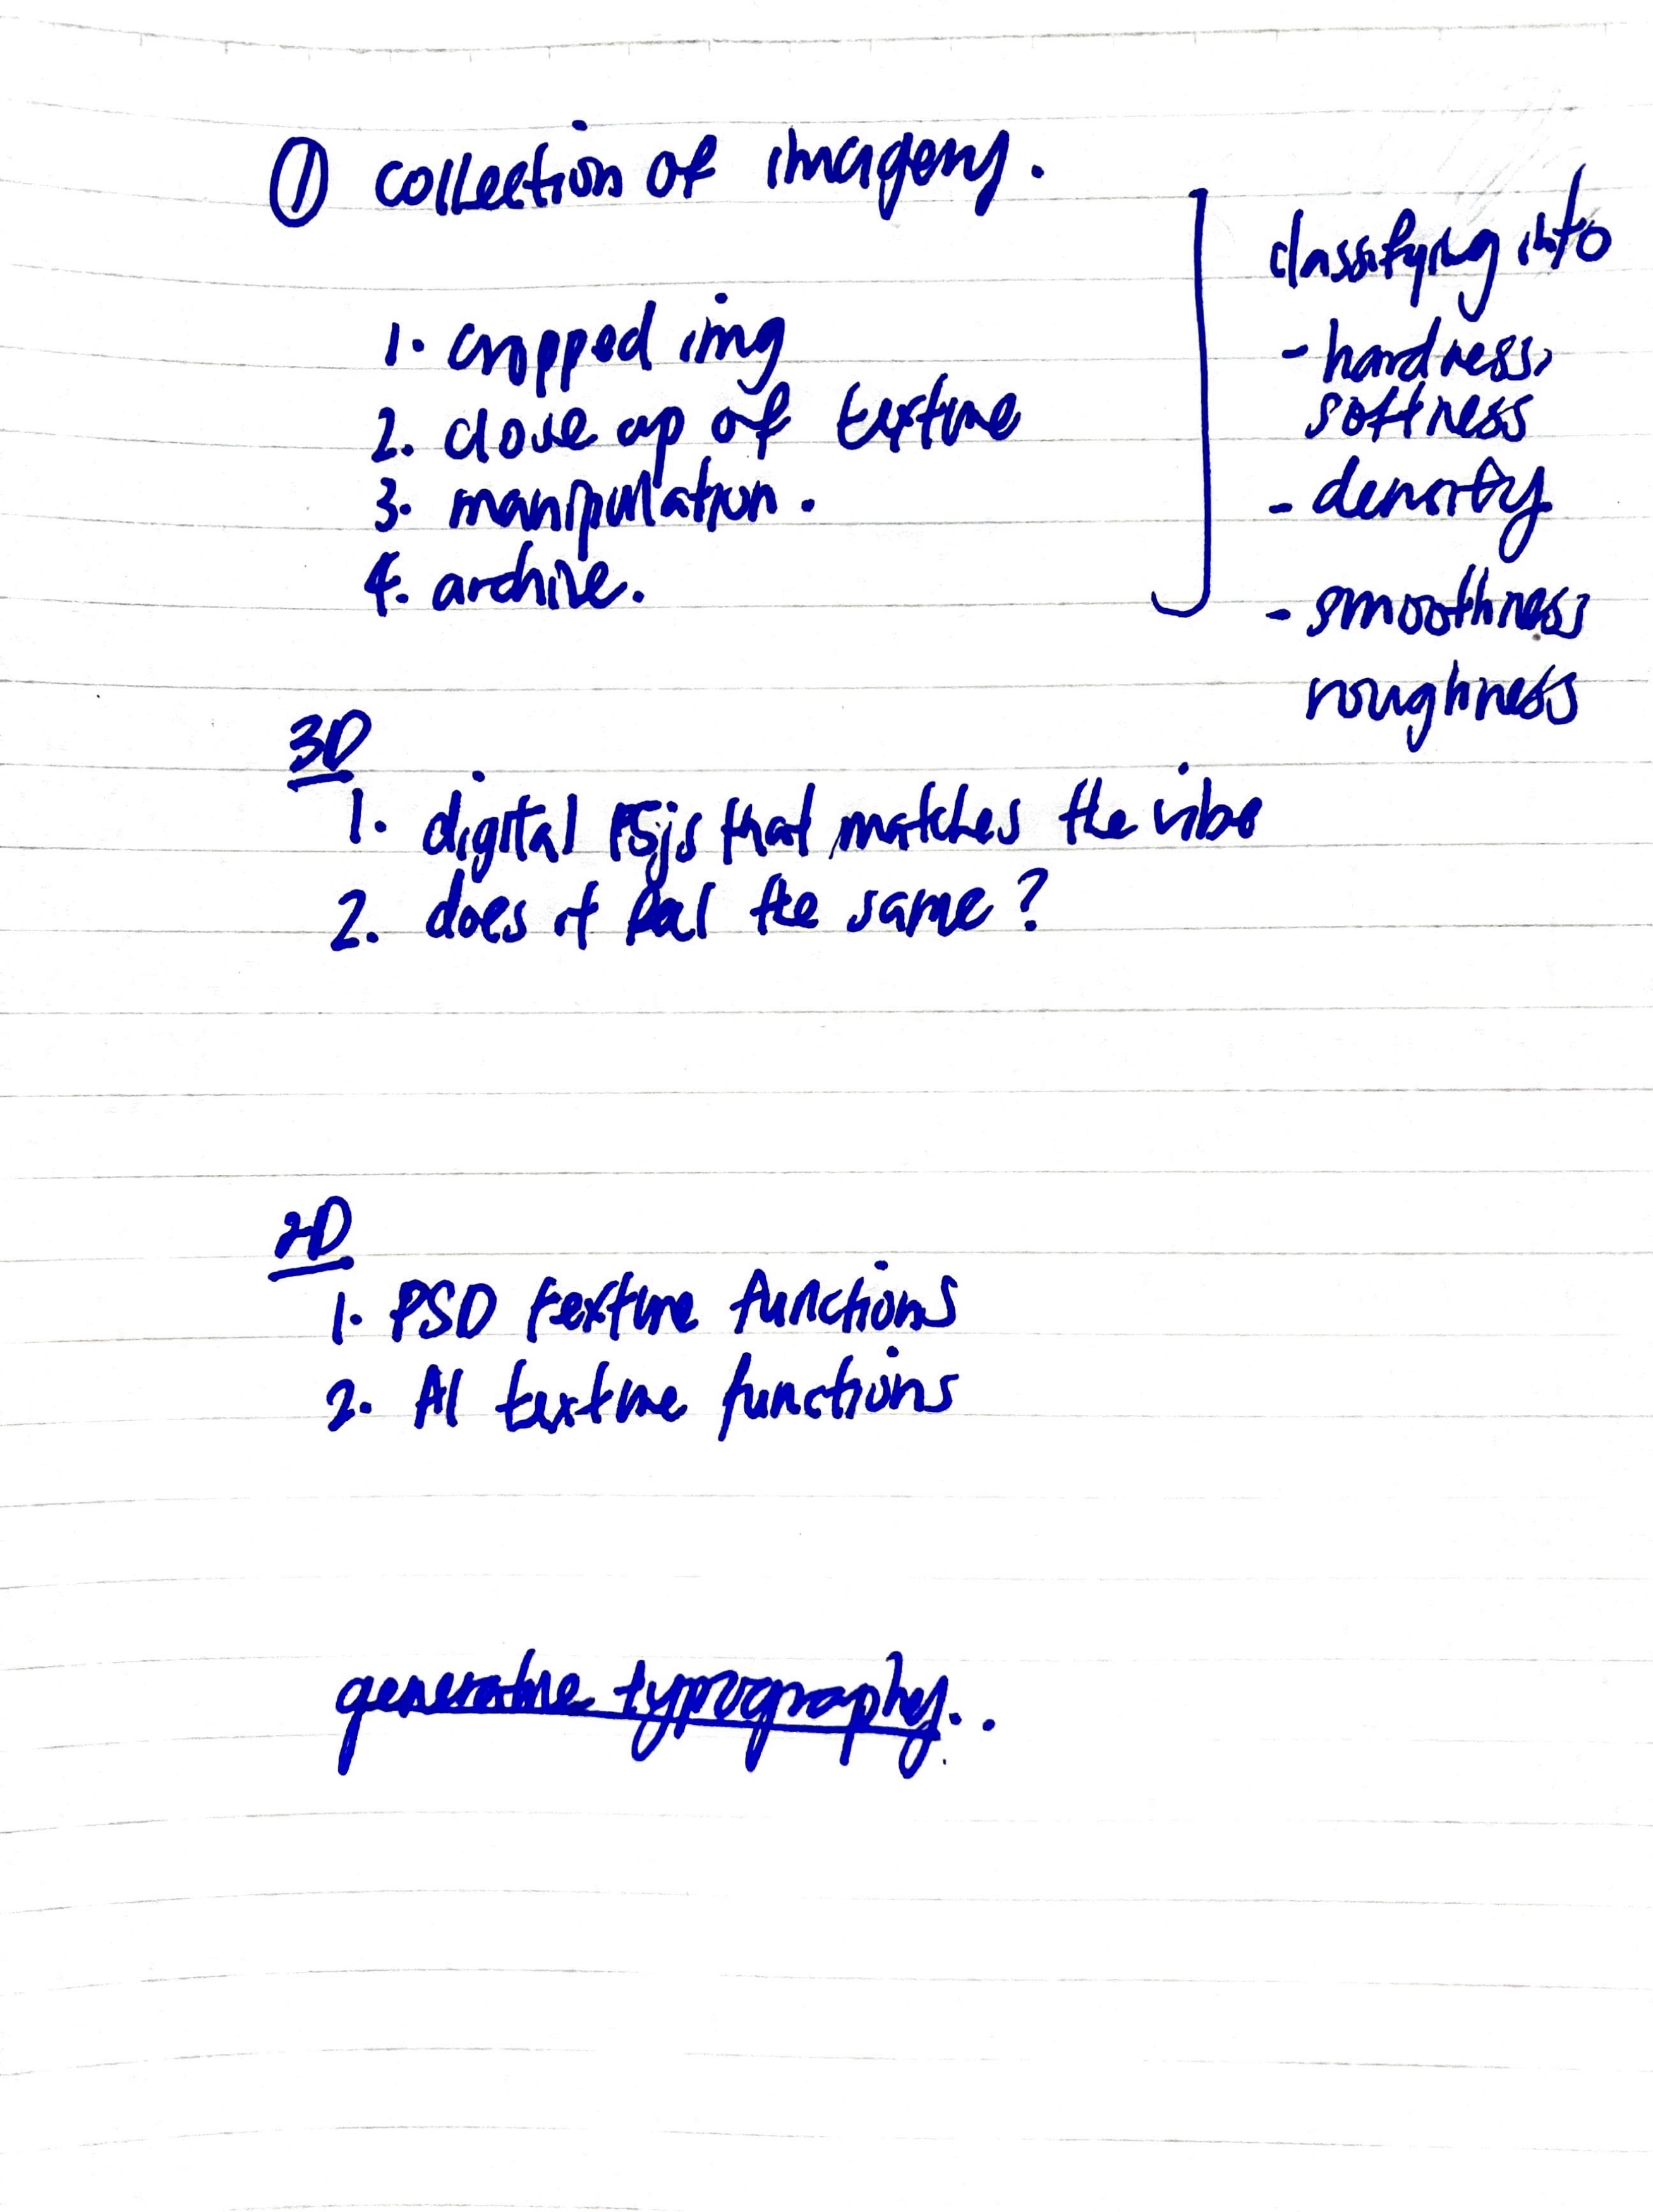
After writing my thoughts on how to move on quickly from here to submissions, I broke down and wrote how
I can target what I wish to accomplish.
List includes:
1. Texture Material Sampling
2. Macro Shots of Objects
3. Rubbing and Impressions
4. Paper Sampling
5. Catalogue of Making
6. Presentation Deck
7. CPJ
x
A texture study is an
examination or exploration of the visual and tactile qualities of a surface, material, or object. In art
and design, a texture study involves closely observing and representing the details and characteristics
of different textures through various artistic mediums. Beyond the realm of art, texture studies are
also relevant in fields like computer graphics, where understanding and replicating realistic textures
is crucial for creating lifelike digital environments. In this context, texture studies involve
analyzing and mimicking the visual and tactile aspects of surfaces to achieve a more authentic and
immersive digital experience.
-
To do list What I plan to accomplish
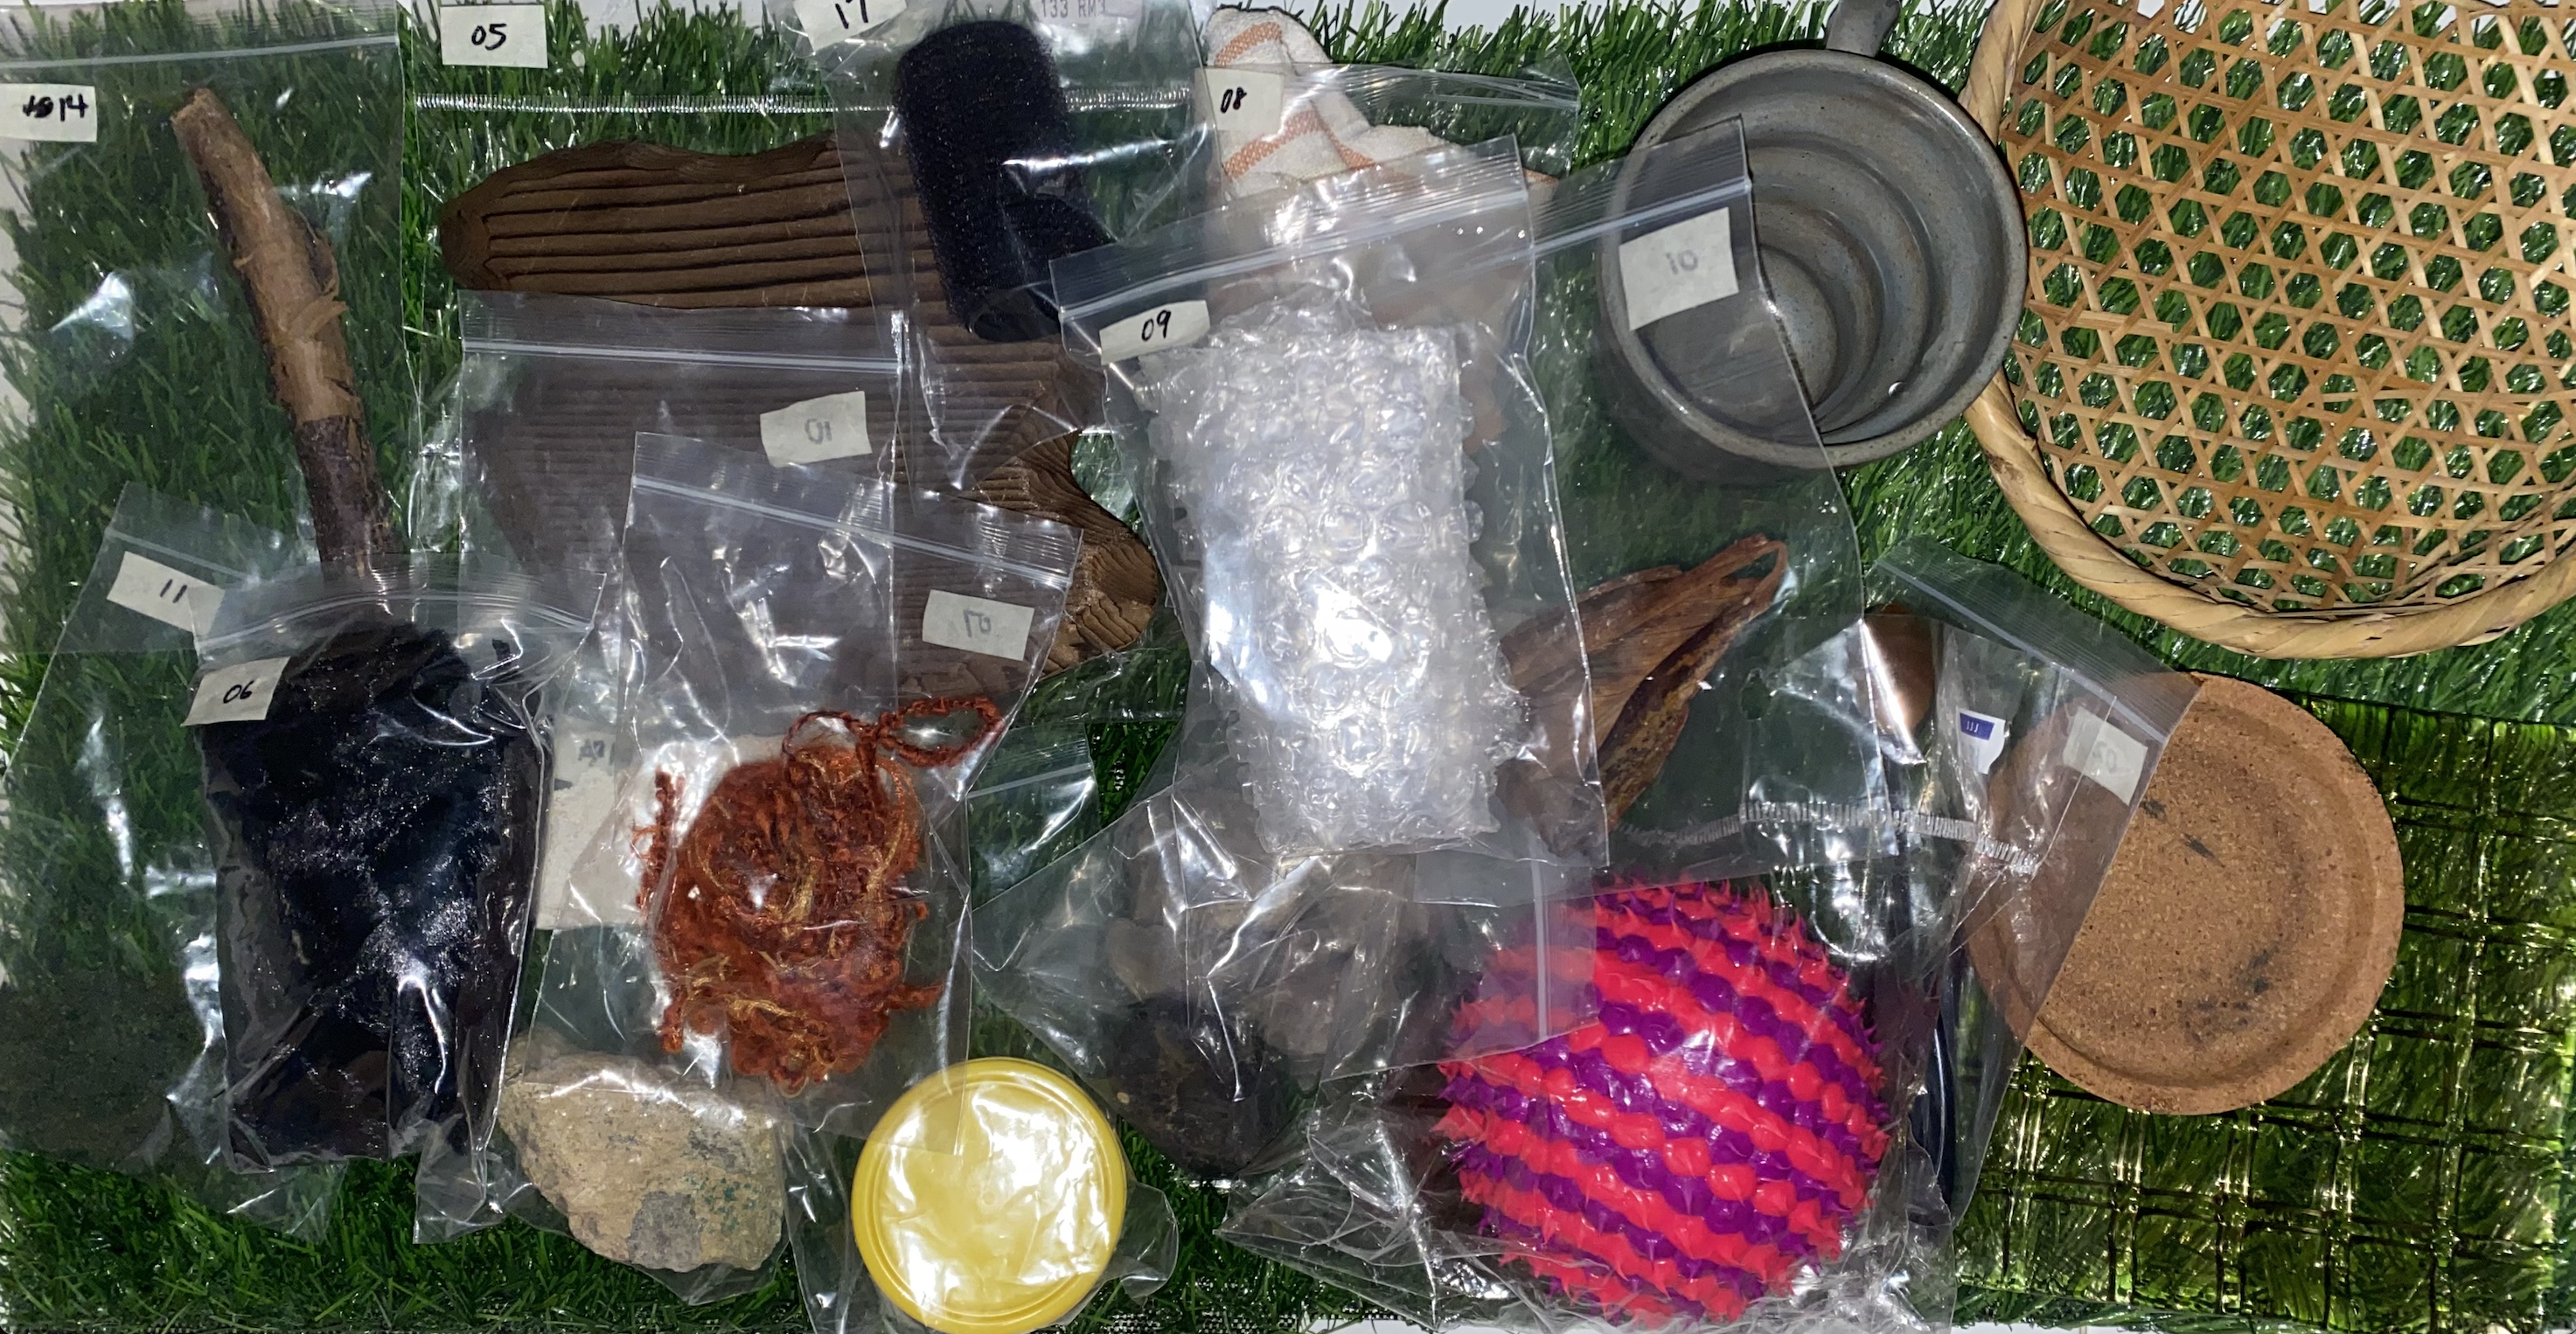
Collecting Objects with Textures
The first on my list is texture studies. I went around my house and the classroom and even outside to pick up objects and take photos of them to form a collection of found textures. The aim was to collect about 20 different objects or more. The object were relatovely easy to find, but sometimes when collecting I have to consider that the materials are different from each other as well. My other friends also helped contribute to my project by shopping or passing me items that are of a certain texture. Thank you Lance, Jit, Fatih, Jolynn and Jamie. Honestly, picking up leaves and twigs I had to wear gloves becasue I physically don't like the feeling.
After taking photos of the objects as itself and also an up close shot, I had to bring all the images into photoshop to remove the background and make into a png. Overall, I was plesantly surprised that I was able to curate a good amount of objects with interesting textures. During this, I observed how each texture is also made of dfferent textures and how interacting with it there are some i enjoy and some i dislike. The one I disiked the most was the hardened mud which I thought was a rock and also the playdough.
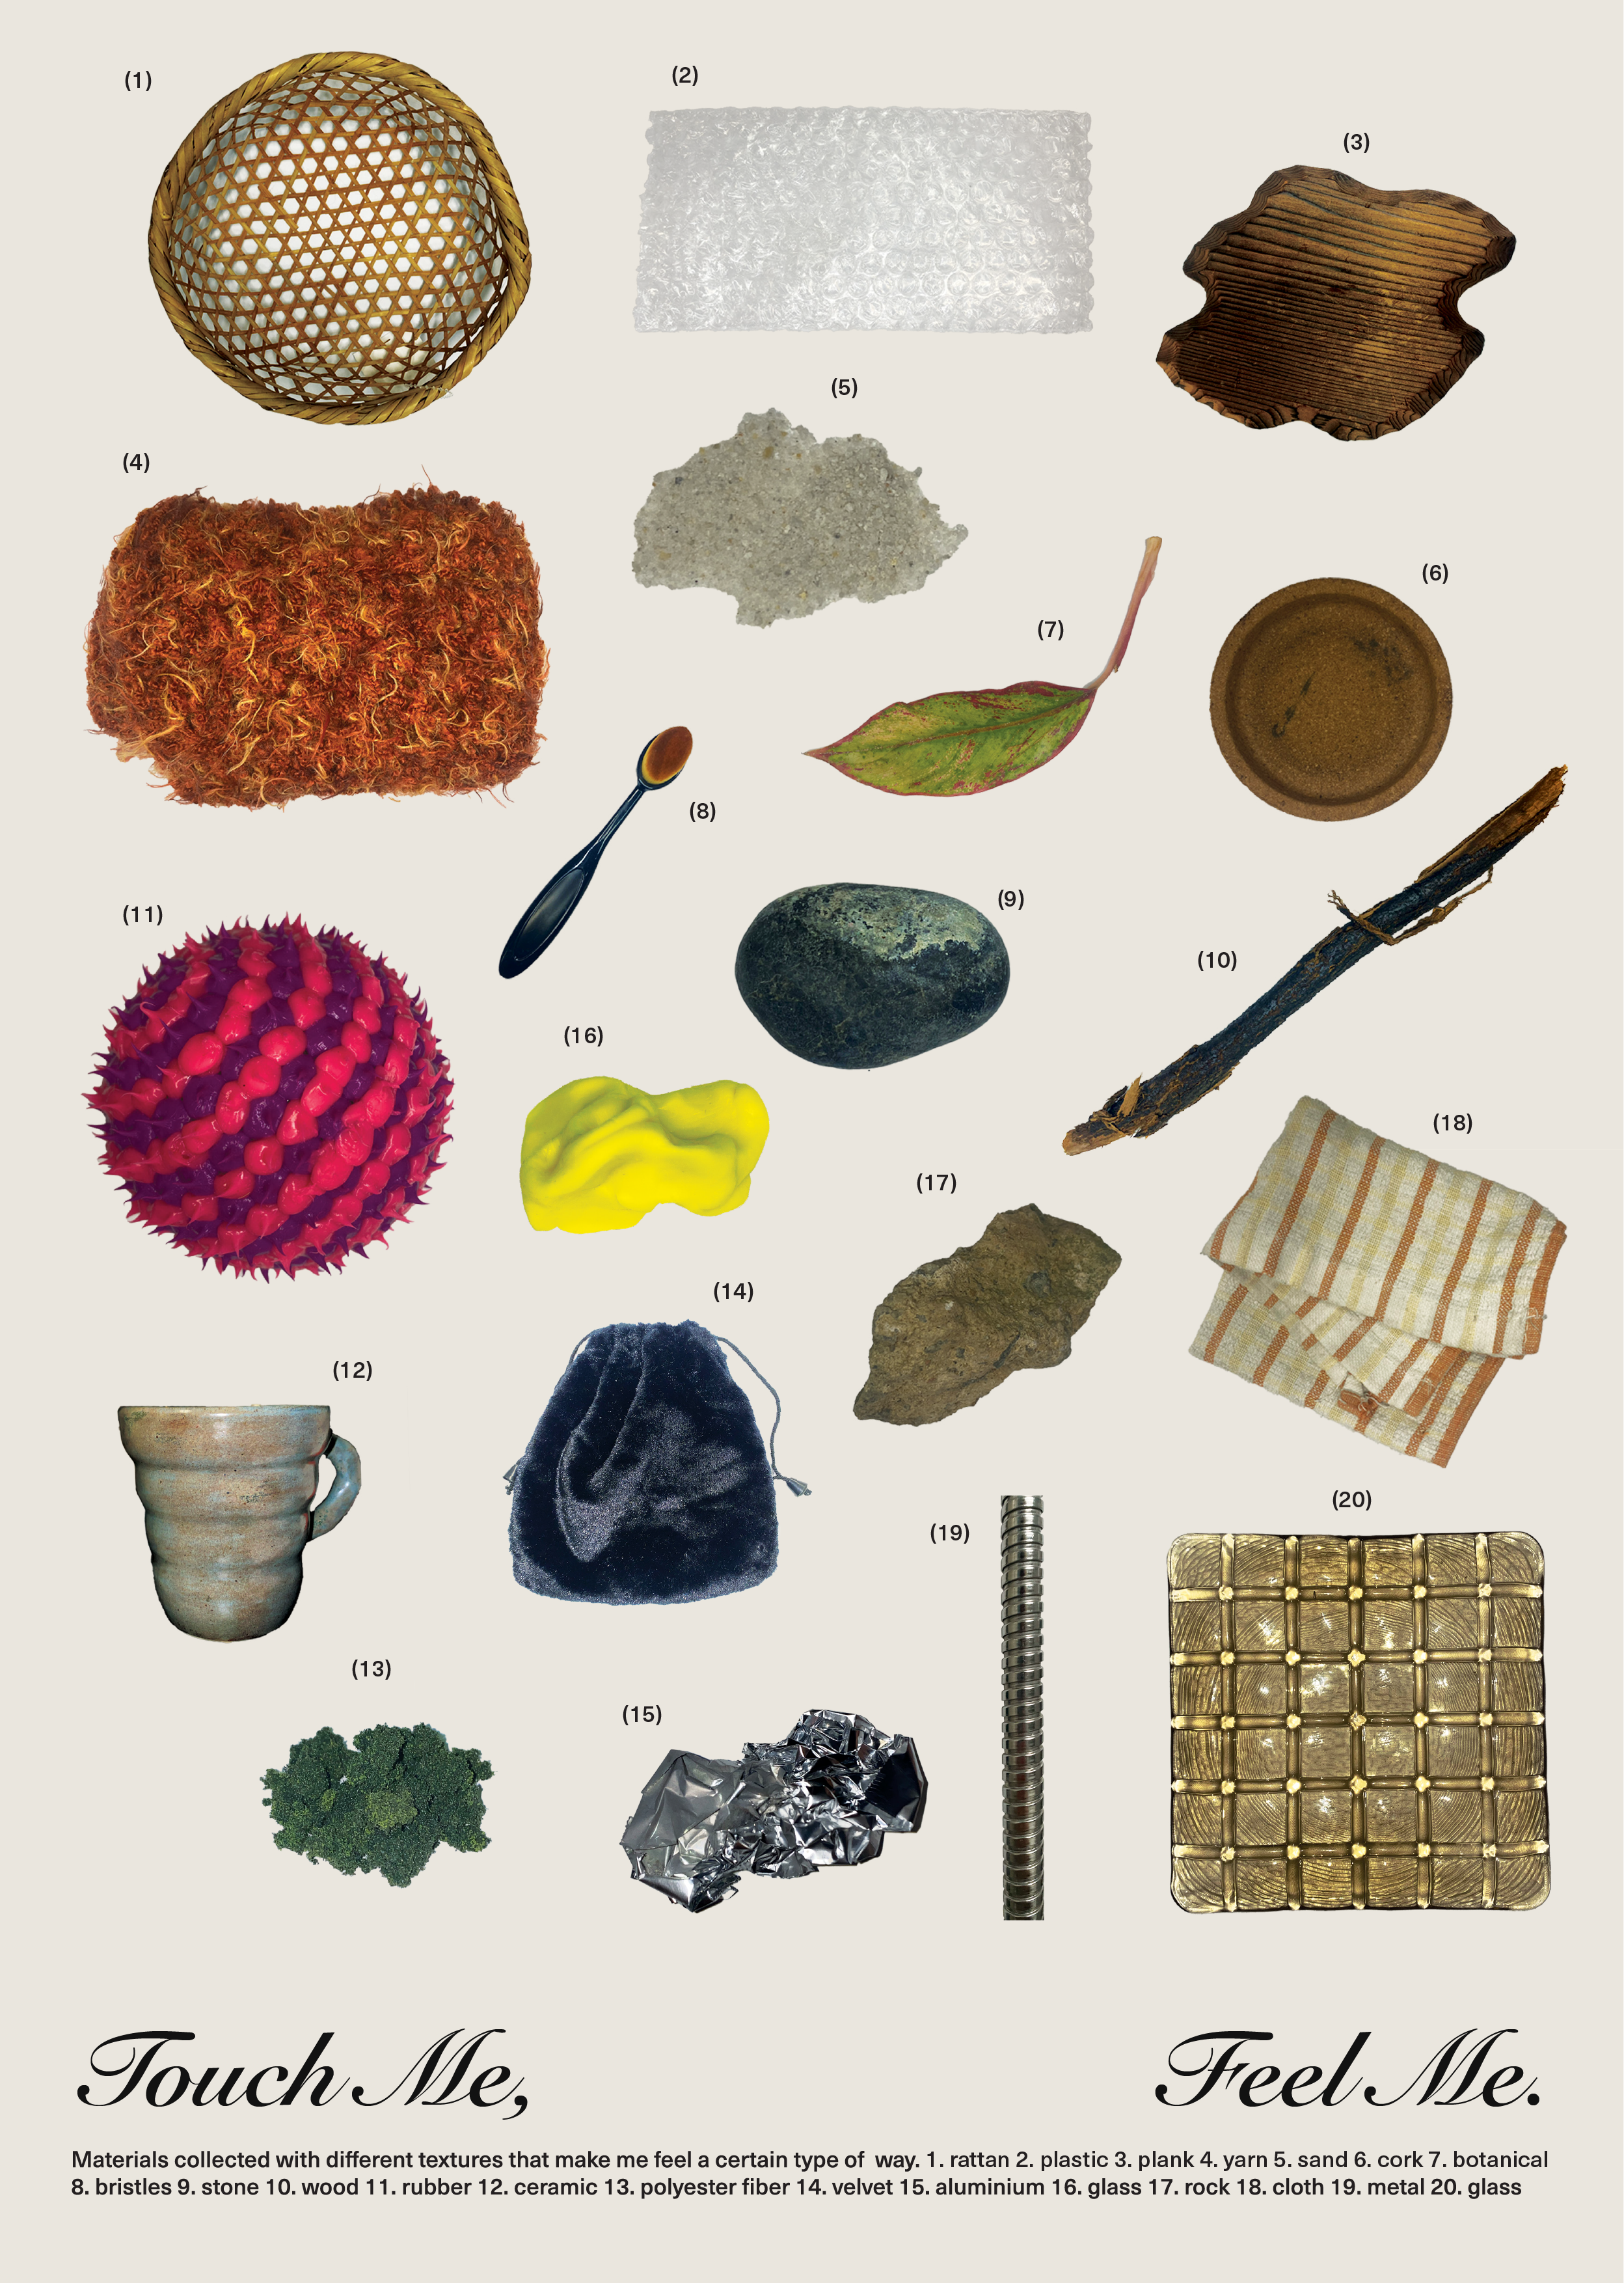
Collection of Objects with Textures Labelled from 1-20
Making of the Poster
After editing each object in Photoshop, I began thinking about how to display the textures I found in a way that looks attractive and aesthetically pleasing. I looked into Pinterest to get some references and ideas.
After taking photos of the objects as itself and also an up close shot, I had to bring all the
images
into
photoshop to remove the background and make into a png. Overall, I was plesantly surprised that I
was
able
to curate a good amount of objects with interesting textures. During this, I observed how each
texture
is also made of dfferent textures and how interacting with it there are some i enjoy and some i
dislike.
The one I disiked the most was the hardened mud which I thought was a rock and also the playdough.
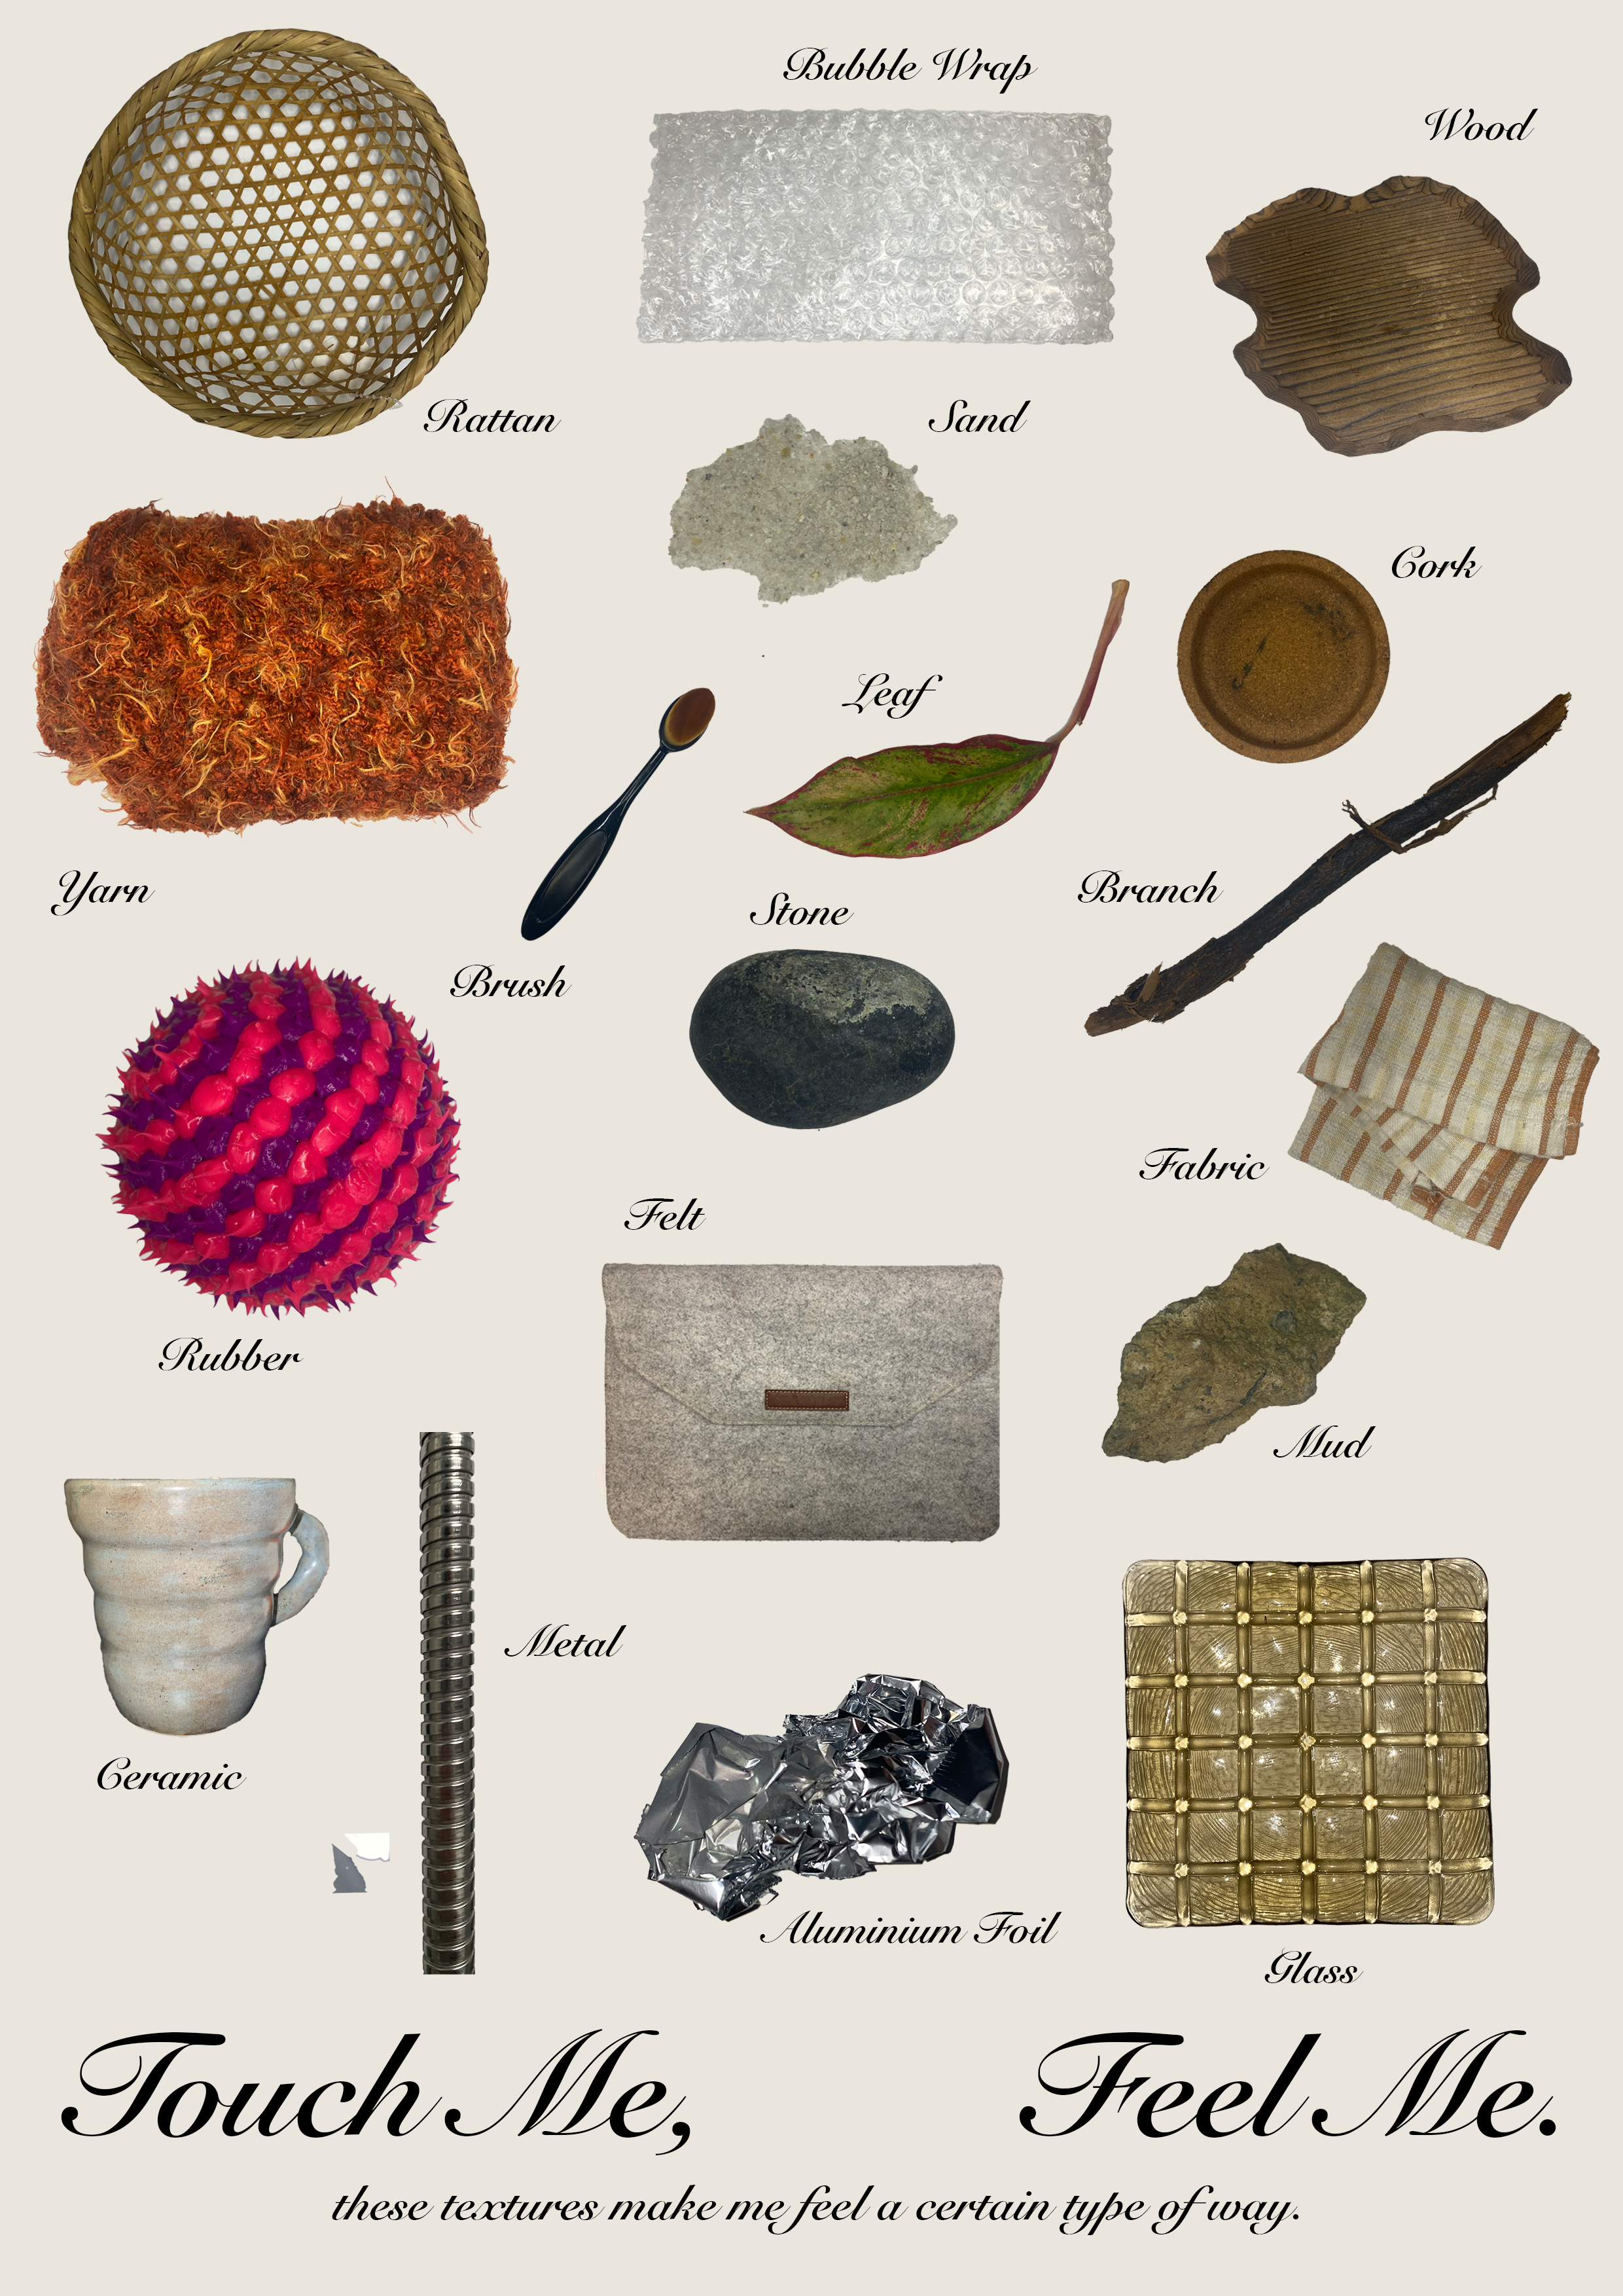
I made two different versions. Two versions are provided: one with object names
beside the
image and one with only number labels and a reference guide underneath. After
gathering
feedback, we decided that the number-labeled options are more visually appealing
and less
cluttered. The poster's objects are randomly positioned and not in order,
requiring viewers to
navigate and extend their attention span. This poster is a reference for my
texture
collection, which I have now archived.
Collection of Objects with Textures Labelled from 1-20
Macros Shots of Objects
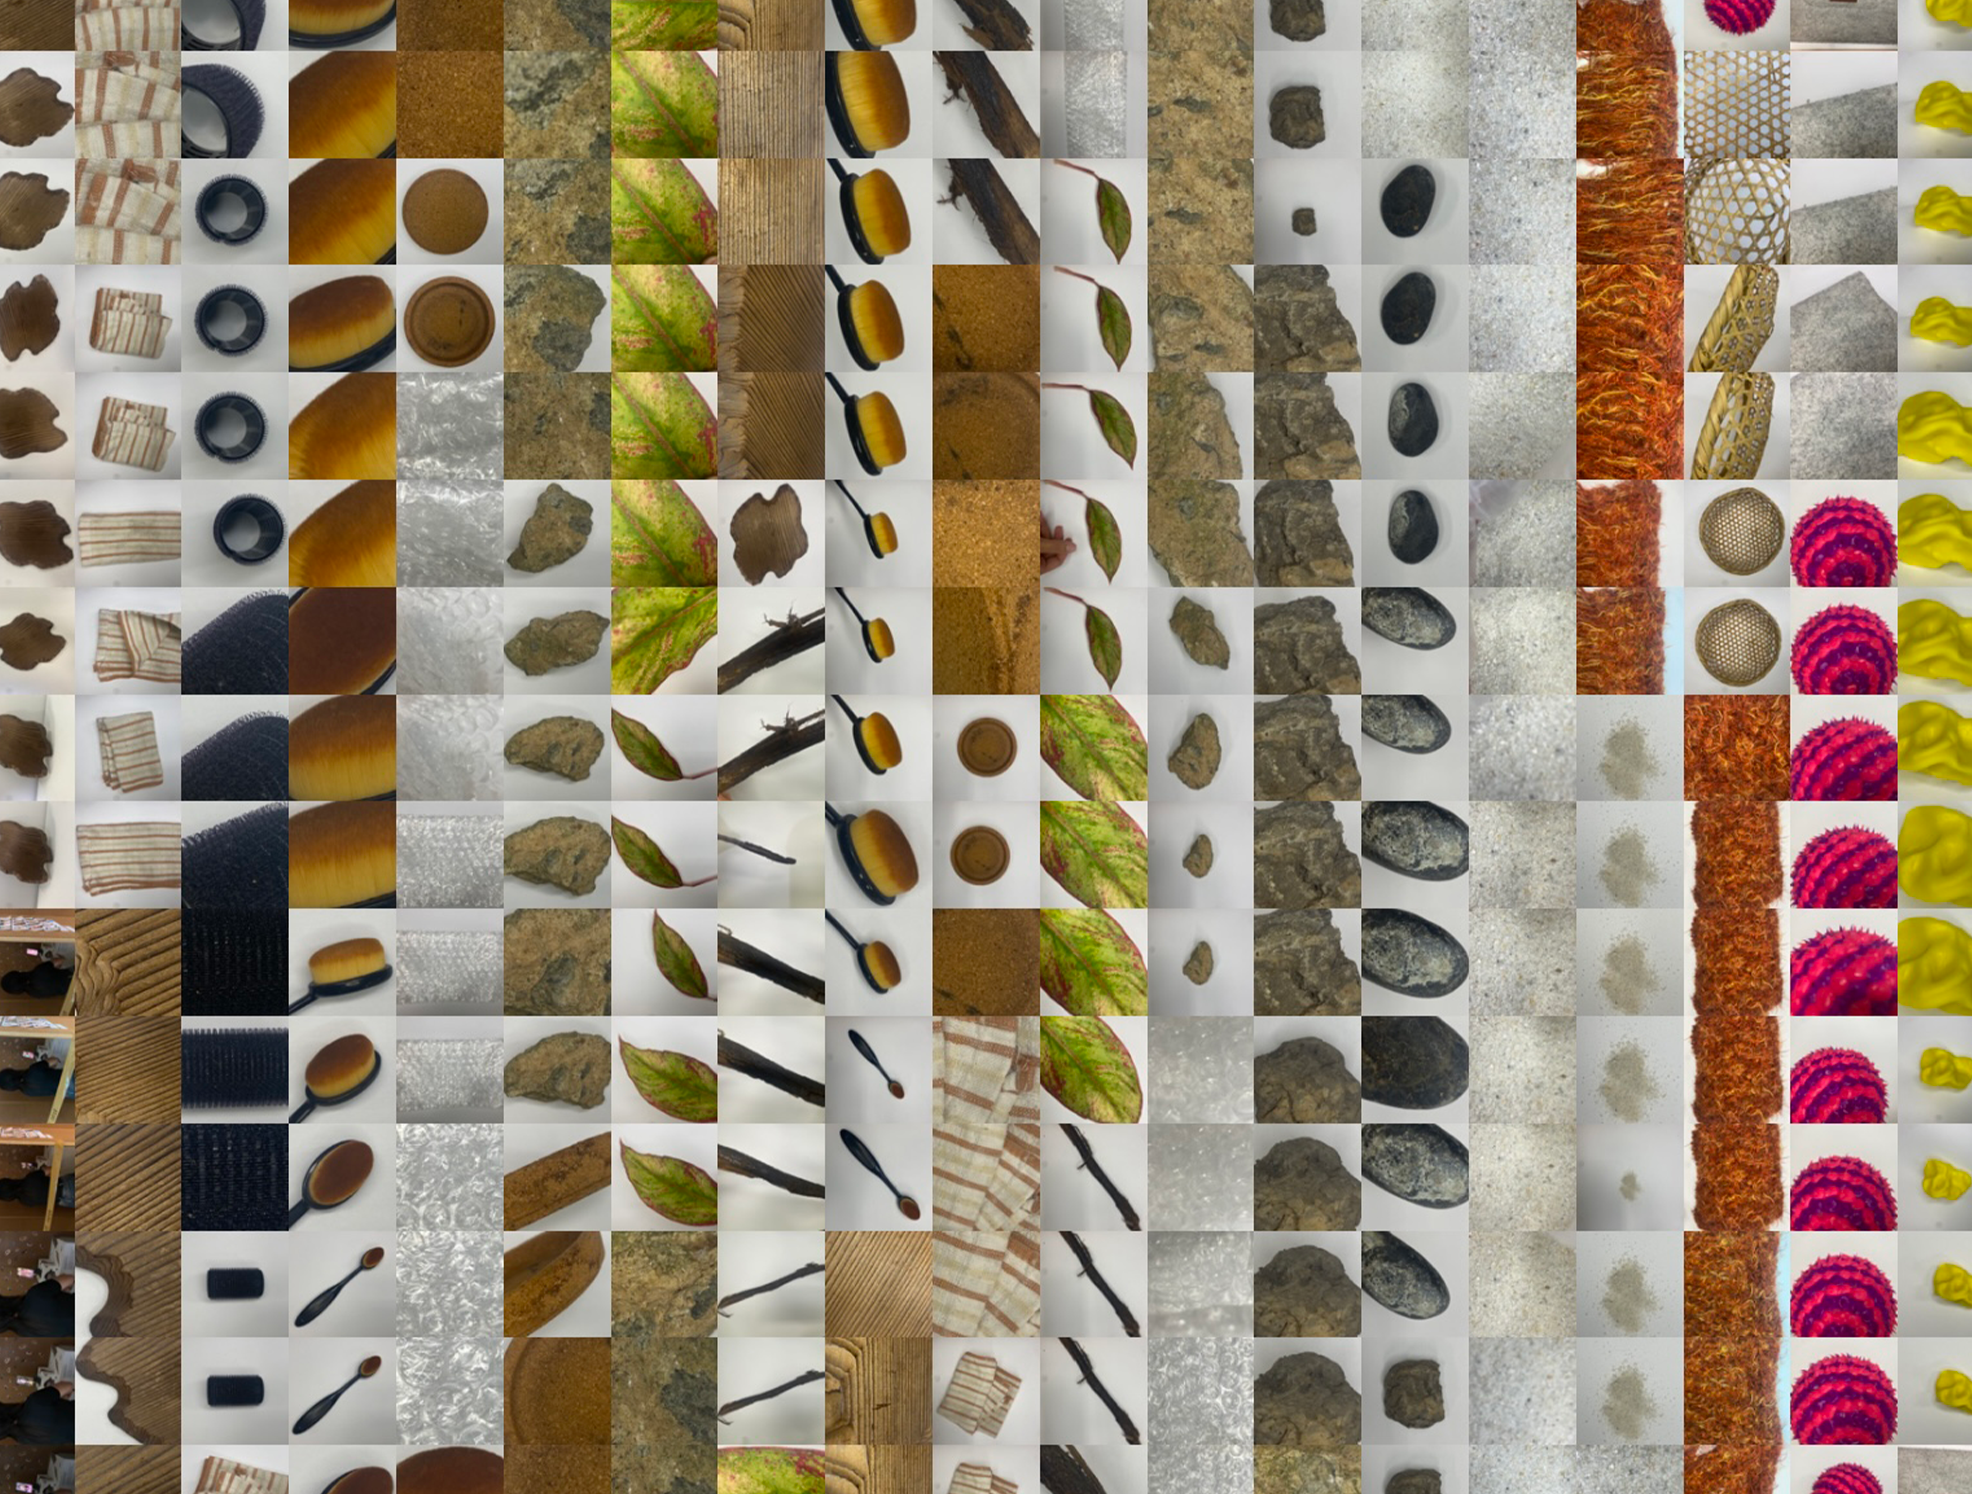
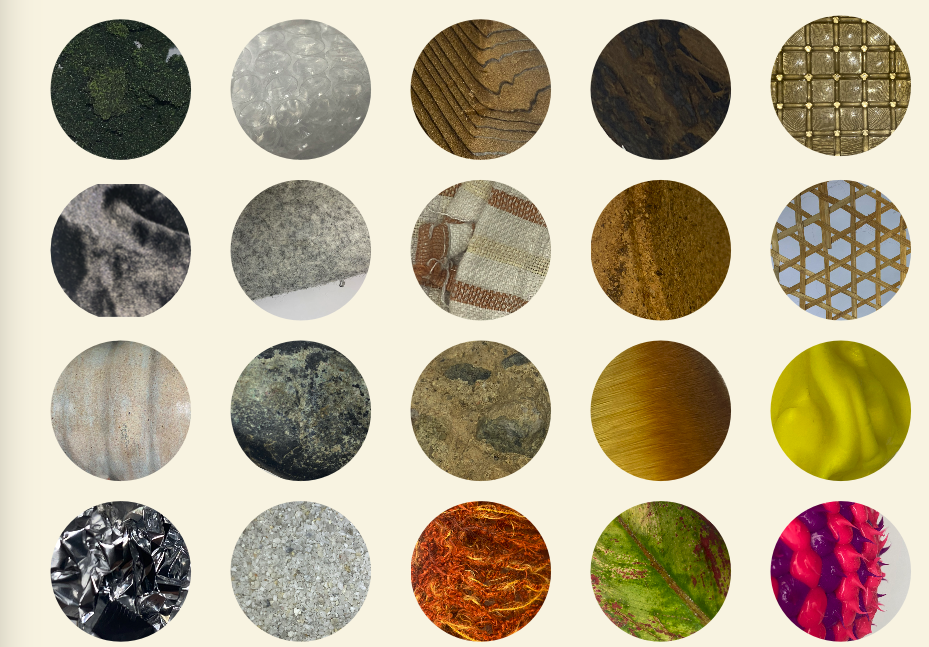
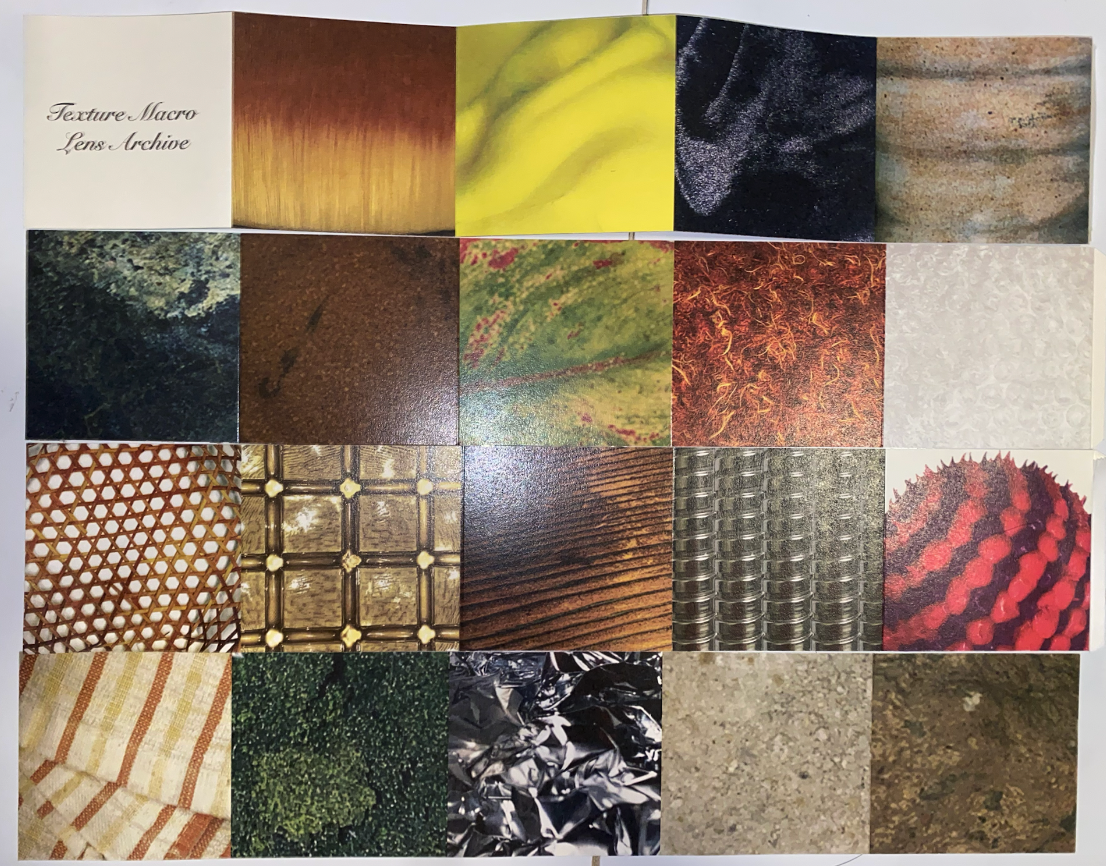
In the above project, I saw the thing as a whole. Now, I aim to inspect the
object texture even more deeply by shooting additional zoomed in images.
When an object is removed from its context, the texture will be shown on its
own. I had to take even tighter shots of the object textures but this time
round i did not remove the background but edited the colours and contrast so
that the textures captureed are more prominent and clear.
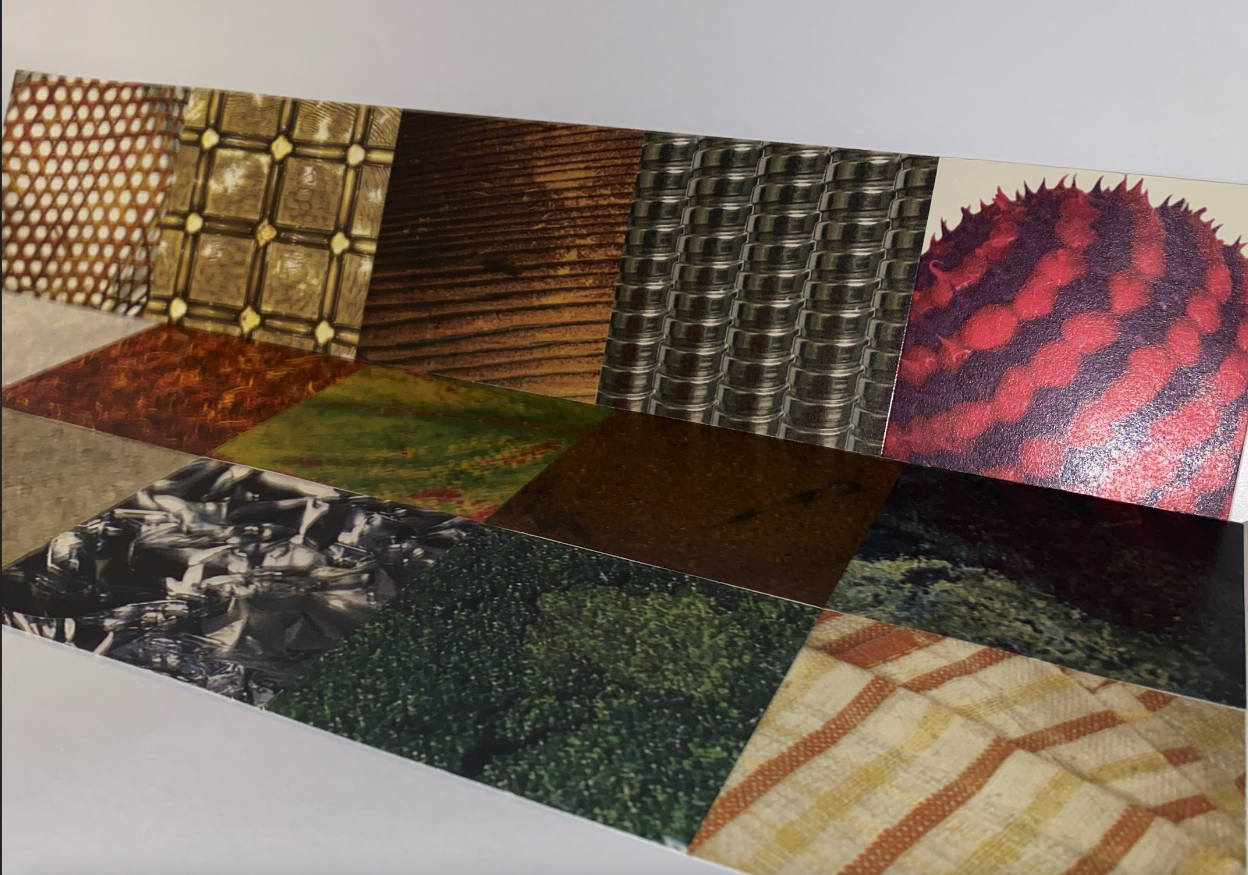
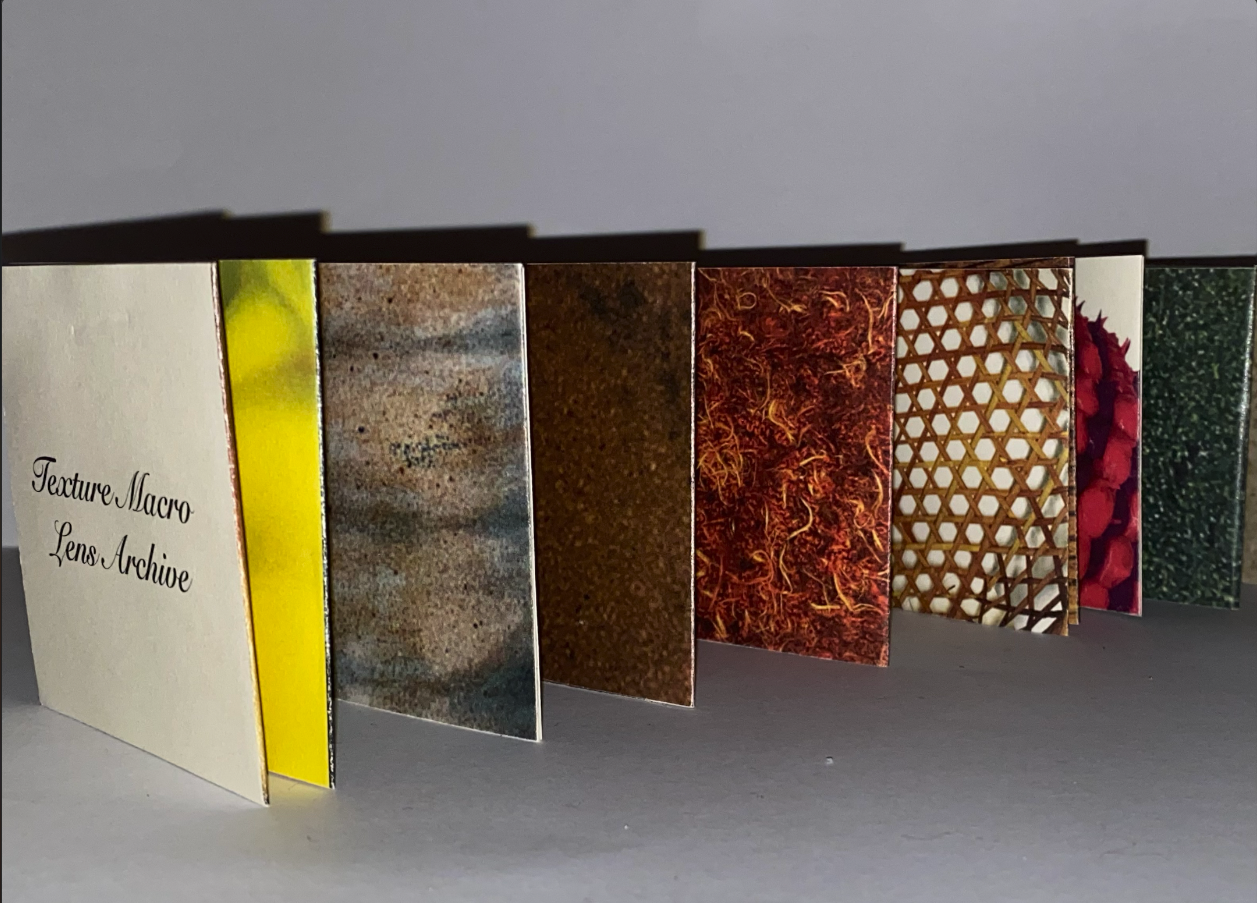
After
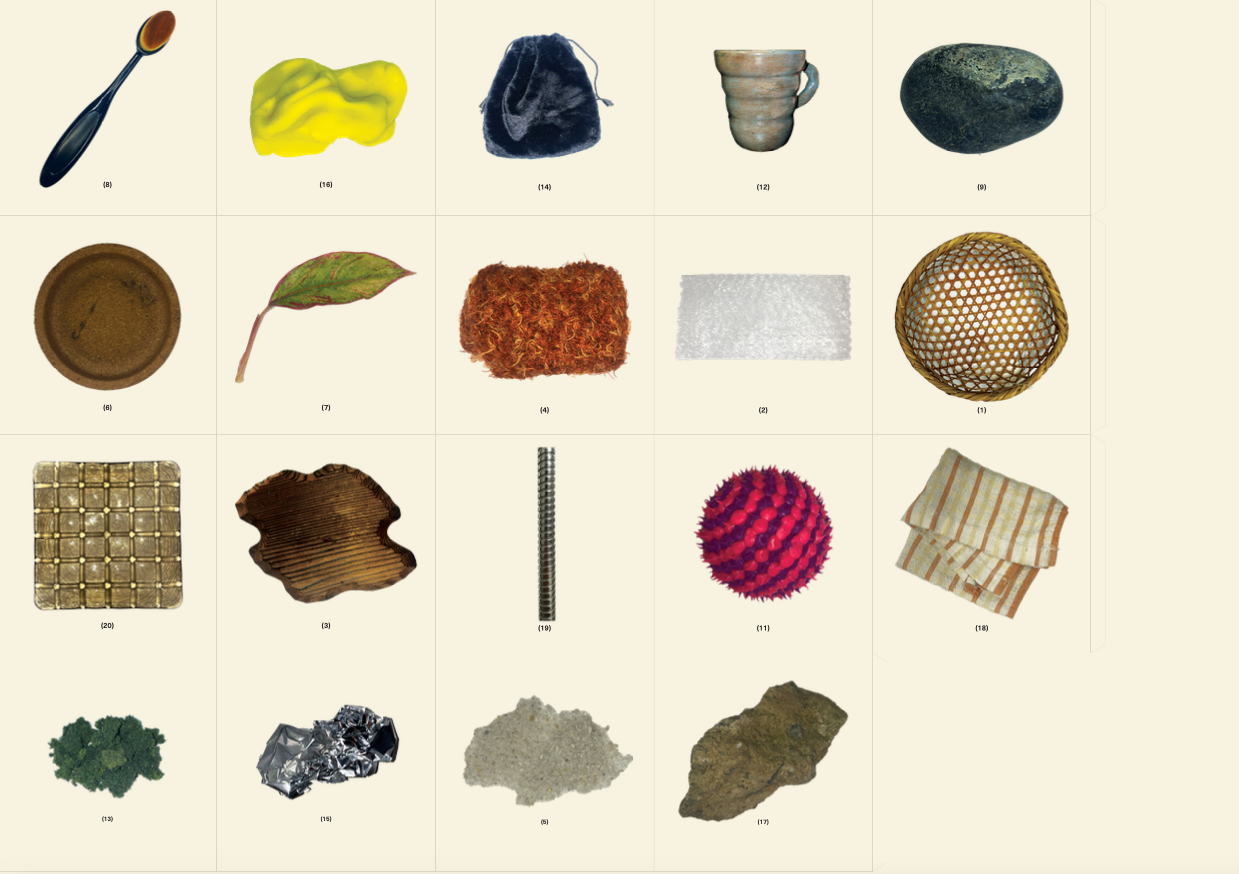
creating a poster, I considered presenting it in an accordian fold similar
to how I would arrange objects when collecting them. I asked friends for
their opinions on smoother objects, which resulted in different results. I
decided to arrange the texture macro shots from smoothest to hardest
Preparing the file for print for the accordian fold. I simialry
explored different formats one in a square and one in a circle. I though the
circle was cute as though I was looking through a lens but then it would
mean there will be white space when printed and it wont be as nice. So i
went for the zoomed in full look.
User Testing
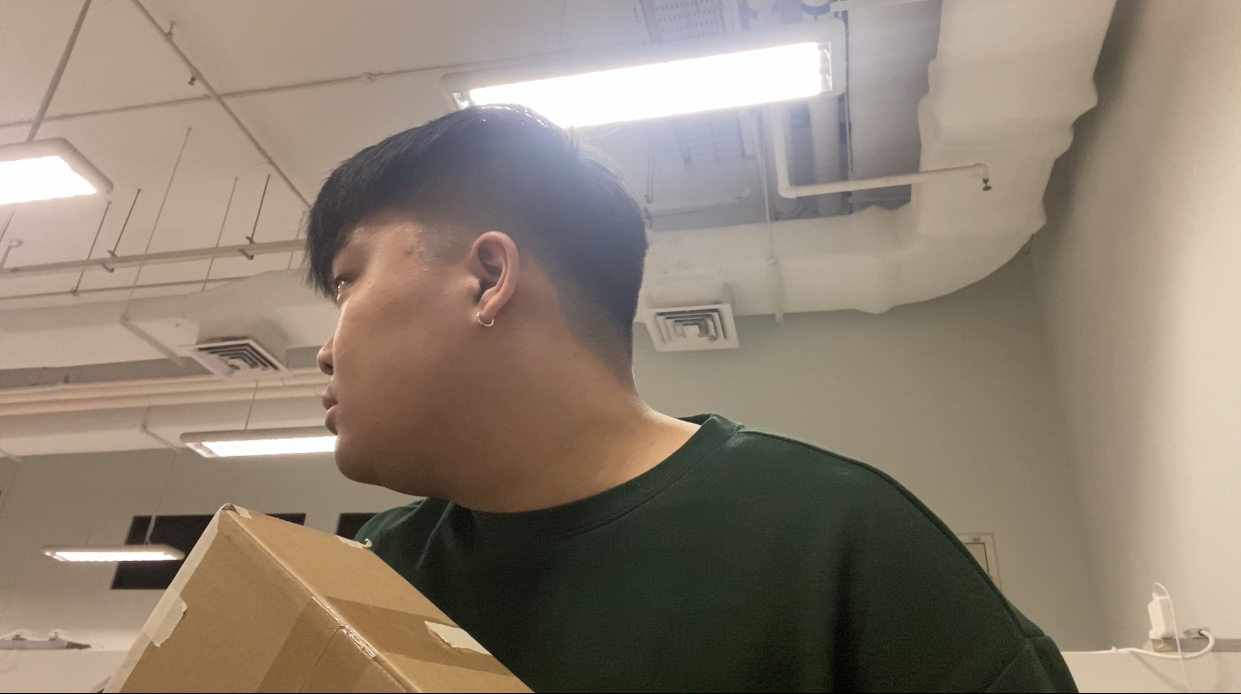
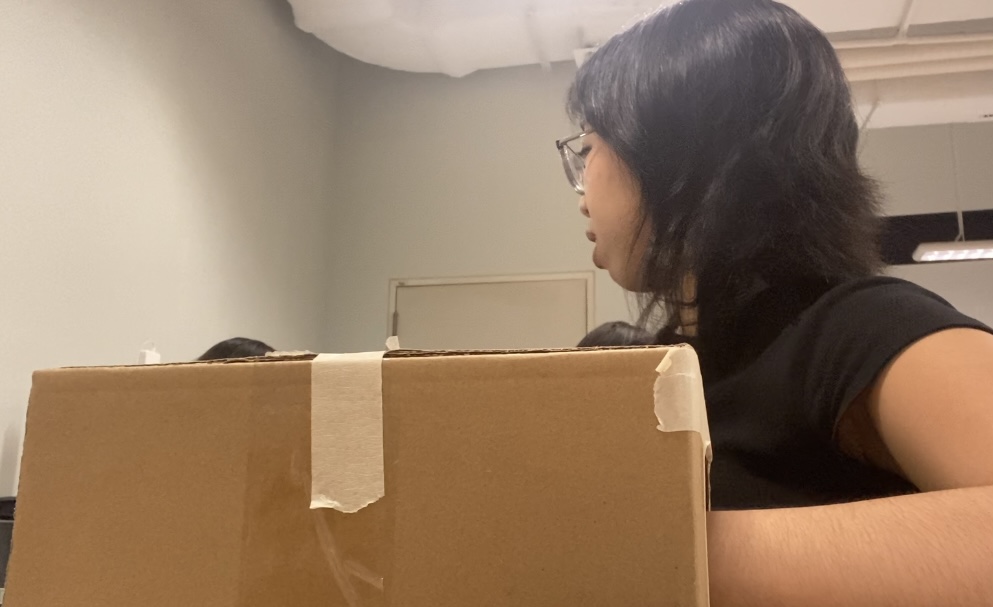
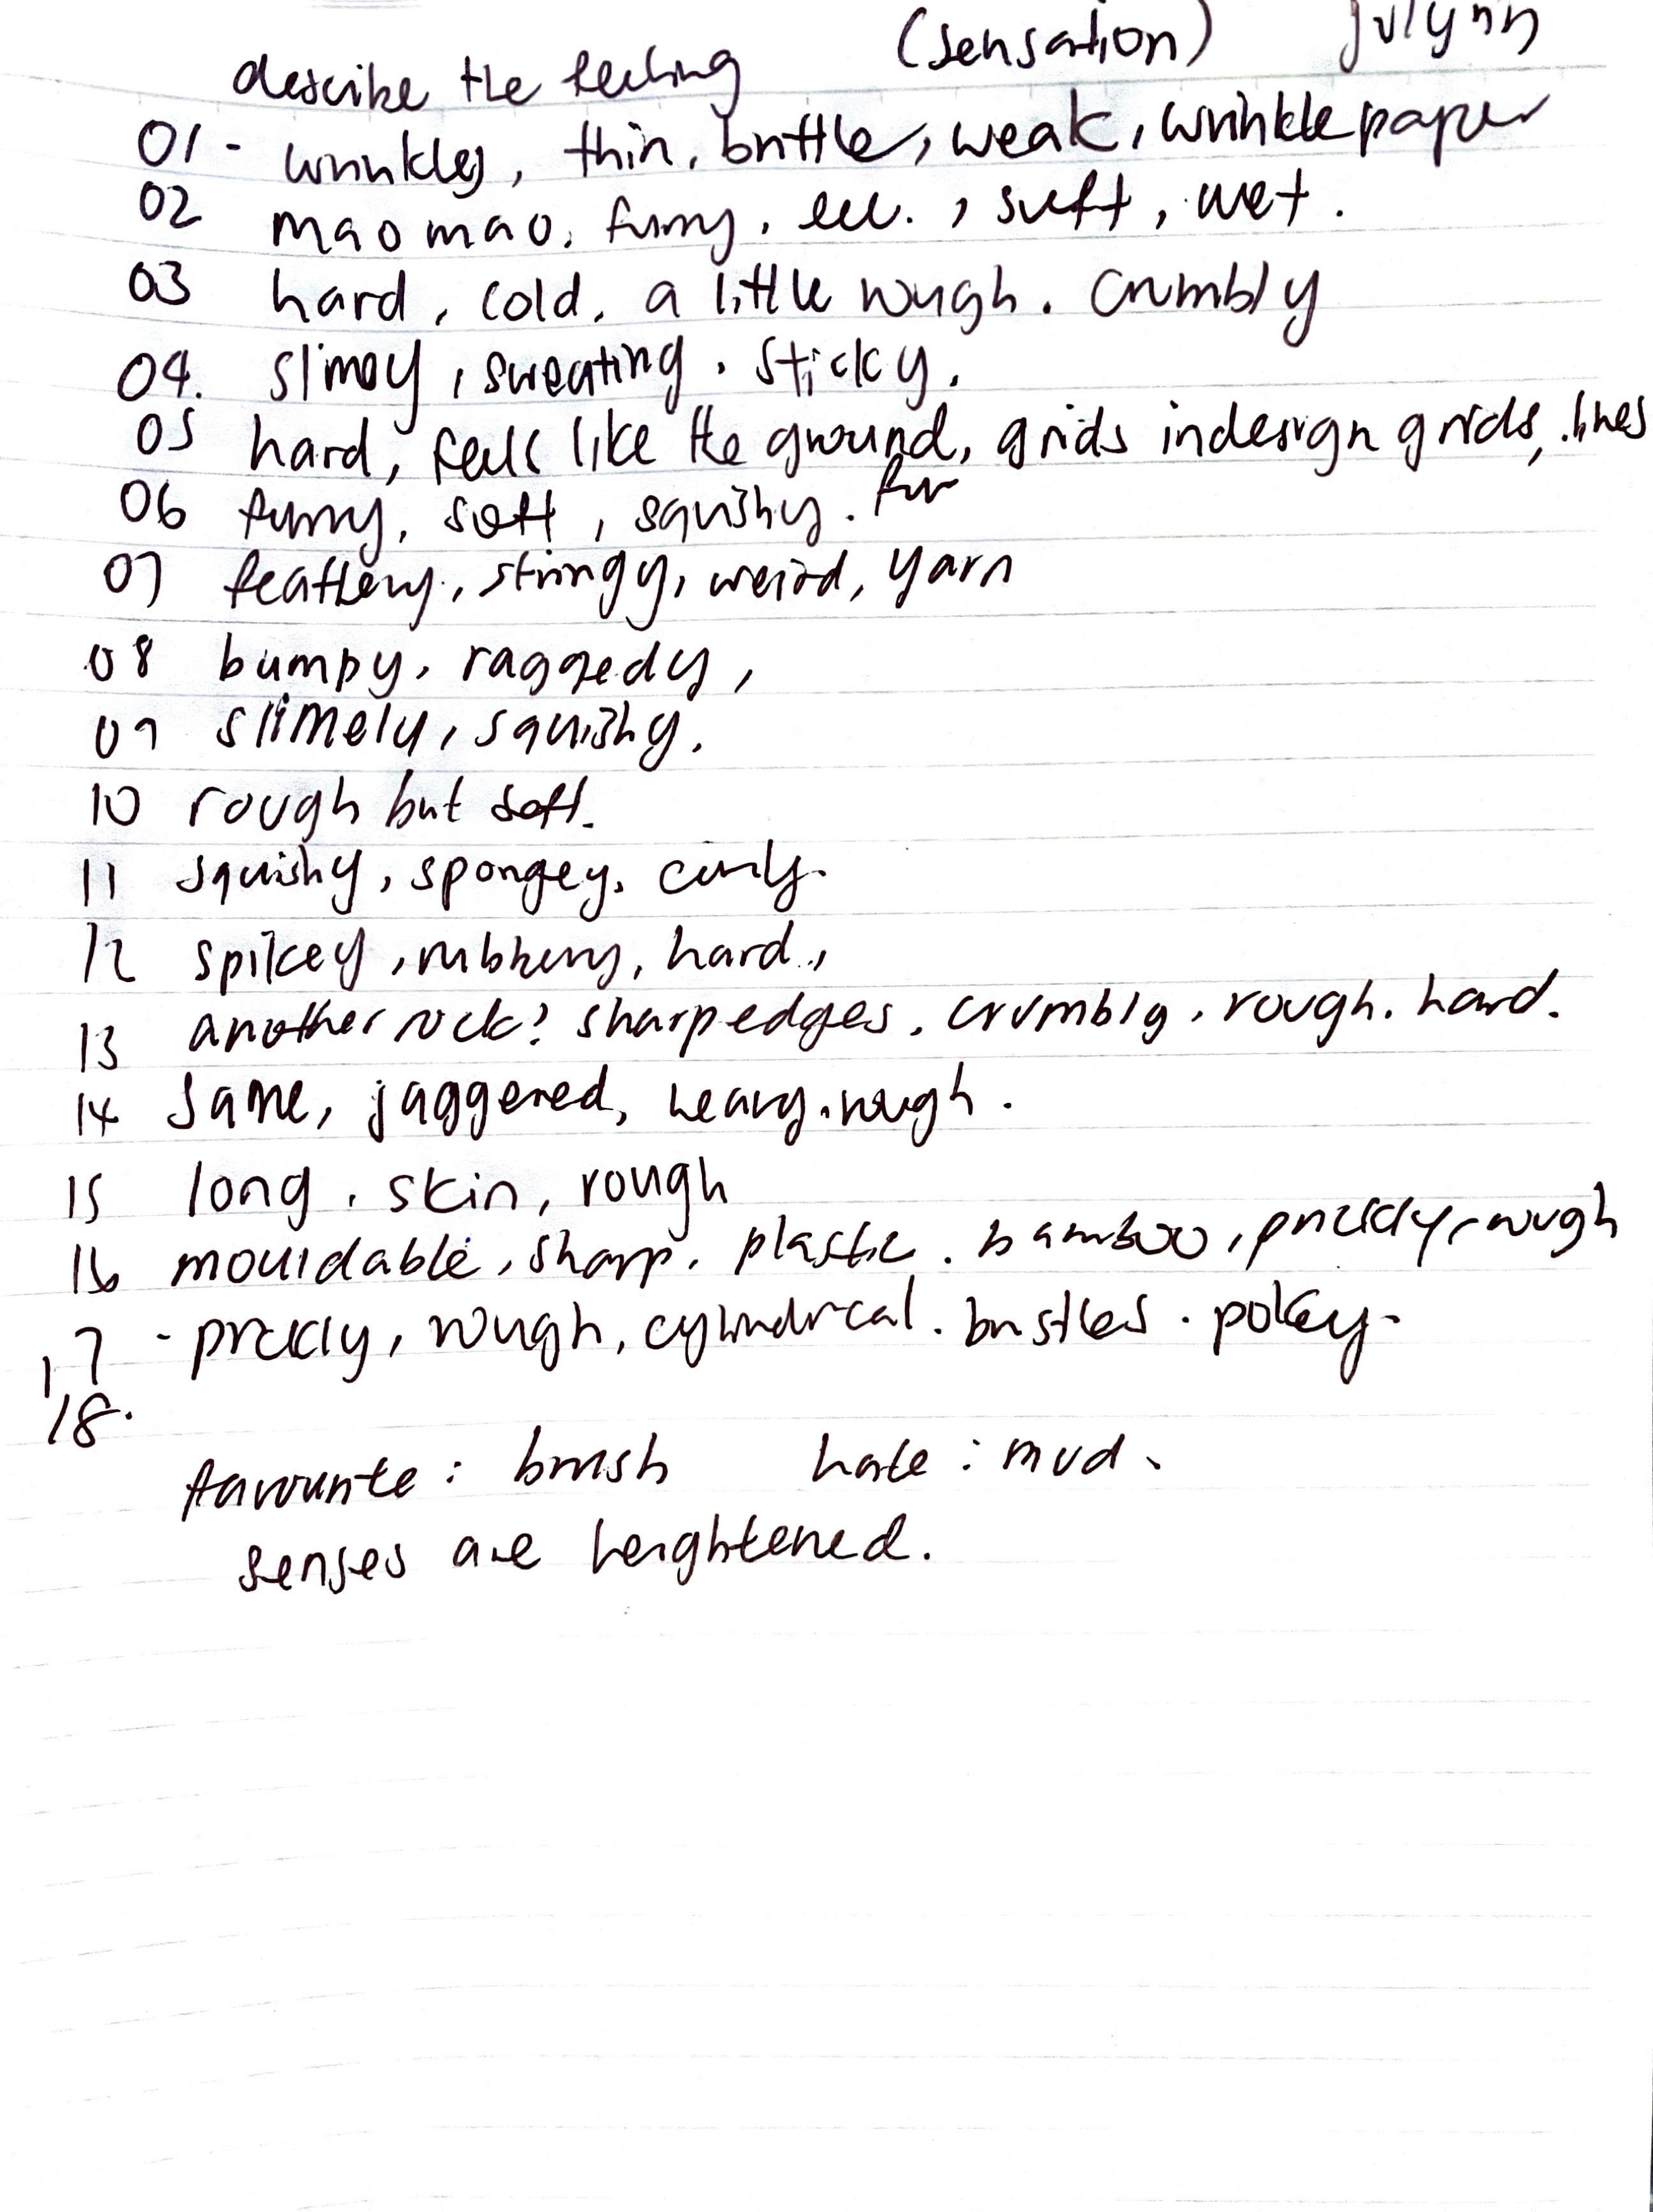
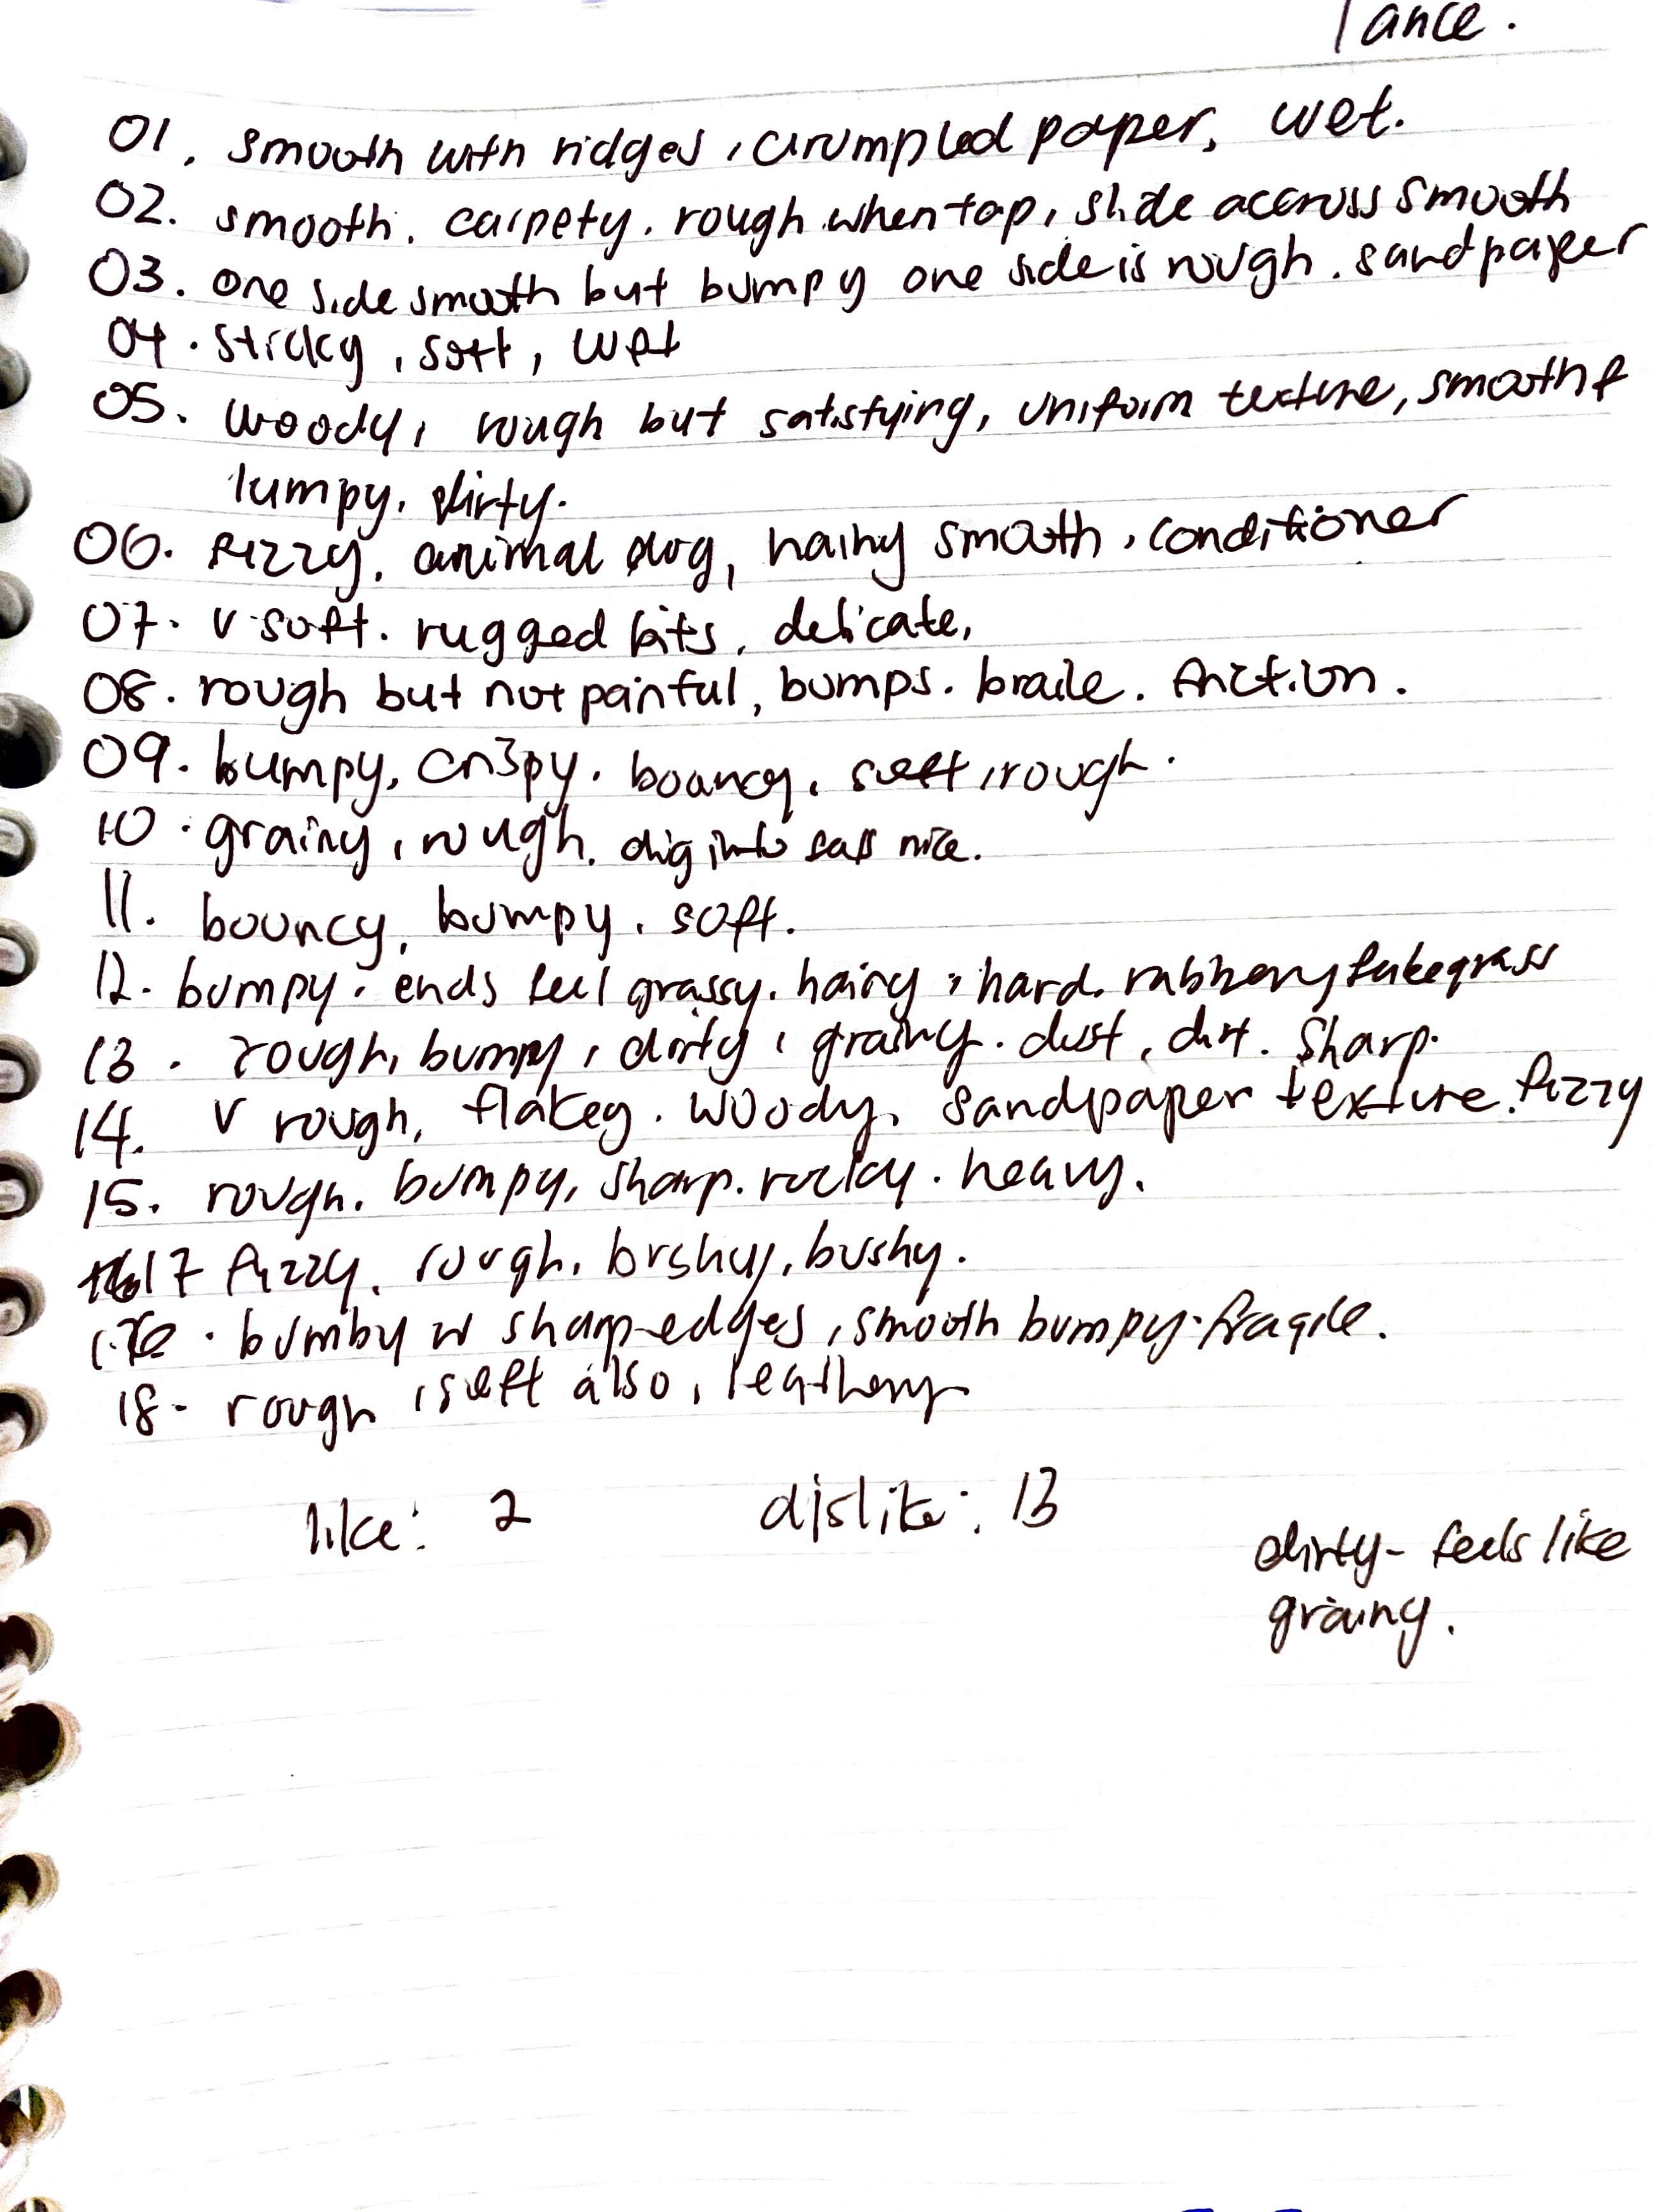
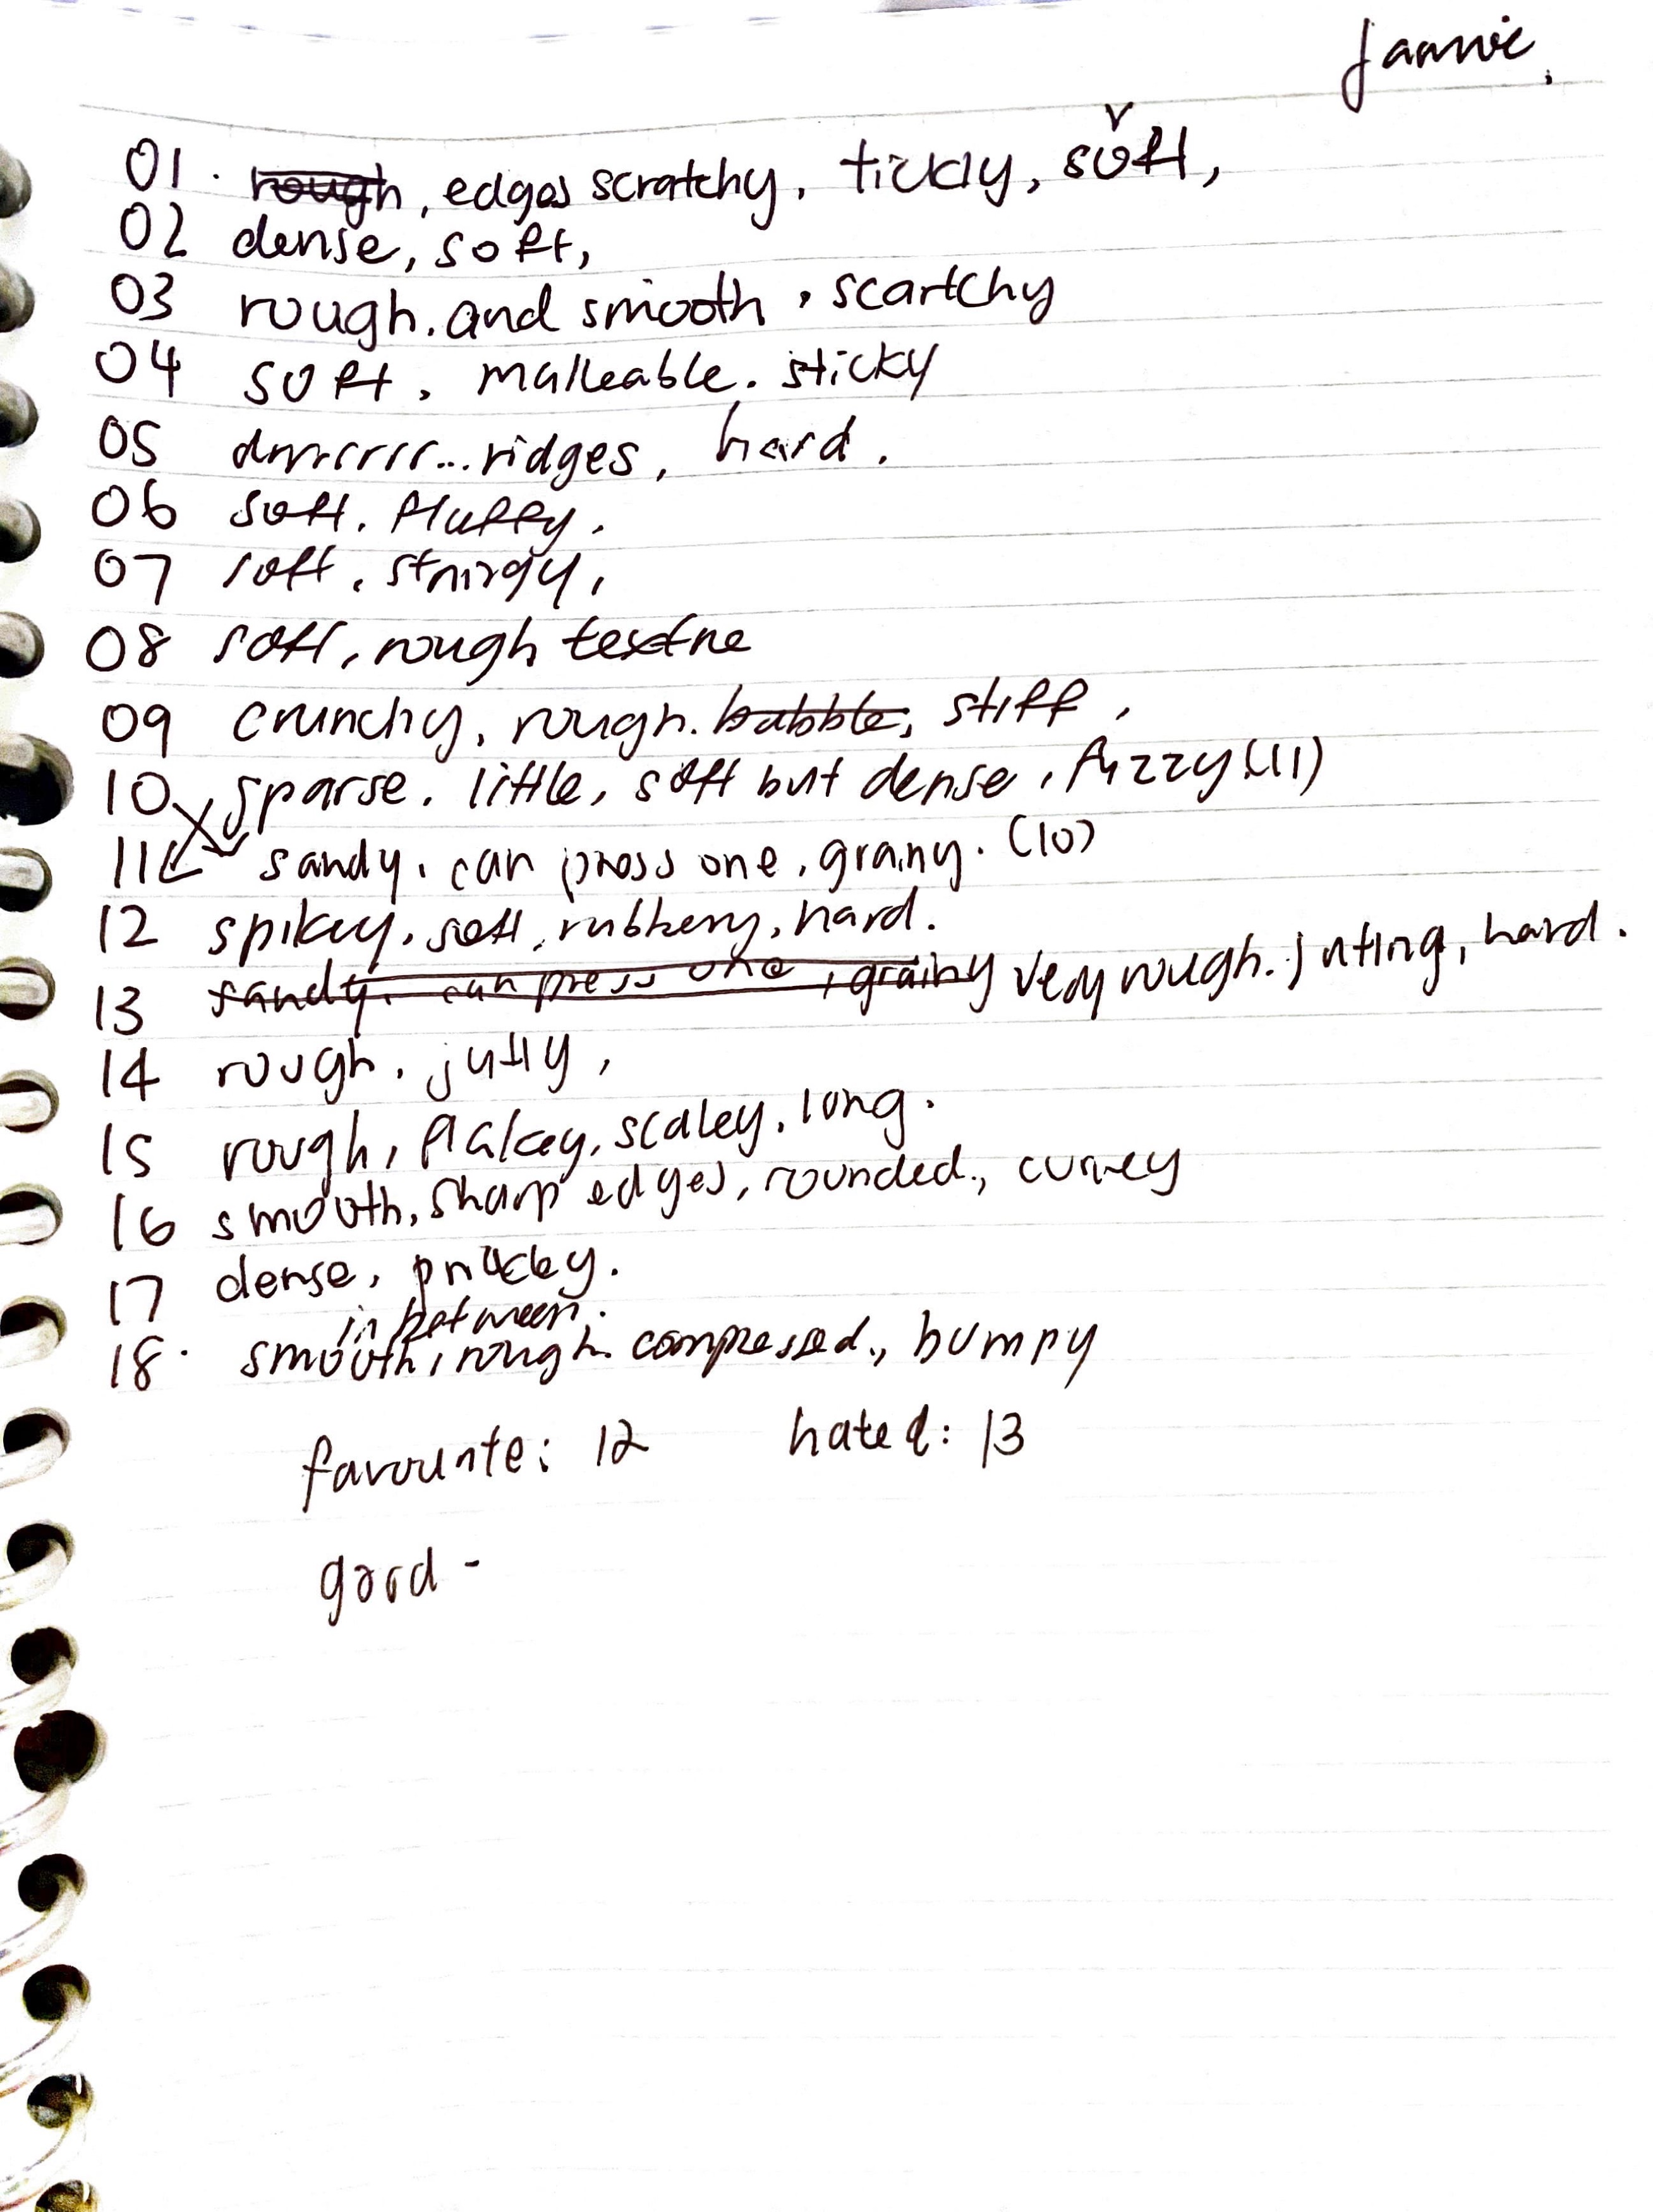
I asked 3 of my friends to describe the objects that i have found but hidden in a box where they have to use their sense of touch only to feel. Their responses were varied but everyone collectively hated touching the hardened soil.
